I have photographed so many people in so many different settings. Sometimes I find myself in a very controlled, cool calm and collected studio setting, other times in unfamiliar environments, and more often in the hullaballoo of a fast-paced, emotionally charged wedding day. And, while the circumstances and the overall environment can vary, there are a few things that remain unchanged when it comes to looking your best in front of the lens.
Of course, I want to share these with you! Whether you are a person who finds themselves thrust in front of the lens, showing every tooth and even some chins that usually don’t exist, or if you are a photographer struggling to figure out why your photo subject looks so much better in person than in the photos that you have produced, I think you’ll find these tips helpful to take with you on the road.

1. Contrasting facial features
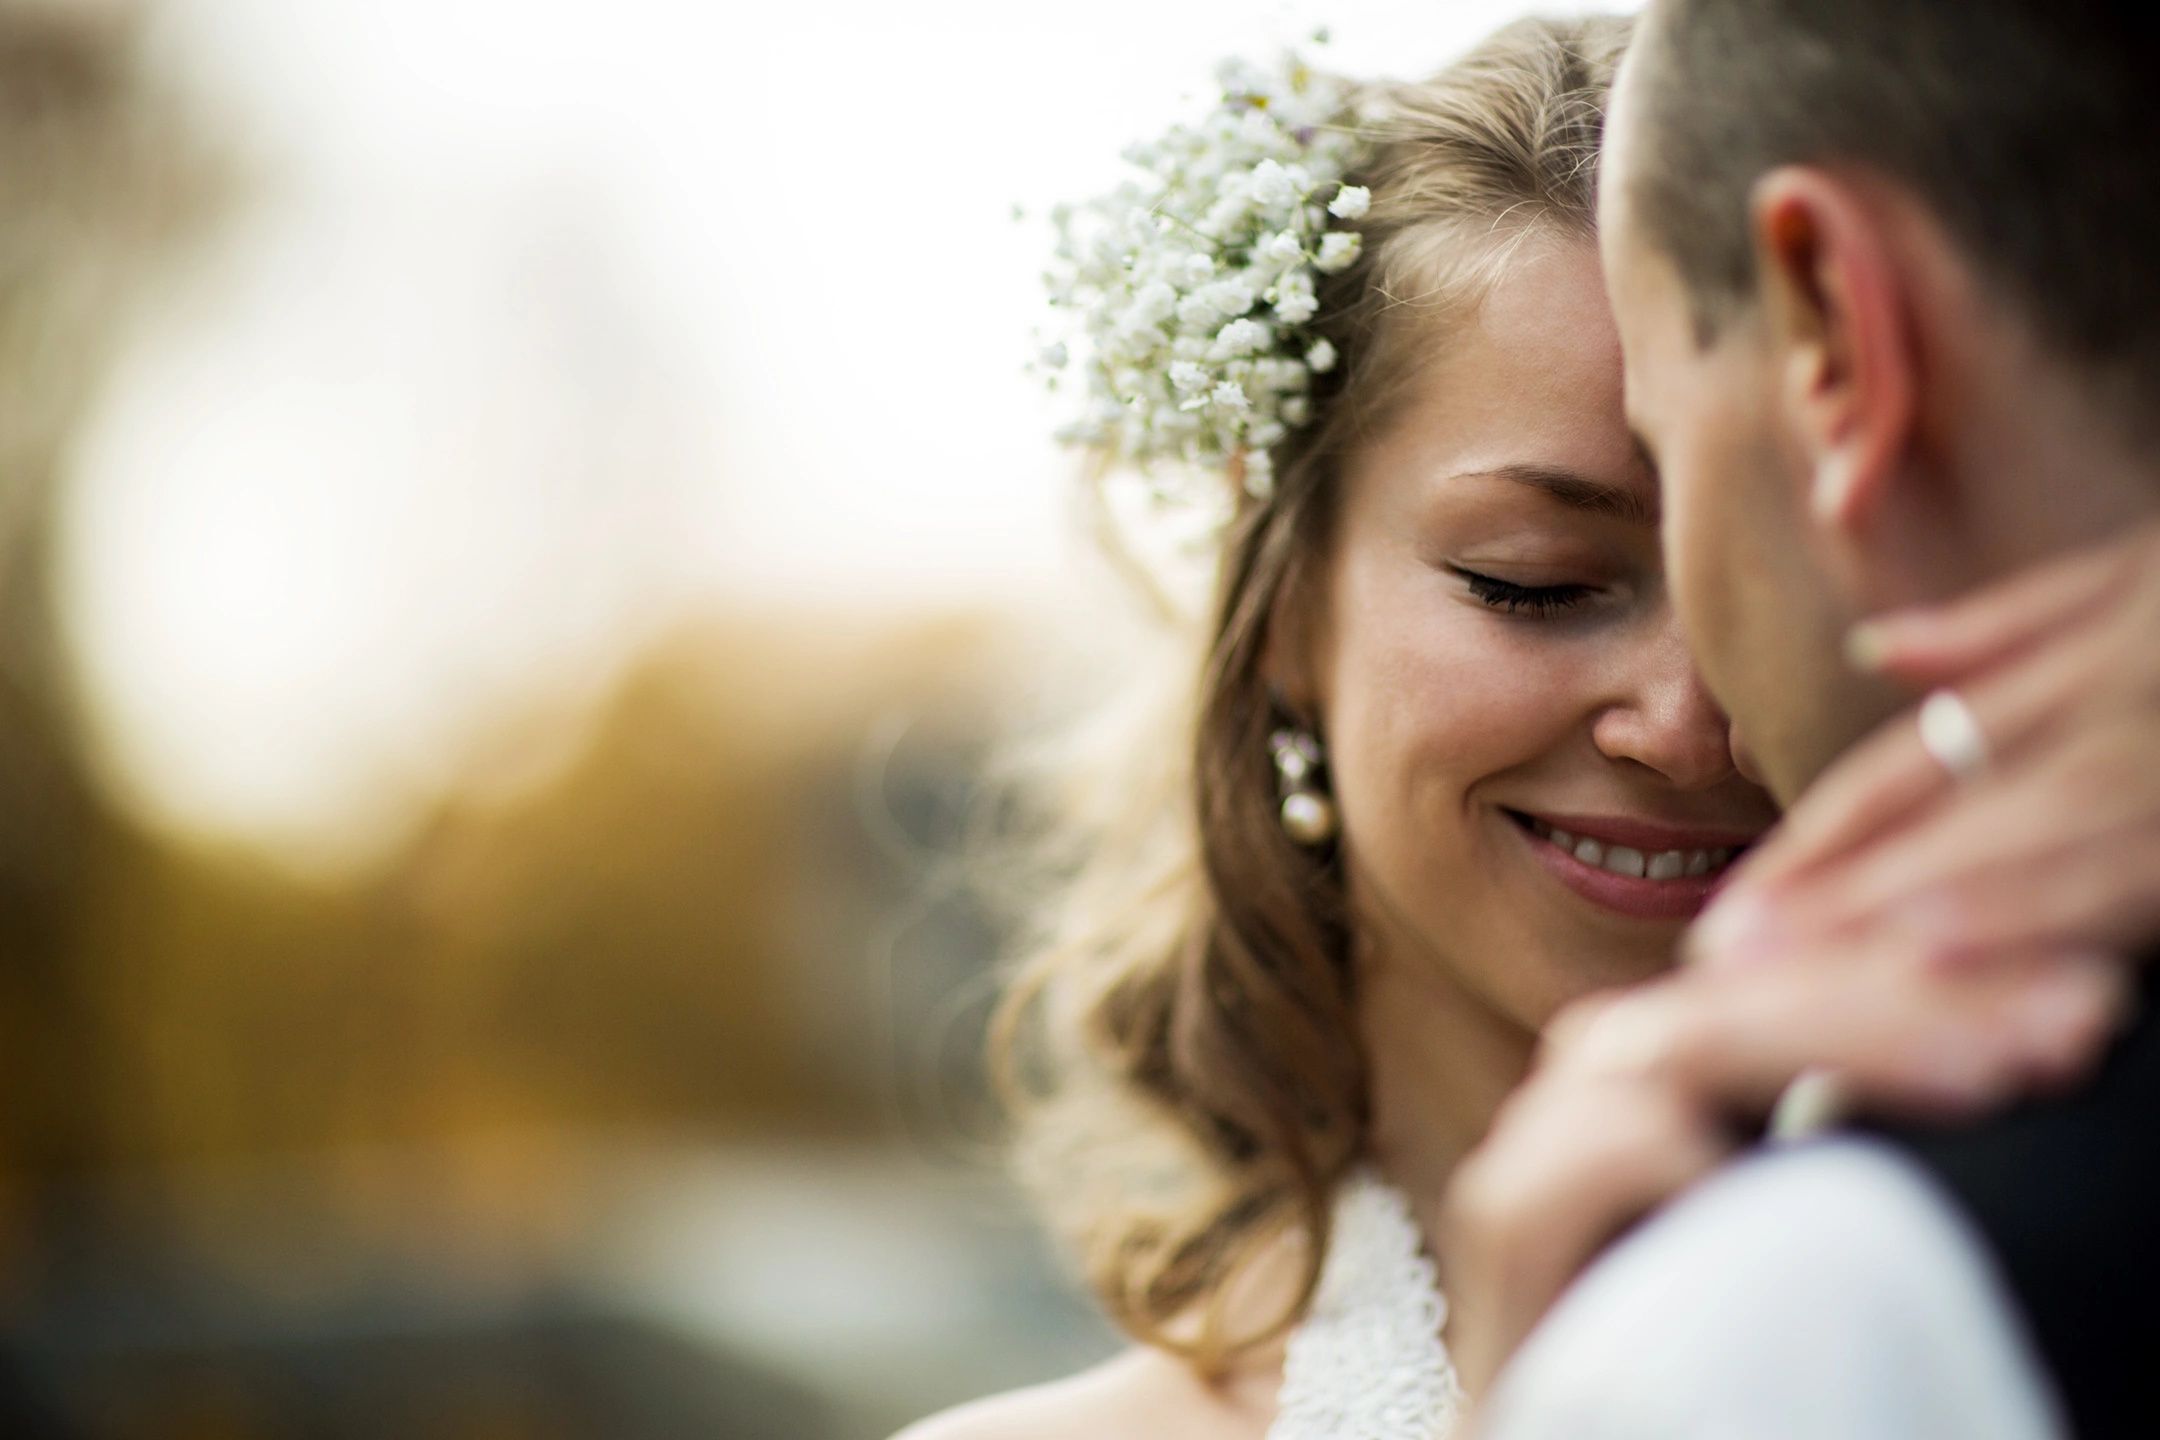
Well defined facial features translate best through the lens. If you have naturally contrasting facial features: eyebrows, lashes and lips, congratulations, you are among the 0.0003% (made up stat) of people with the photogenic gene! If you are like myself and the rest of the population, I totally feel you, and yes, putting on makeup is A LOT of work when you aren’t used to wearing it! If you have a makeup artist you trust, I would recommend considering having your makeup done before a photo shoot. If that all feels a bit extra for you, consider touching your brows with a pencil that is one shade darker than your natural brow colour, adding a double coat of mascara, and a tinted lip. A shade darker than your natural colour will work just fine. The key here is to not overdo the makeup, that can be equally as distracting!
2. Beware of “The Chicken Arm”
Sometime in the past few years, a memo went out to all women telling them that in order to have skinny-looking, toned arms, that they need to pop up their elbow, hands on their hips, cheerleader style. A pose sometimes referred to as “The Chicken Arm.” Please stop! While this harsh, unnatural looking pose does make your arm look more slender, it leaves you looking really awkward and unnatural, and it grabs the eye away from your face and straight to the right angle protruding from your body.
There’s a key flaw here that is being overlooked, and it is this: you can bring your hand to your hip, but place your hand a bit lower on your hip to soften the bend in your elbow and position the elbow toward the back of your body. So now it looks more slender and toned, but it is no longer looking awkward and unnatural and dominating the photo.
3. Smile, but not too much
I am so guilty of this. A camera comes out, and I want to look happy, so I put on the biggest smile I can muster. Enter: disappearing lip, and the emergence of every tooth and a few chins that were never there before. Yes, you’ll want to look pleasant and happy in photos, but not at the expense of your best features. Try this one in front of the mirror. I find a slight, or “almost smile” often does the trick. There are a few celebrity photographers out there that have coined this move the “smize” (Tyra Banks) or “squinch” (Peter Hurley). Whatever you want to call it, it is the act of smiling from the inside. The corners of your mouth turned upward, with your eyes slightly squinted, but not grinning ear to ear like I do.
4. Basic weight shift
I remember when I was a kid, and wedding photos were aplenty in my family, my parents, aunts, and uncles would joke that Uncle Robert always looked like he was going to jump the cameraman in family portraits. And they were right. He DID look like that. In those early years, I couldn’t figure it out. Until now.
The fatal flaw that Uncle Robert was making was that he was standing, feet spread shoulder width apart, with his body weight distributed equally among both feet. He looked tense and like he was ready to pounce.
Here’s the thing, everyone looks a little tense when they stand with their feet at shoulder width with weight evenly distributed. Everyone!
So for an easy fix, ask your photo subjects to shift all of their weight onto one foot, with the weightless foot visibly lifted in some way. It can be as simple as raising the heel of that foot, crossing the leg in front of the other leg, or it can go as far as having the photo subject lean on a wall, cross the weightless leg over with the toe resting on the ground. No matter how tense you are (or your photo subject is), this simple move will have you looking more relaxed in exactly 0.10 seconds.

5. The camera’s perspective
If you don’t take anything else away from this post, remember this: whatever is closest to the camera will appear to be the largest. So, if you have something that you are wishing to minimize, find a way to position yourself or your camera to send it toward the back. I like to find angles in which the eyes are the closest to the lens and the photo subject is not square on to the camera. From there you can give some thought to how to angle yourself or the camera to minimize things you’d like to be less prominent and maximize your best features.
For example, a larger chested individual may want to position the camera slightly higher, so that their face is visibly closer to the lens than the chest. A person with a larger bottom will want to shift the weight to one foot and push or position their bottom back away from the camera. Worried about double chins? Push your chin outward to create definition and then position the camera so that your eyes are closer to the lens.
And, remember that point about the chicken arms? You got it, we’re moving those to the back too!
I hope you find these tips helpful as you charge ahead taking photos, and also, being in photos! Help yourself to my free guide if you’d like to learn a little more!
Kelly xo

