


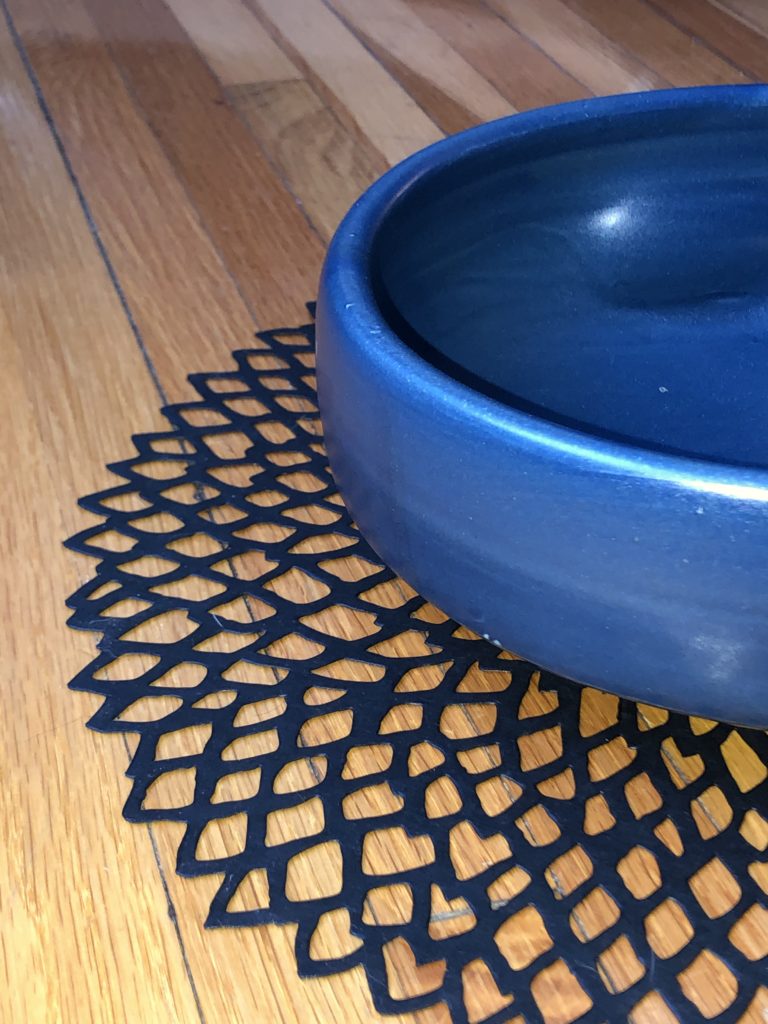
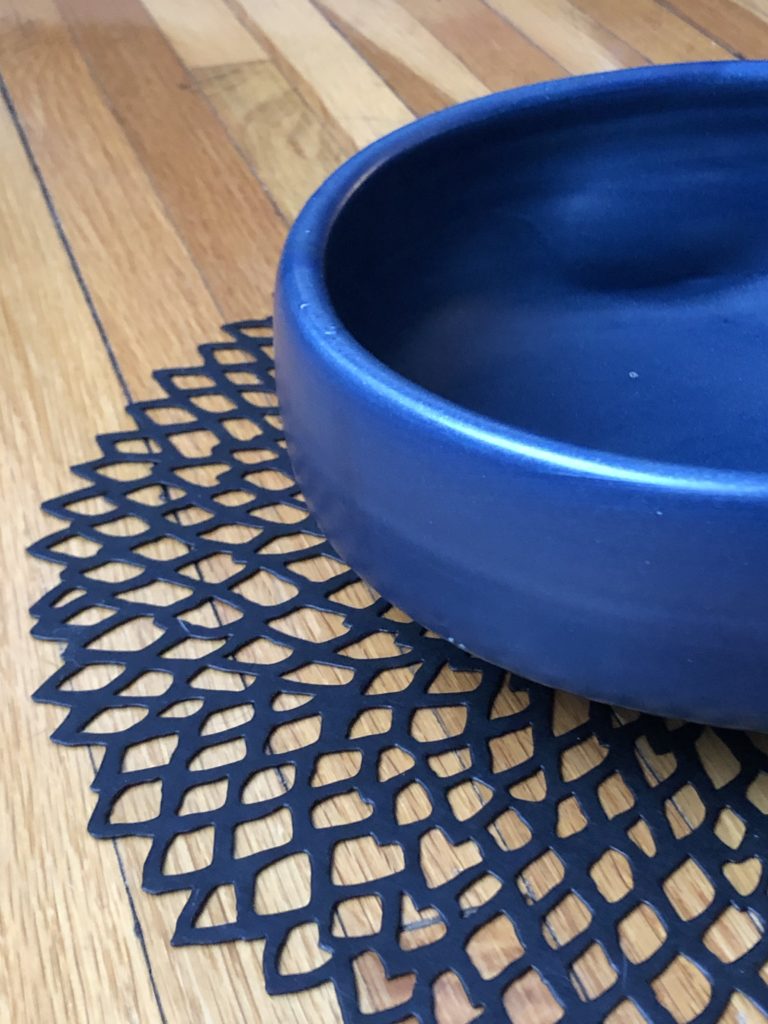
1. Use natural light, not flash
Using the flash on your camera or phone will create harsh lighting with unflattering shadows. The two images above are some quick photos, the one on the left was taken with the on-camera flash, the one on the right used diffused natural lighting. As you can see on the photo on the left, there are dark shadows behind the edge of the pottery and really bright reflections. Whereas the photo on the right has much more even lighting and no distracting shadows.
2. Look for diffused light and use a reflector
Daylight is a great light source for your product photography, and it doesn’t cost anything to use! The only problems with daylight are that it will only come from one direction, depending on where the sun is, and, unless it’s cloudy, it will be a really harsh light.
To diffuse the light you can hang a sheer white curtain or tracing paper over your window. Another option is to purchase this diffuser/reflector.
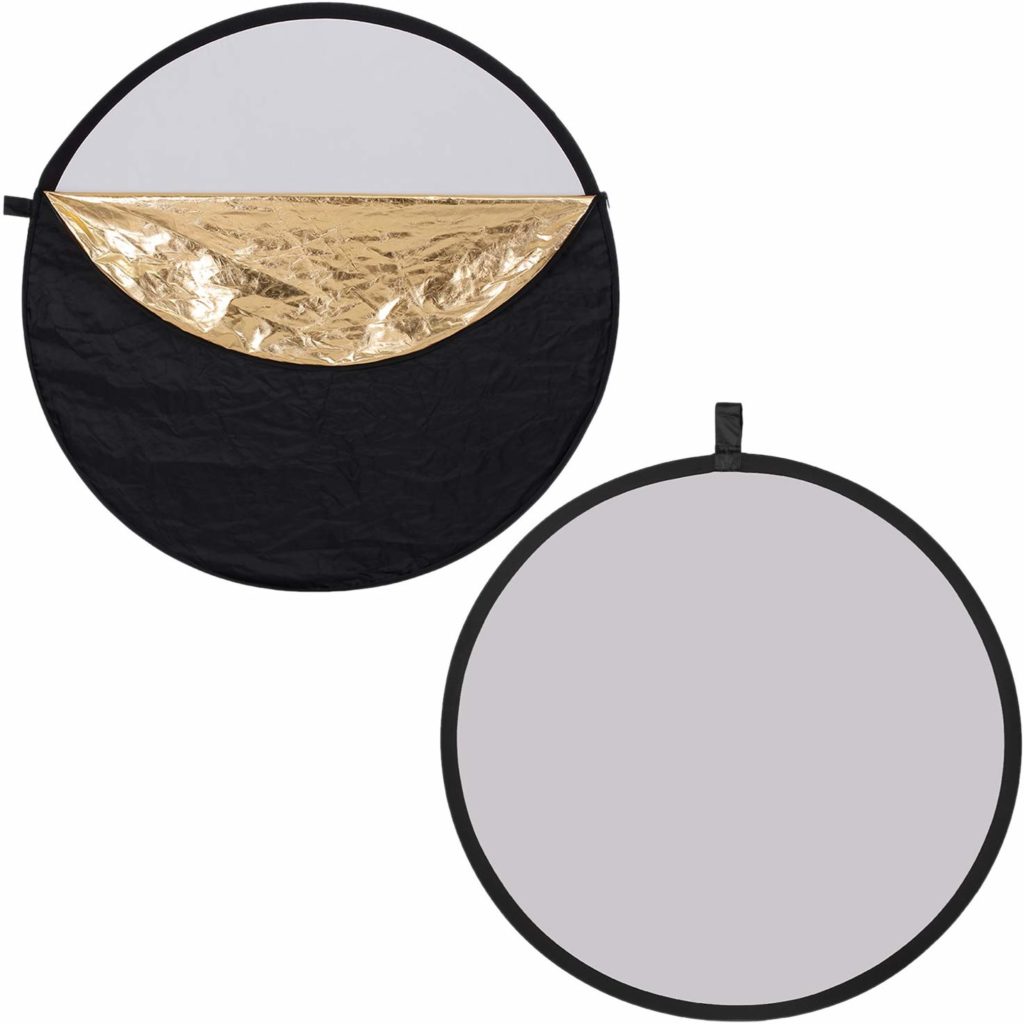
The great thing about this reflector (it’s the one I use for my photography) is that it is a reflector and a diffuser in one. You can use the diffusing sheet to cover your window or light source. Then use the silver sheet and hold it on the opposite side of your product to the window, it will reflect the light back into the shadows, creating a more even light – as seen in the example above.
3. Keep the background simple
The styling of your photograph can make the difference between an amateur photograph and a professional-looking one.
If you just place your product on any table etc that you can find, chances are the surroundings will be cluttered or distracting. By placing them on a plain white background they stand out a lot more. This, along with creating a uniform look, is why the majority of big brand shops that you see online use plain white backgrounds in their product photography.
4. Always edit your images for color balance and exposure
Obviously you don’t want to go overboard with the editing as you still want your product to look as it does in real life. However, by using some simple editing techniques, your photos will look much more professional.
Often when you photograph your product, the image won’t be perfect instantly. By editing it slightly you can make it appear much much better. This can be done with either photoshop or any free editing software – there are plenty of free online programs to use. To change my photo from the one on the left to the one on the right, all I did was brighten the image by adjusting the exposure, and make the tone less orange by adjusting the white balance.

5. Keep your styling simple
I always say that a plain white background is a great go-to set up, particularly if you are a beginner with photography, or if you are not confident in styling. However sometimes styling your products can really help your Etsy shop – it will help the customer to picture your product in their home, and can also create an atmosphere that matches what you sell.
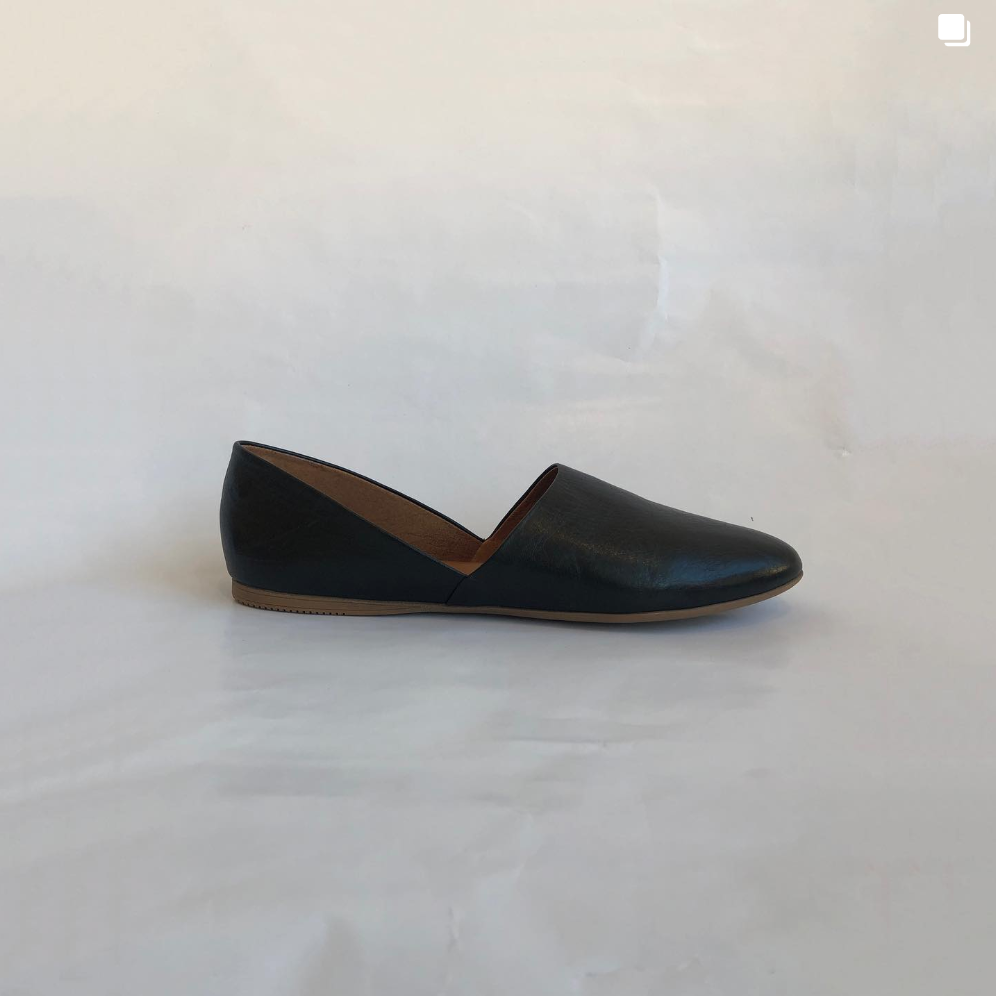

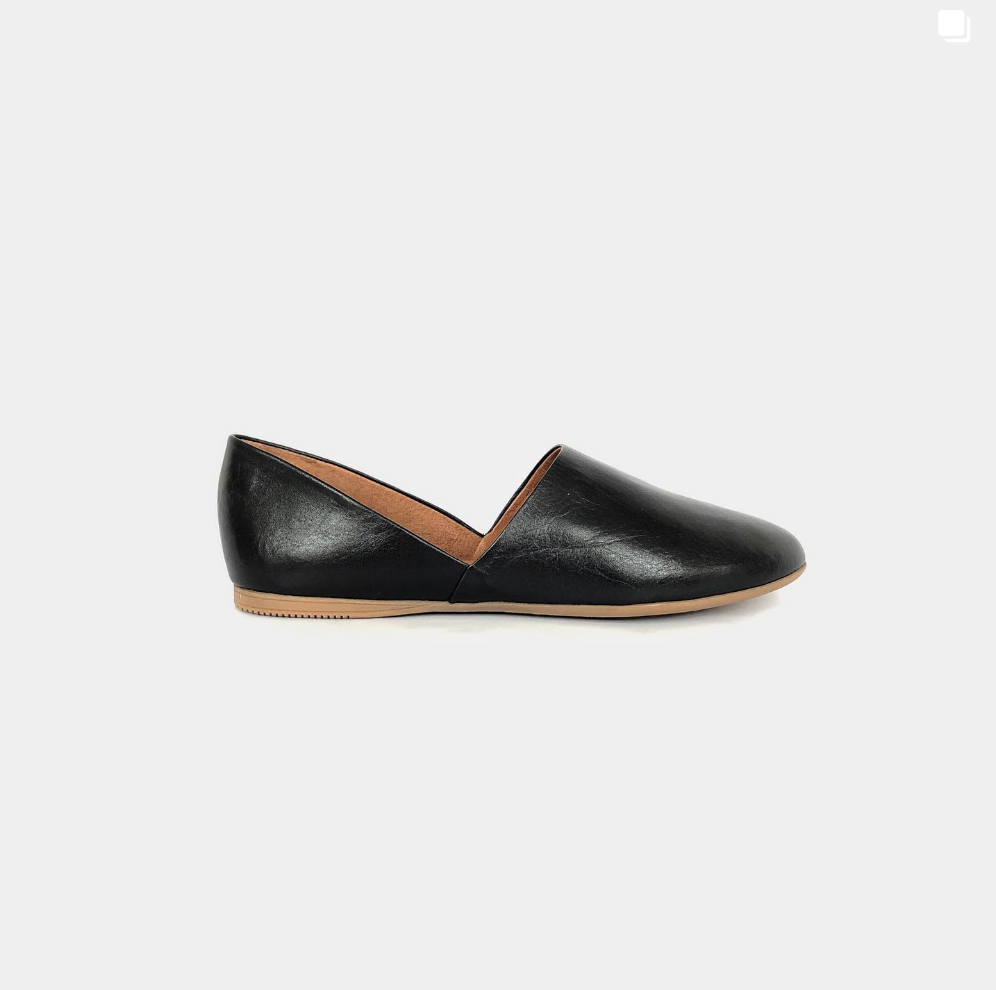
If you look at the two images above, which show would you be more likely to buy? Which listing would you click on?
Here you can see just how much of a difference the editing and photography of your product can have. The image on the left looks dull and boring, which will create the impression that the product is dull and boring. To create the image on the right, all I did was follow the instructions in my free DIY product photography guide for set-up and for editing. It actually didn’t take me any longer and it makes a huge difference!
Remember to keep it simple, you can add one or two props, nothing too dark or vibrant otherwise it will distract the viewer away from your product.
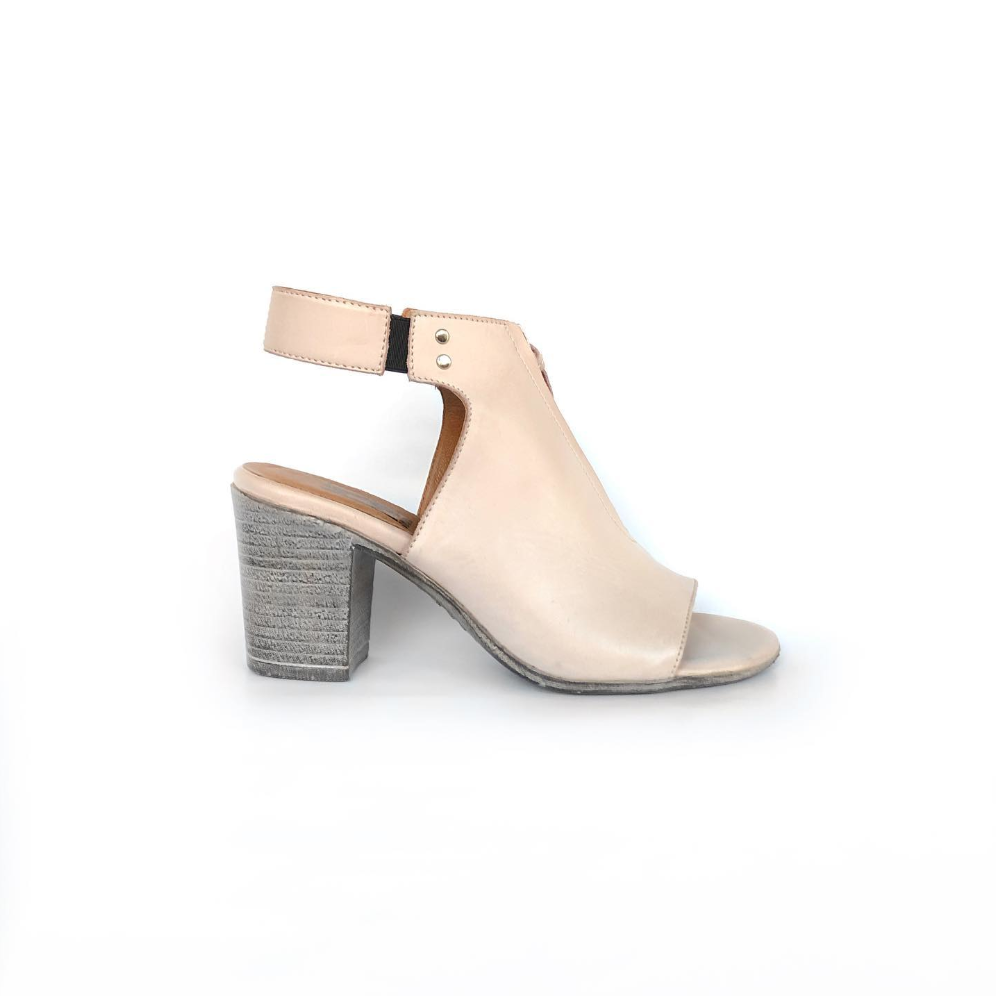
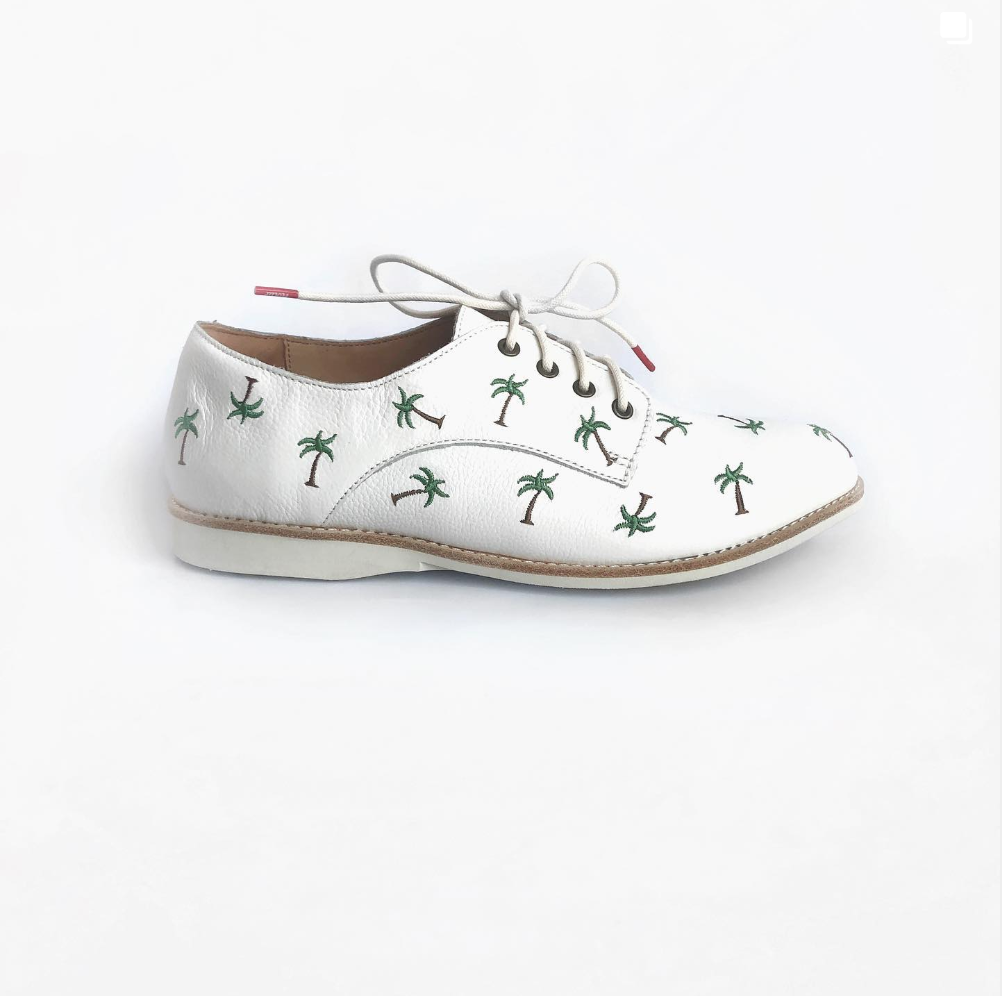
6. Use a contrasting background to make your product POP
There are times when a plain white background is not the best option – usually if your product is mainly white itself. In this photograph – I show you when a darker background could be a better option to offer a pop of contrast for your product to stand out.

If you sell cards, prints, invitations, mugs, etc then using a mockup may help you out massively. It saves so much time as the photo is already created for you!
7. Use a sweep
This tip is just to show you how easy it is to set up a photograph with a white background. All you need to do is buy a large sheet of white paper, push a table against the wall, and stick the paper to the wall and table creating a smooth curve upwards. This prevents any unwanted shadows and lines that you would get if you were to just use a white table and a white wall. I use this set up when photographing products against a white background.
