


 I have photographed more people than I can count, and like anything, the process can be very repetitive.
It goes something like this.
Set up camera, enter photo subject, position subject, snap photos, show subject the photos, cue photo subject’s self-deprecation monologue.
Next, the photo subject is back in front of the camera, pointing his chin toward the ceiling in an awkward attempt to eliminate his dreaded ‘double chin.’
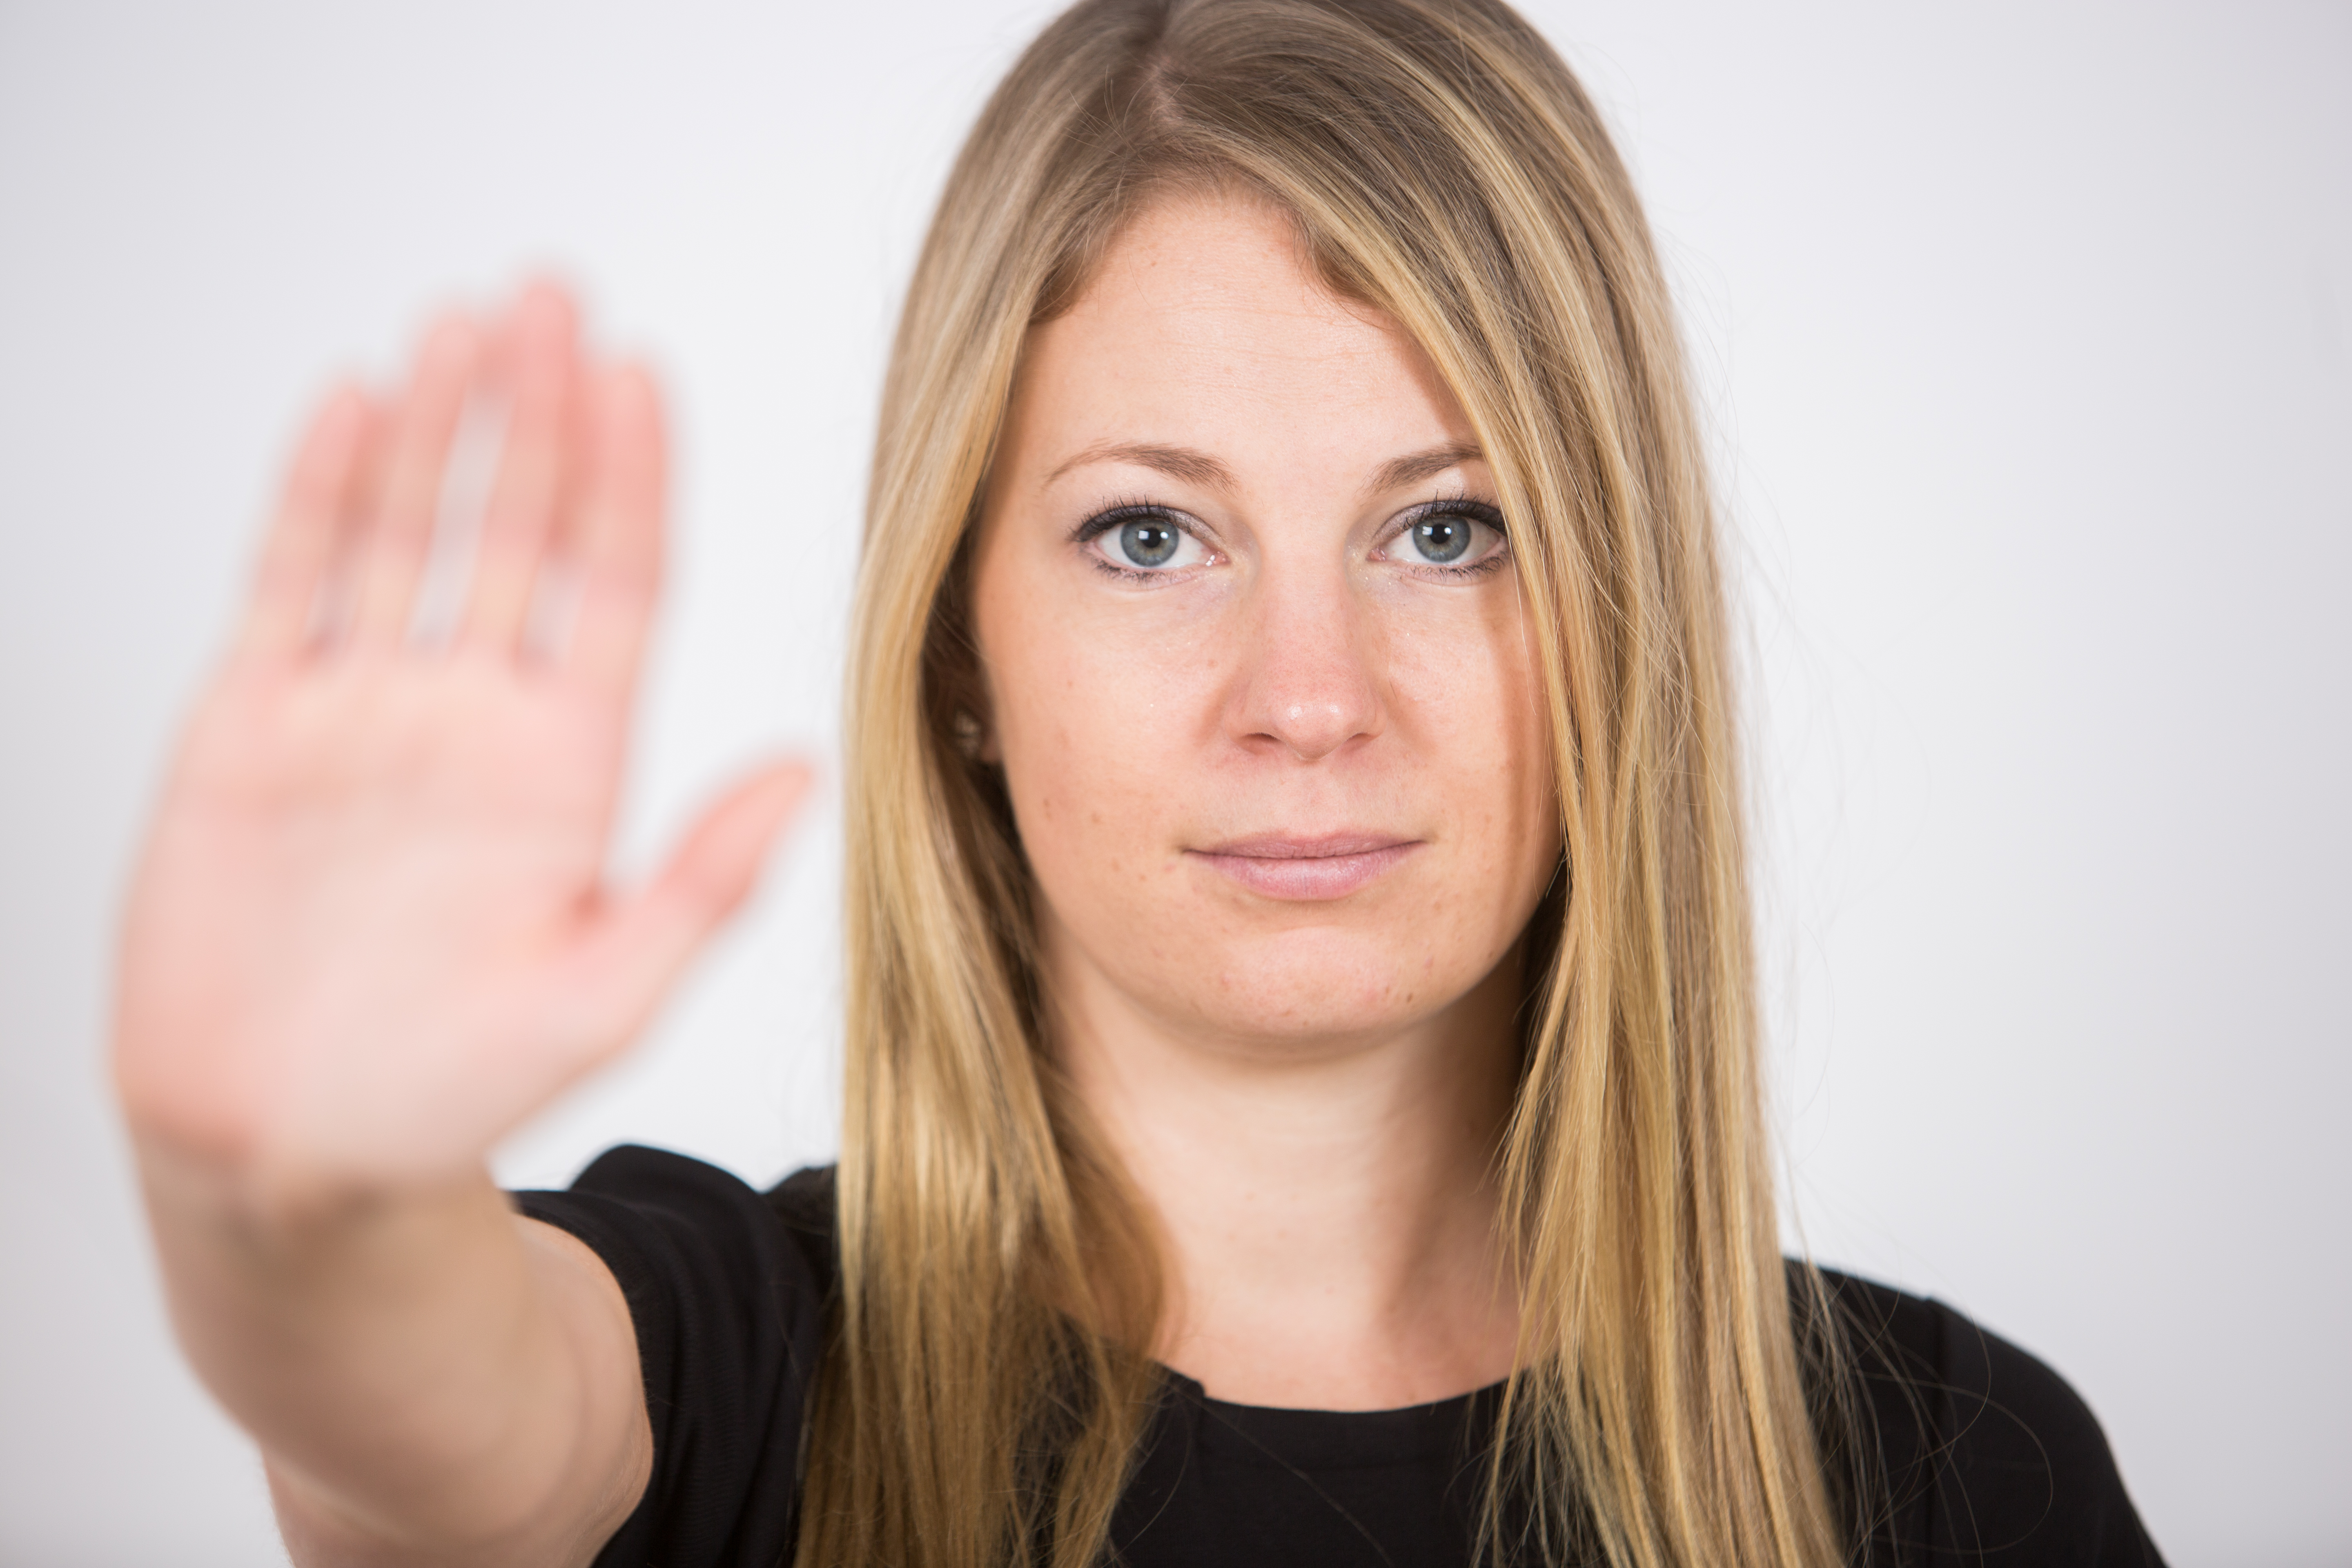
DON’T DO THIS!
If you are a photographer yourself, you’re all too familiar with the monologue in which your client will list off all of the things they don’t like about themselves or want to minimize. If you’ve ever been a photo subject, you become suddenly self-aware and your judgment is clouded by a sudden awareness of a big chest or a crooked nose or multiple chins or an asymmetrical face. You probably don’t actually have these things, by the way, so let me explain.
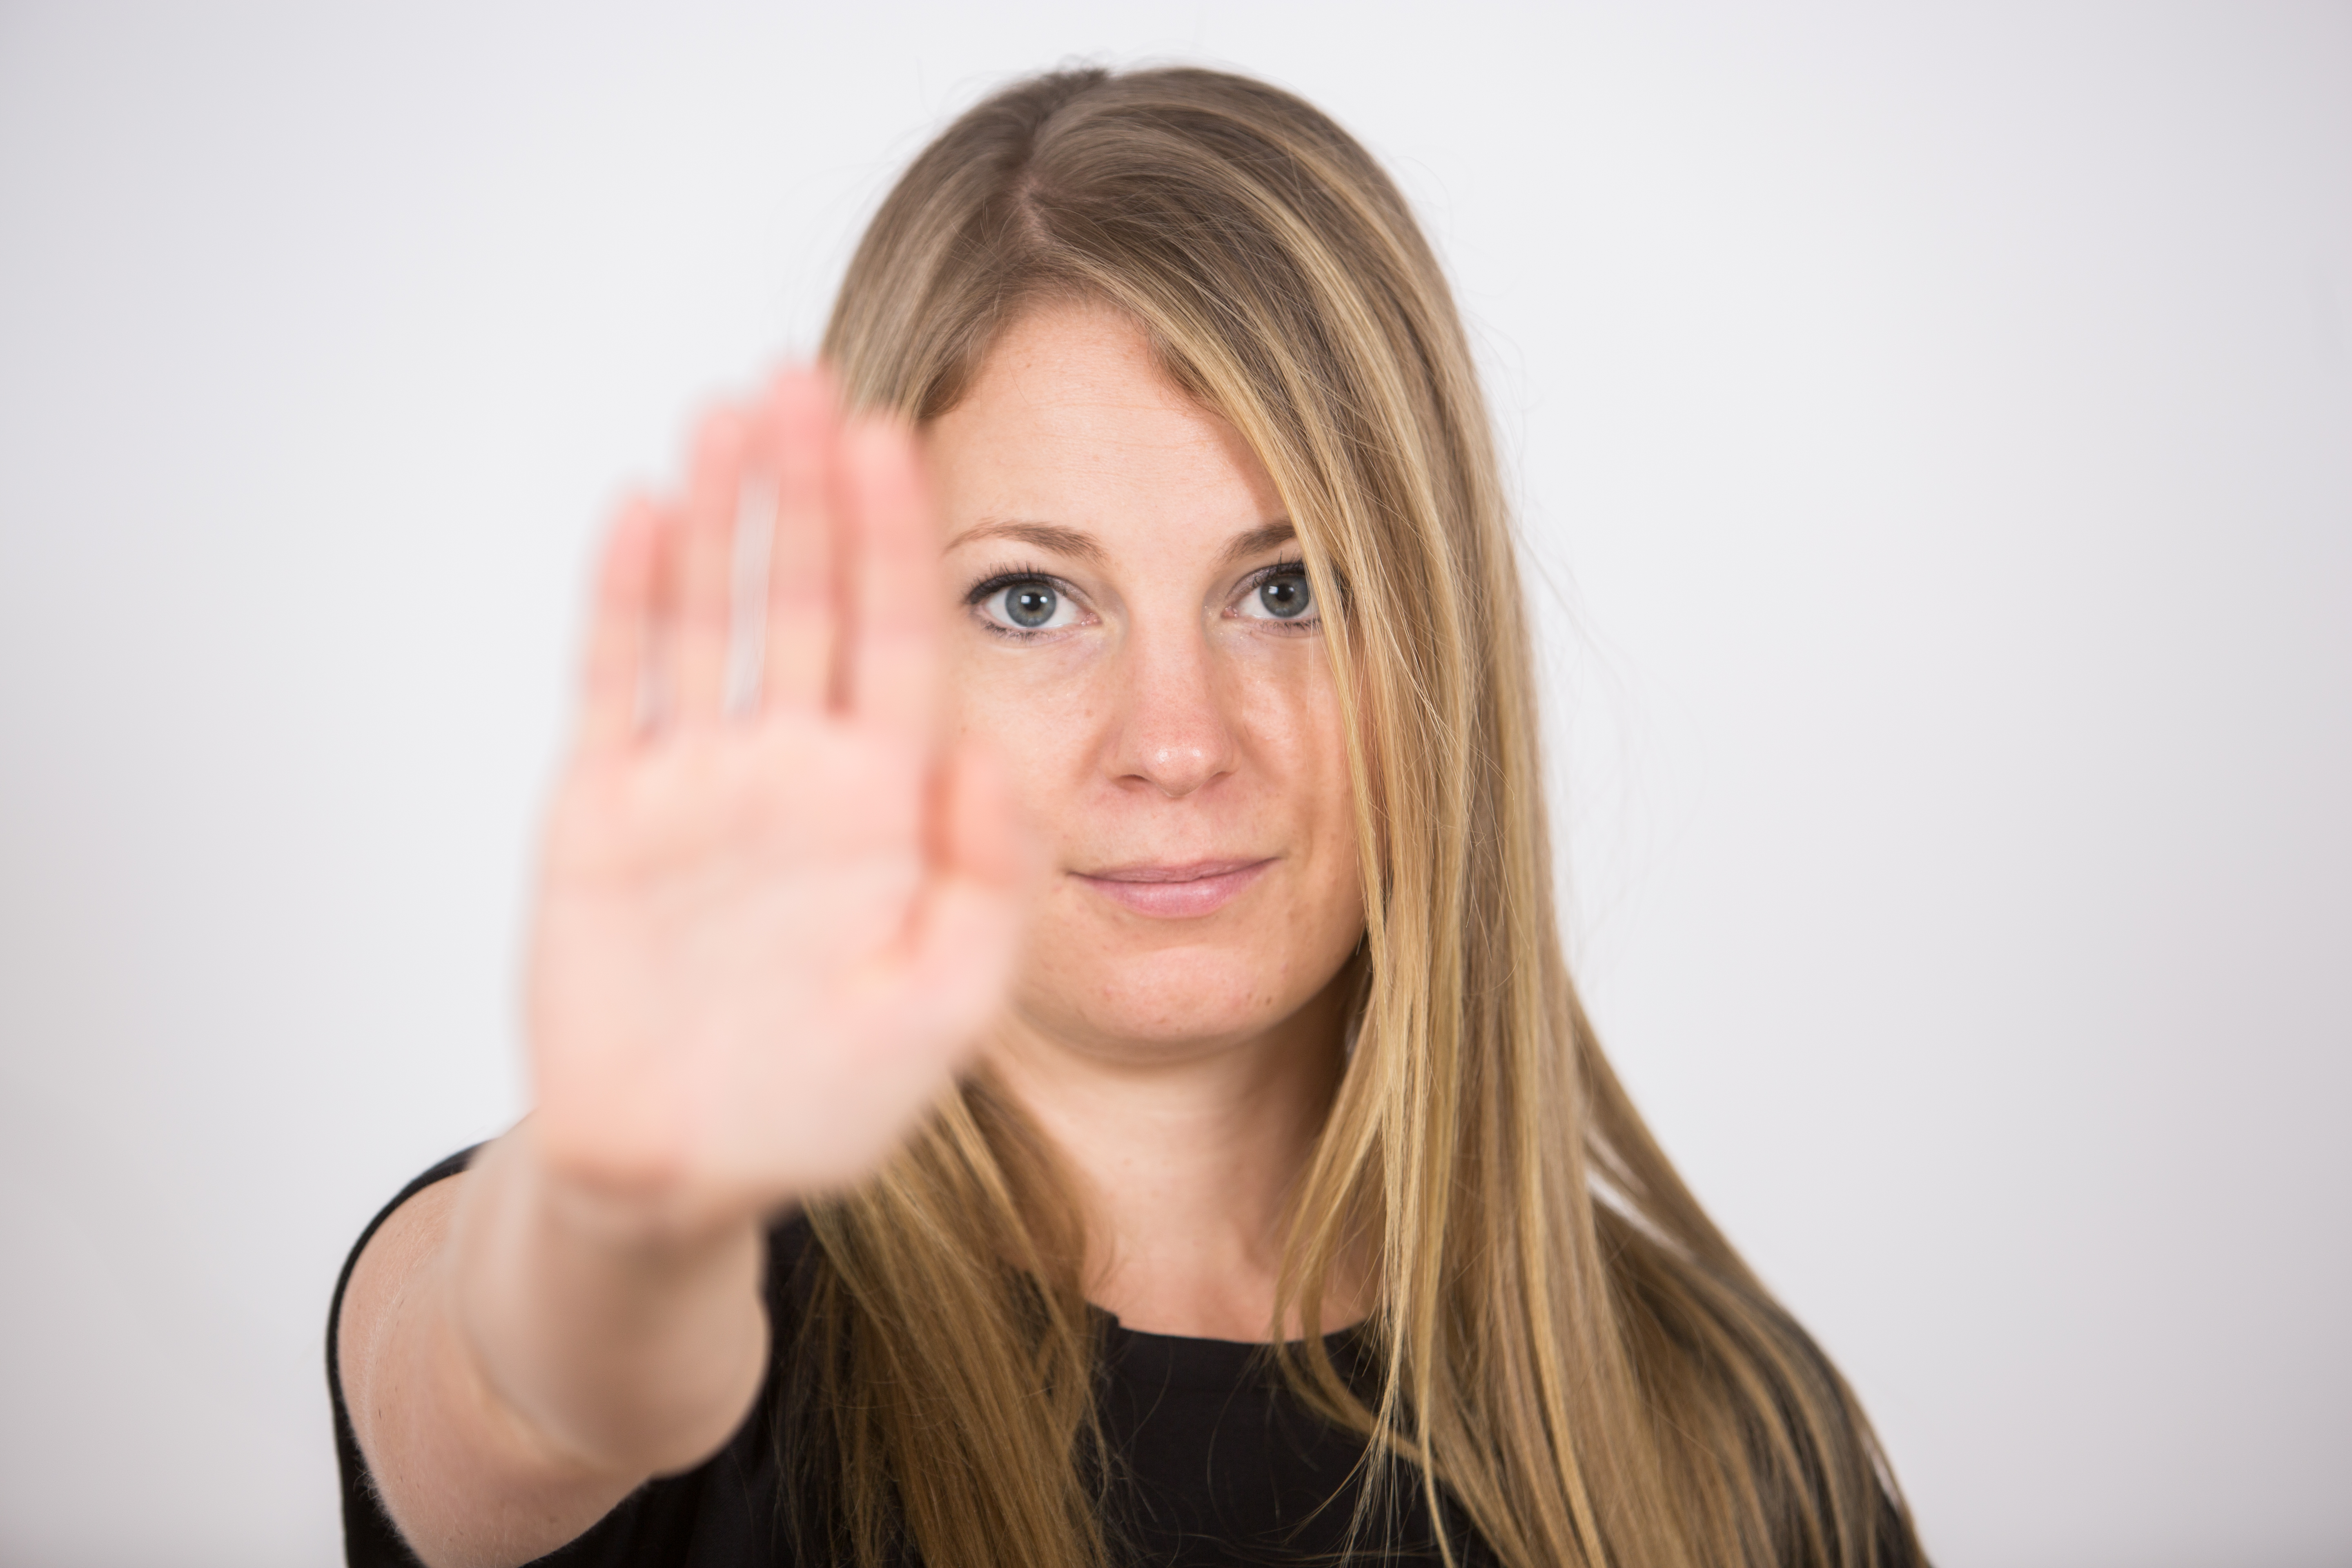
1. Whatever is closest to the lens will appear the largest
If you don’t take away anything else from this blog post, let this be the one thing you remember.
Imagine an invisible plane that descends from the camera lens to the subject (picture a sheet of paper flat against the lens, while maintaining its position it moves through the air until it touches the photo subject). What will the plane touch first? That is the thing/facial feature/body part that will appear the largest. Consider changing your pose and/or camera angle to have the thing you want, closest to the camera.
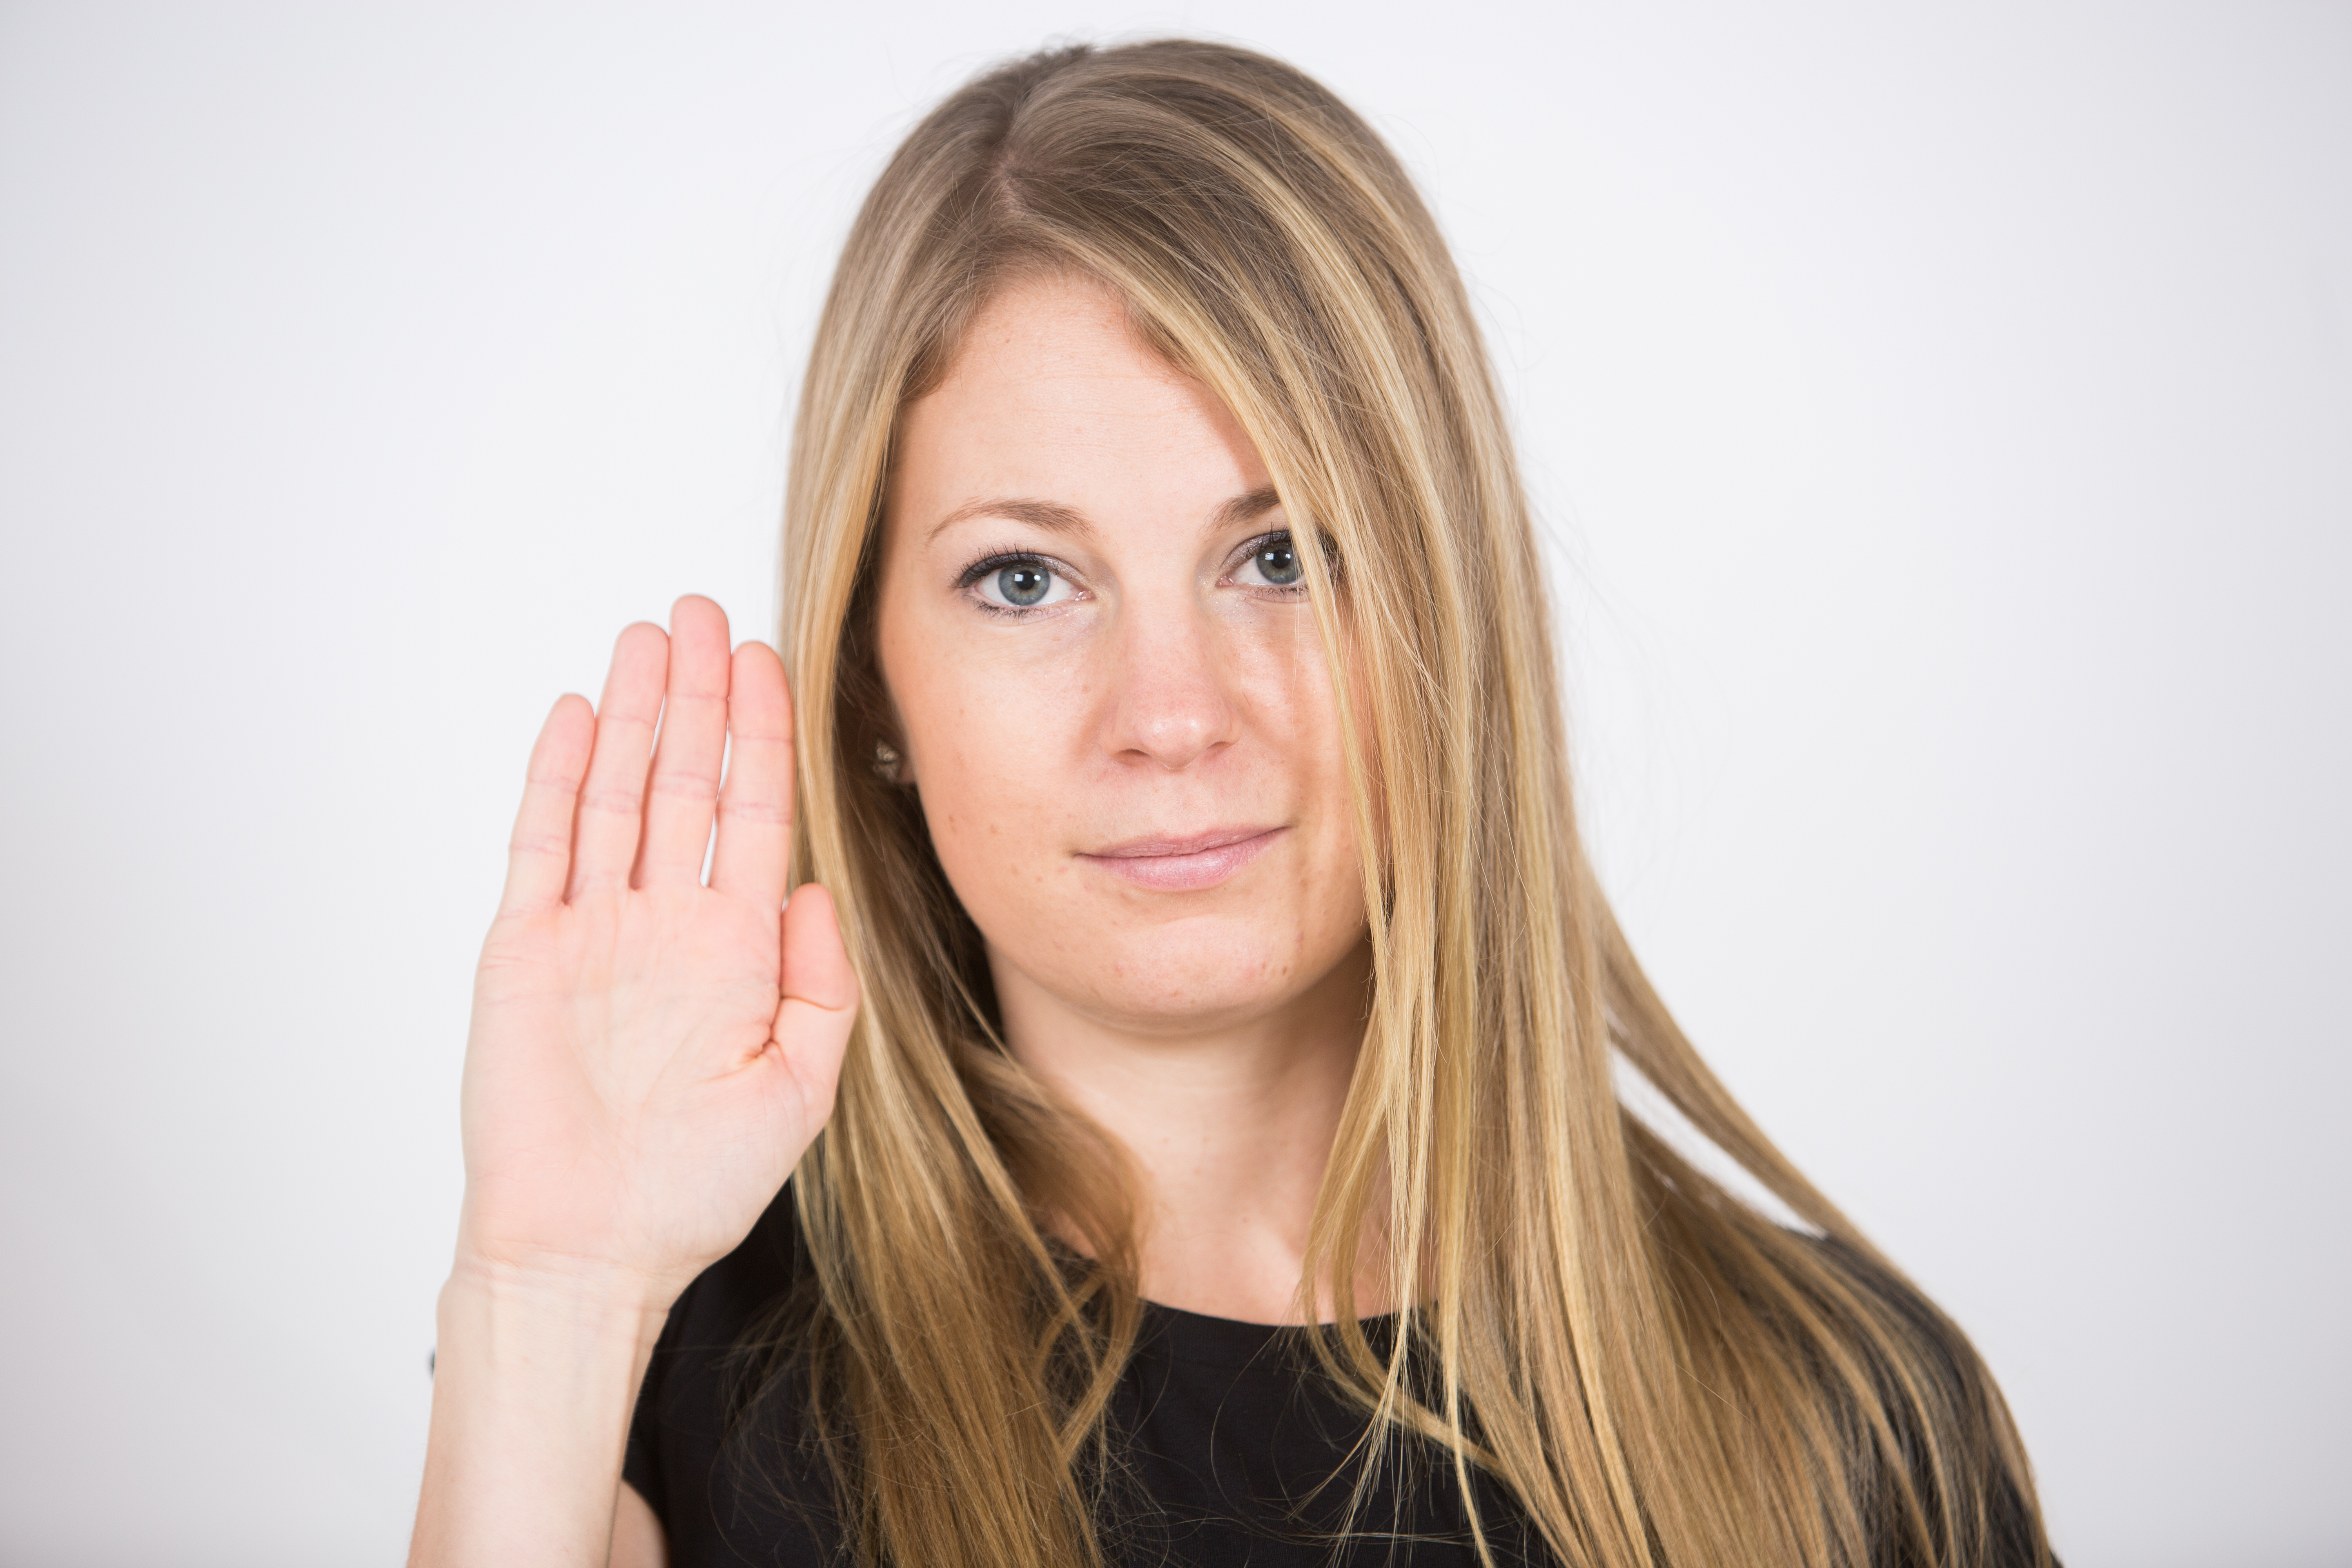
So back to the fellow pointing his chin toward the ceiling, chances are by doing this, he has just made his chin the closest thing to the lens, and guess what is about to look large and in charge? Yes, the tip of his chin! Typically, in headshots/portraits, it is the eyes that we want to be the focal point, and therefore the eyes that we want closest.
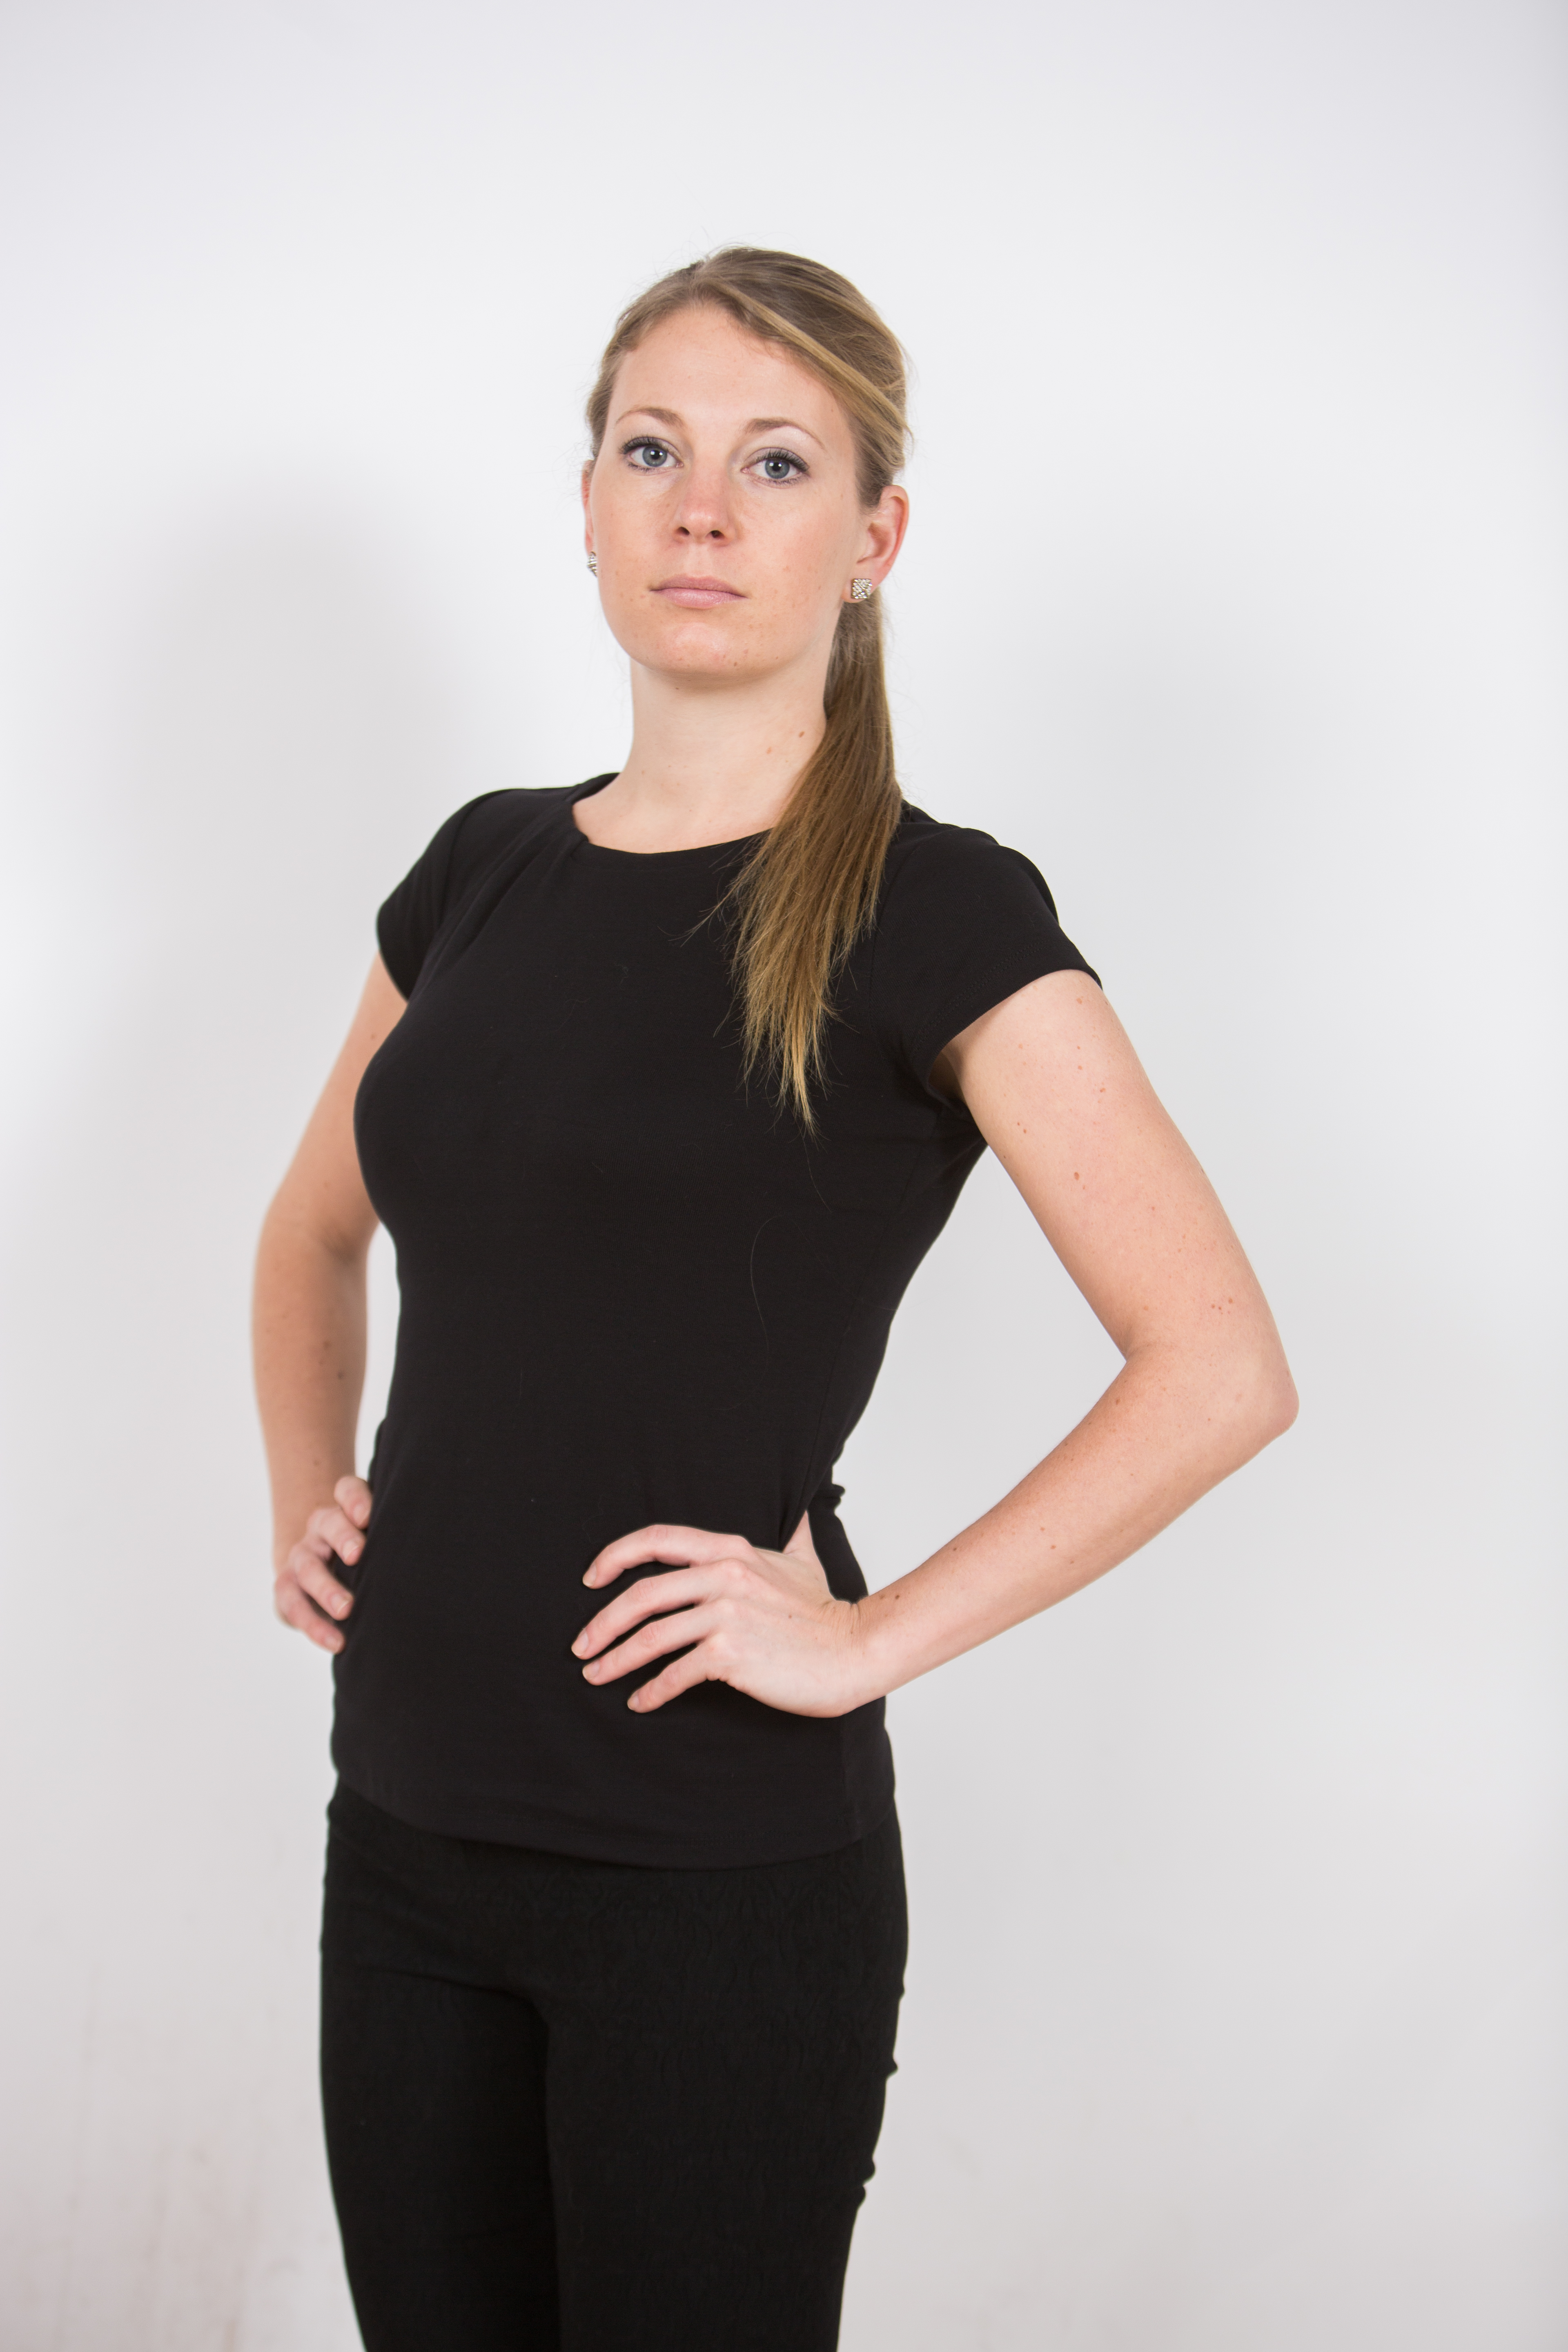
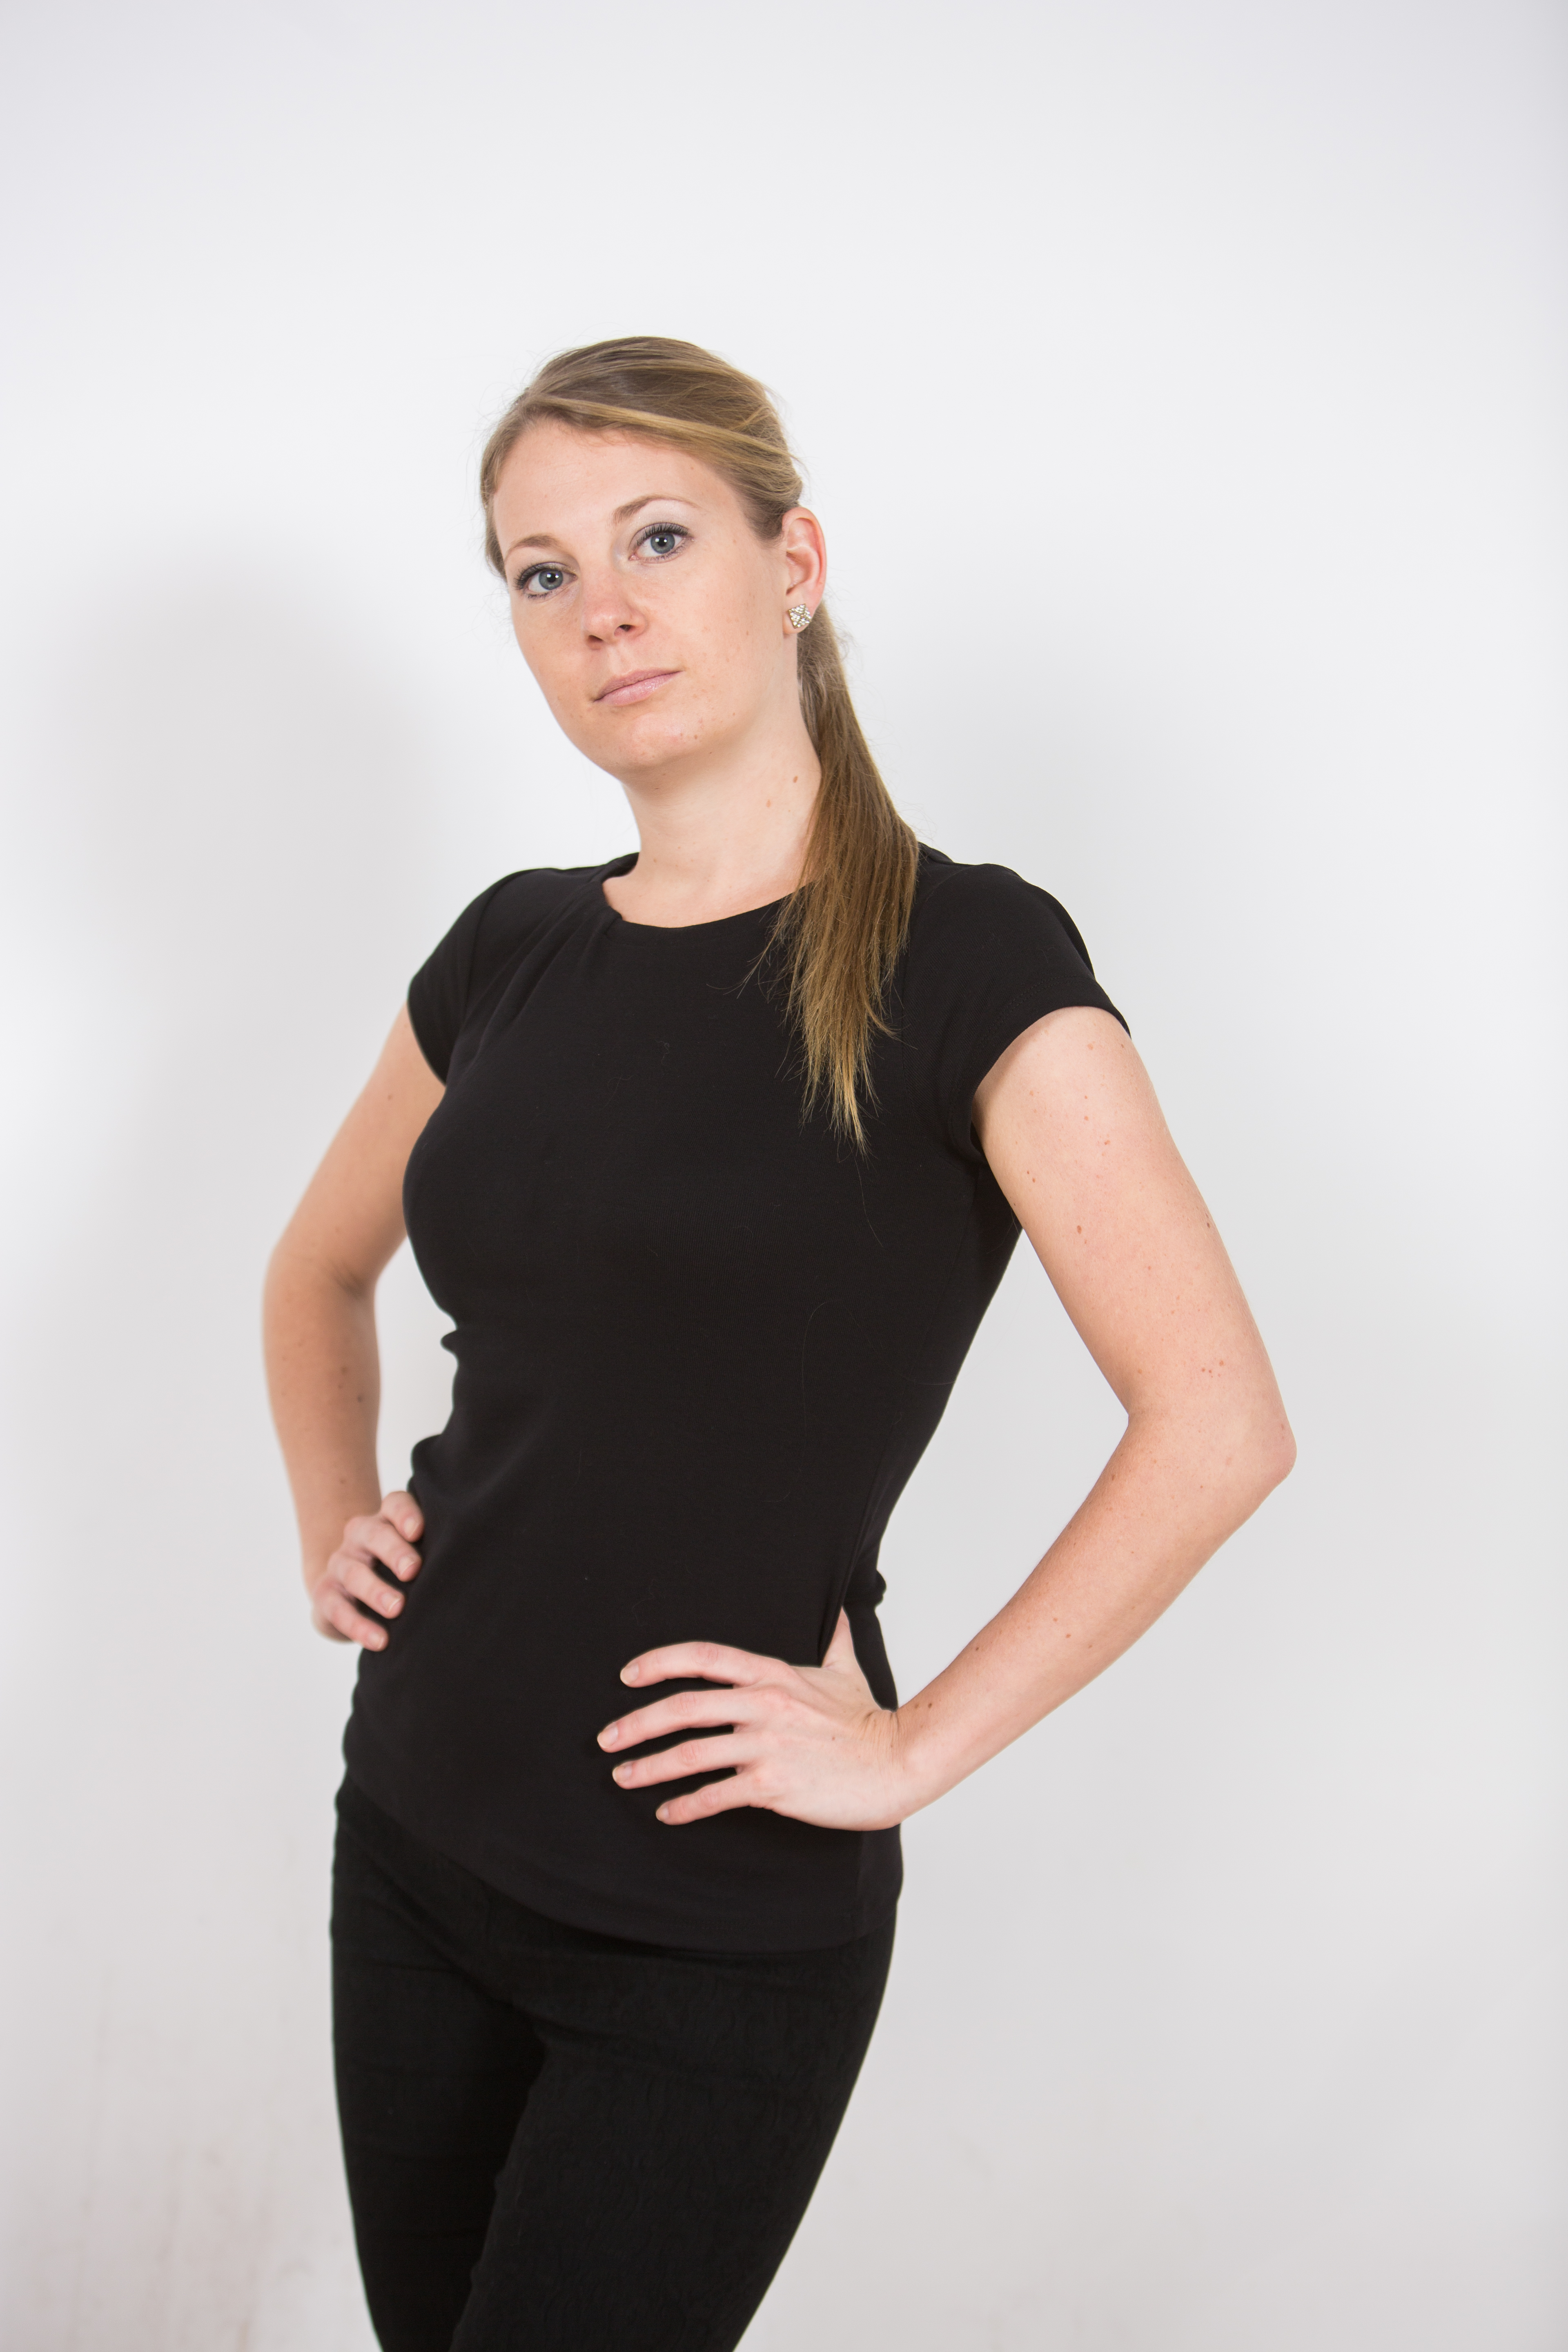
2. Shift all your weight to your back foot
Doing this has a couple of benefits. First, it immediately relaxes you or at least gives you the appearance that you are feeling chill. Second, it creates more dynamic lines as the eye travels down the body. Third, remember tip # 1 ^ up there? Putting your weight on your back foot, allowing your weightless foot to cross in front shifts your hips back from the camera.
3. Practice facial expressions in the mirror
I’m serious. Do this. It is very common that people are unaware of what their facial expressions look like. “My lips/eyes disappear when I smile?” Practice smiling in the mirror and find a look that you like! And remember, a photograph of your face is the flip (left side/right side) of what you will see in the mirror.
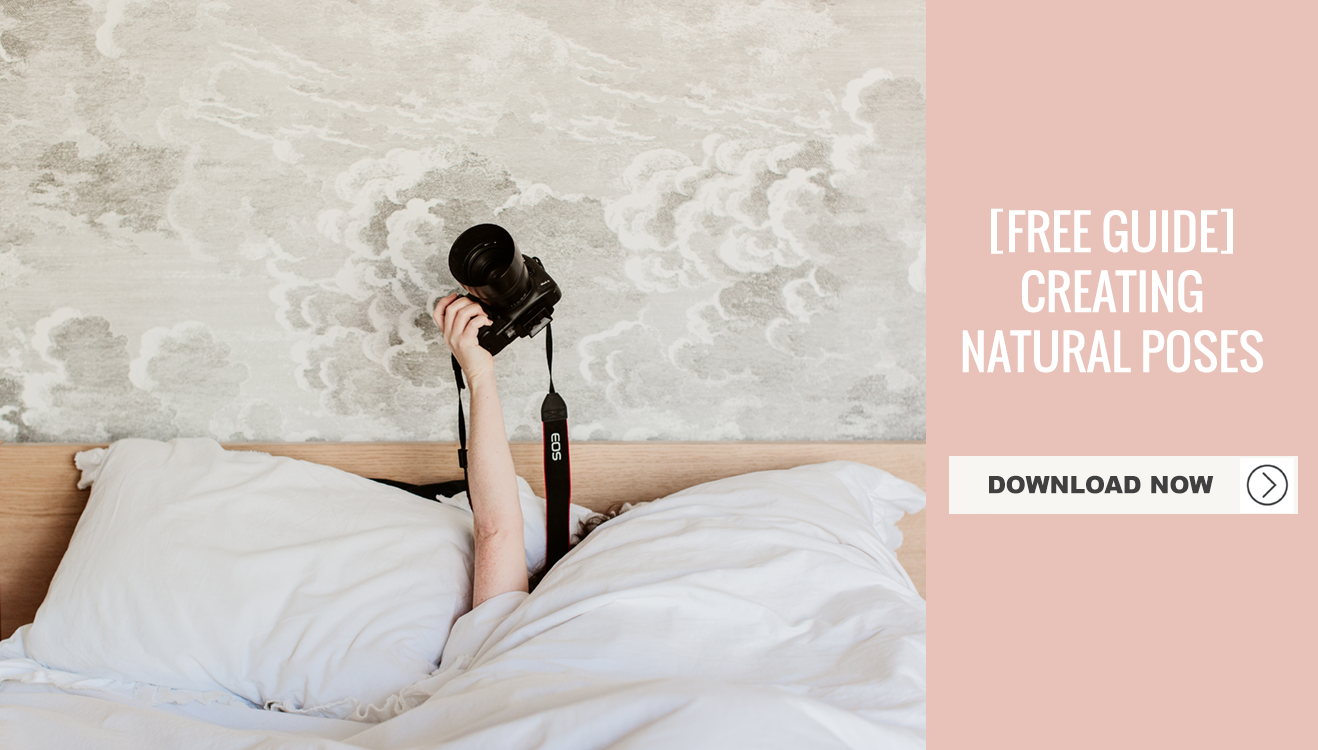
>> DOWNLOAD: FREE GUIDE TO CREATING NATURAL POSES <<
4. Don’t overthink it
Breathe! It’s just a picture. Almost 100% of photo subjects stop breathing as soon as the camera comes out. This creates visible tension everywhere – shoulders, neck, and face. You can tell in a photo when a person is holding their breath, and chances are, no one will respond positively to a stiff looking photo of you!
And remember, give trust to your photographer! Hire someone because you like their work, their attention to detail and make sure they have lots of experience. There is also nothing wrong with asking to see the images before you leave the session. I for one would much rather not throw any surprises into your inbox, so making YOU part of the process is key.
Alright – go practice in the mirror now – no one will know!
Kelly xox