I am lucky. I get to immortalize some of the most beautiful moments in my clients’ lives. I get to be the proverbial fly on the wall during their most significant occasions. They trust me to capture the moments; the details, the emotions, the little things that they may not have noticed and the big things that they wish never to forget. I create images that my clients will look back on even as their memories fade.
I get to be a really important part of really important times. It is a big deal, and for that I am eternally grateful.
Attempting to perfect my craft, over the years I have bought a lot of lenses. I used to carry a large suitcase + my main camera bag of lenses to every wedding. A few years into wedding photography, something occurred to me: I didnt need all of these lenses. They weren’t making me a better photographer. In fact, there were only about 4 lenses that I was reaching for regularly. What a lot of wasted effort and money!
I want to take the opportunity to walk you through the most distinct moments of a wedding day (preparation, ceremony, portraits and reception) in relation to what lenses I use and why.
PREPARATION:
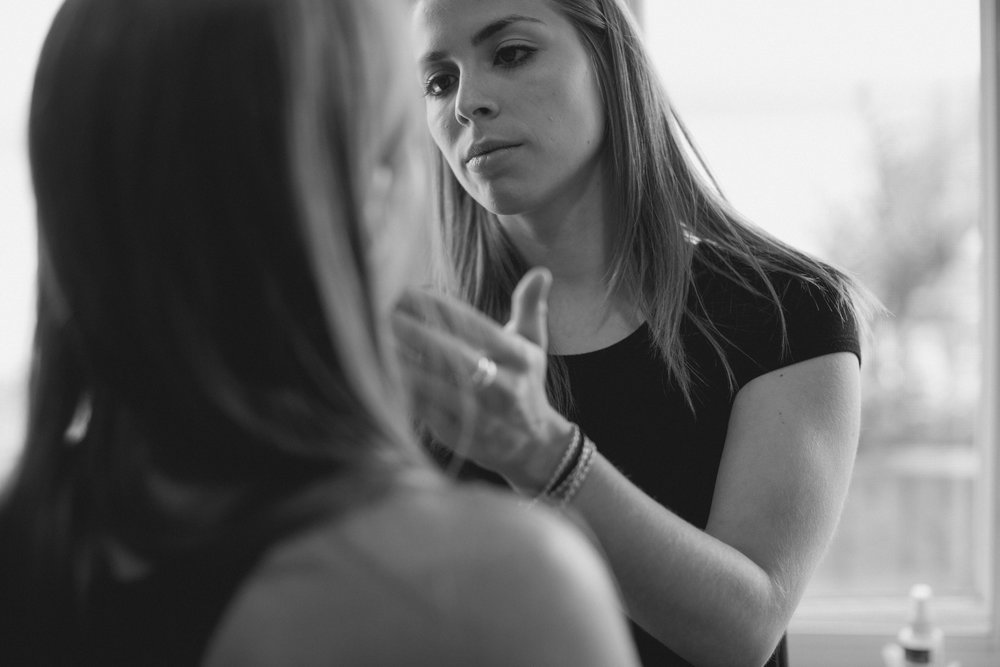
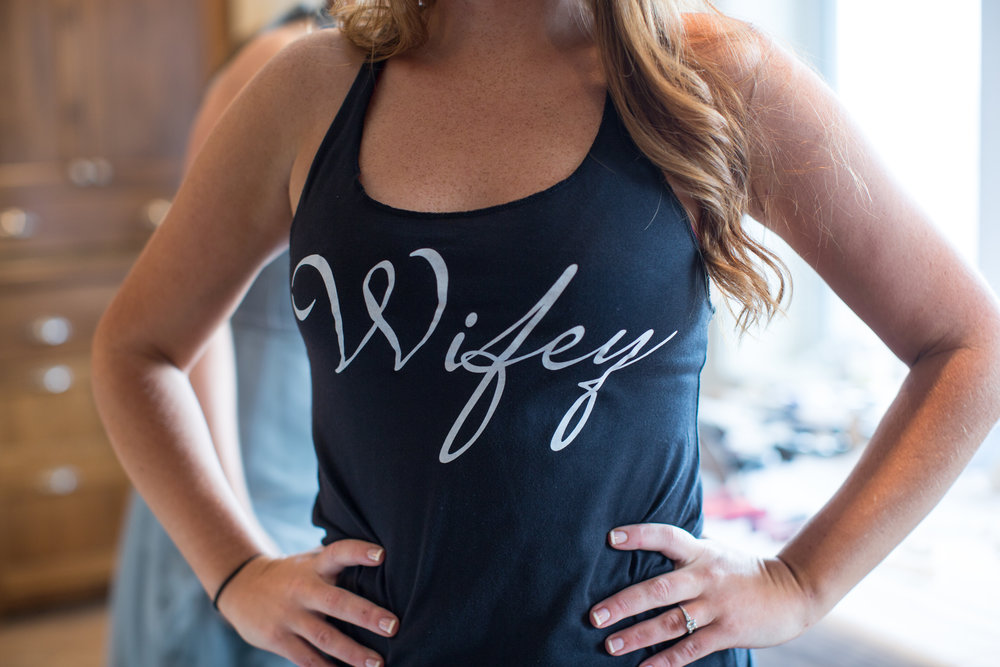
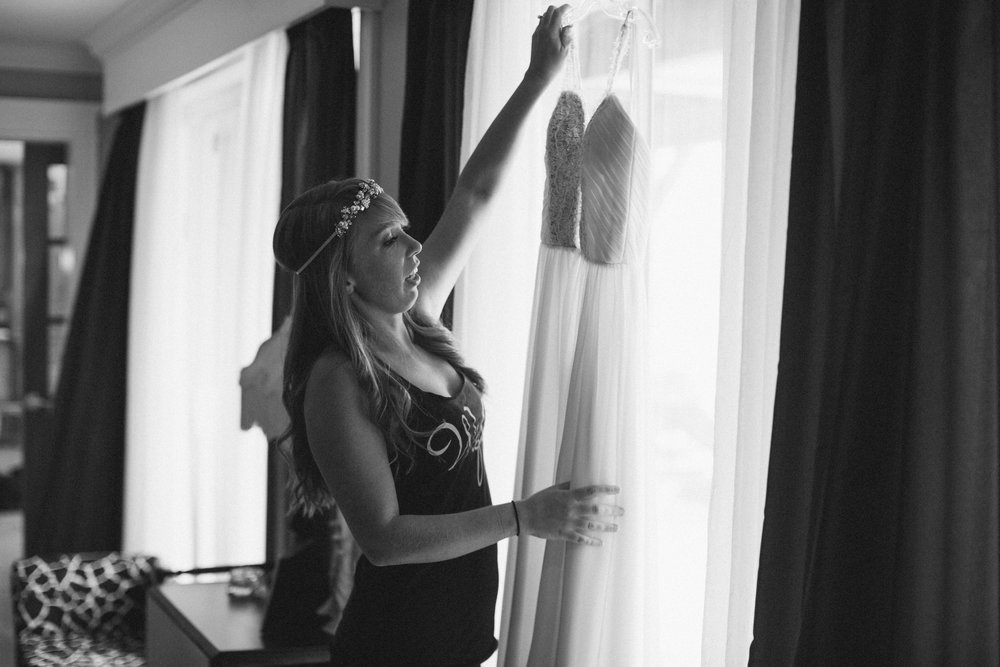
This is one of my favourite parts of the wedding day. Everyone is very relaxed. The ladies are being pampered and the men are generally enjoying time together. My second shooter spends prep time with the groomsmen and I stick with the bridemaids. This is the time for everyone to “ease into” the wedding day. It is an opportunity for photo subjects to get used to being photographed and for the photographer to get used to photographing this new group of people. Wedding prep photos are generally candid and casual, the photographer’s time to be a ‘fly on the wall’ and capture special moments and smaller details. The pressure is low giving everyone the opportunity to ‘ease in.’
35MM f/1.4 – I love this lens for capturing the bigger picture, a room full of bridal party members getting their makeup done, a bride looking over her dress in a well lit room. This lens captures your photo subjects and the environment beyond to give them the picture of who was there and where they were.
50MM f/1.2 – This is probably my favourite lens, and an opportunity to close in a little on your photo subject. Sometimes the hotel room or the preparation venue can get messy or cluttered during the chaos of getting ready, and this lens can allow you to crop out the clutter and zero in on the people.
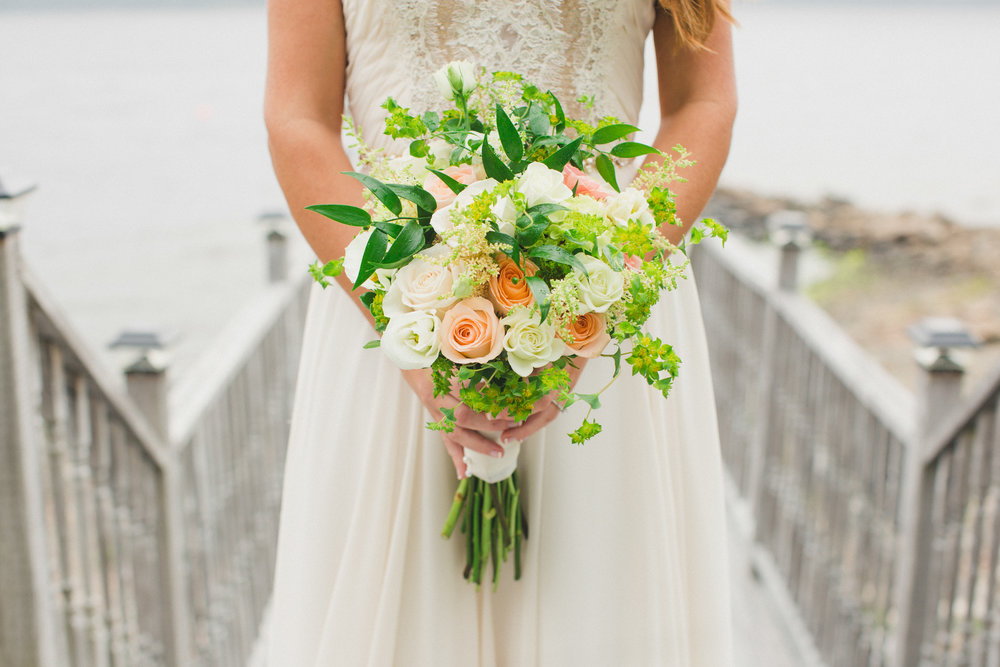
100MM macro f/2.8 – This lens is perfect for capturing the finer details, such as the rings, the bride’s bouquet, her wedding day jewelry or the brooch that she had stitched to her bouquet, for example.
CEREMONY:
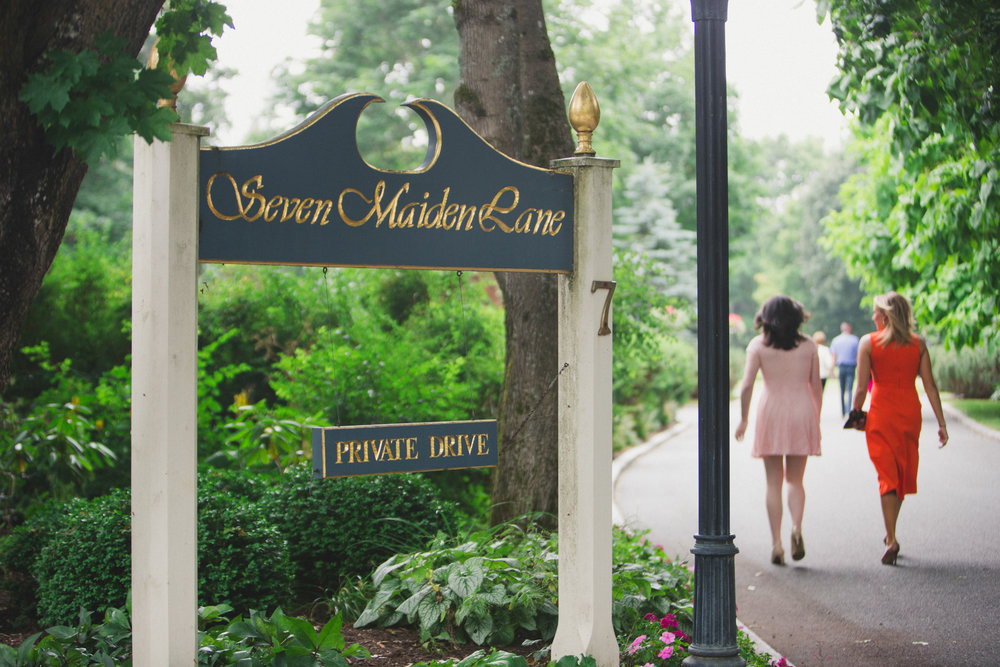
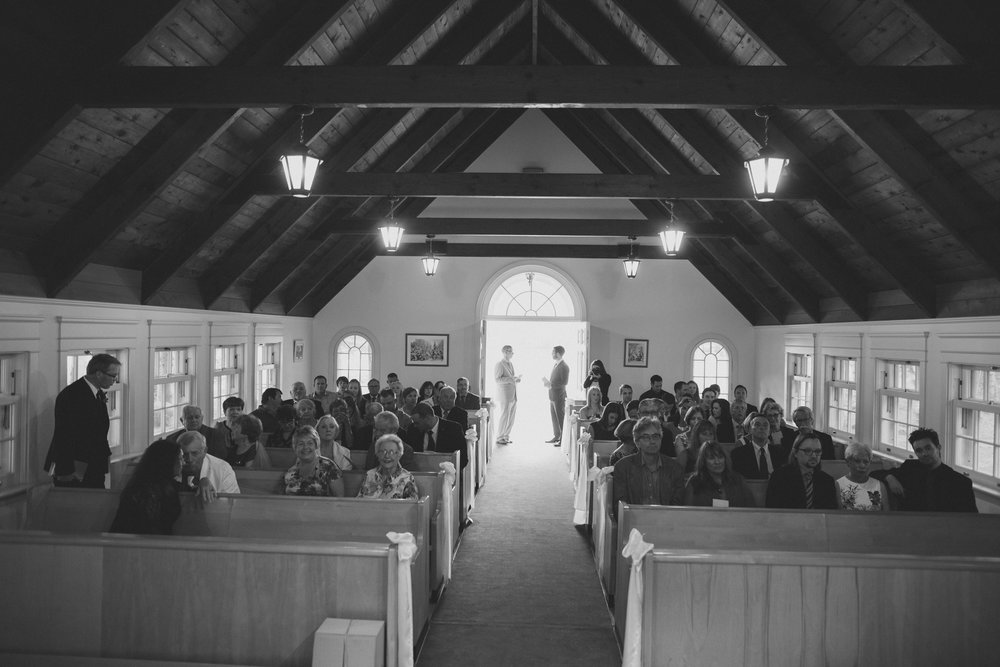
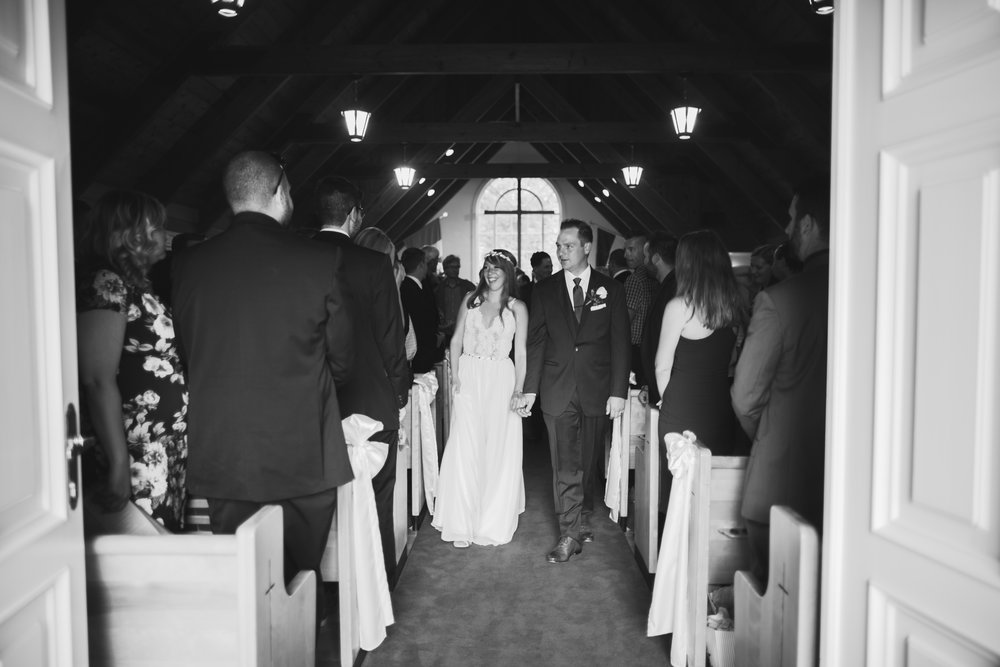
New Brunswick has its fair share of teeny-tiny chapels. For this reason I always carry two camera bodies and two lenses during wedding ceremonies. This saves the need and disruption of switching lenses, you don’t want to miss a special moment because you were switching lenses. For this reason I wear two cameras and lenses: one with a wide angle lens and one with a zoom/telephoto lens. This allows me to switch between wide and tight angles. Also, I ensure that the second shooter is positioned opposite of me in the room at all times. For example, if I am up front capturing the bride and her parents’ facial expressions as the walk down the aisle, the second shooter is at the back capturing the bride’s train from behind and the groom’s face.
24MM f/1.4 – For capturing the whole room, church or chapel. Good for small chapels. This captures the subjects in their environment.
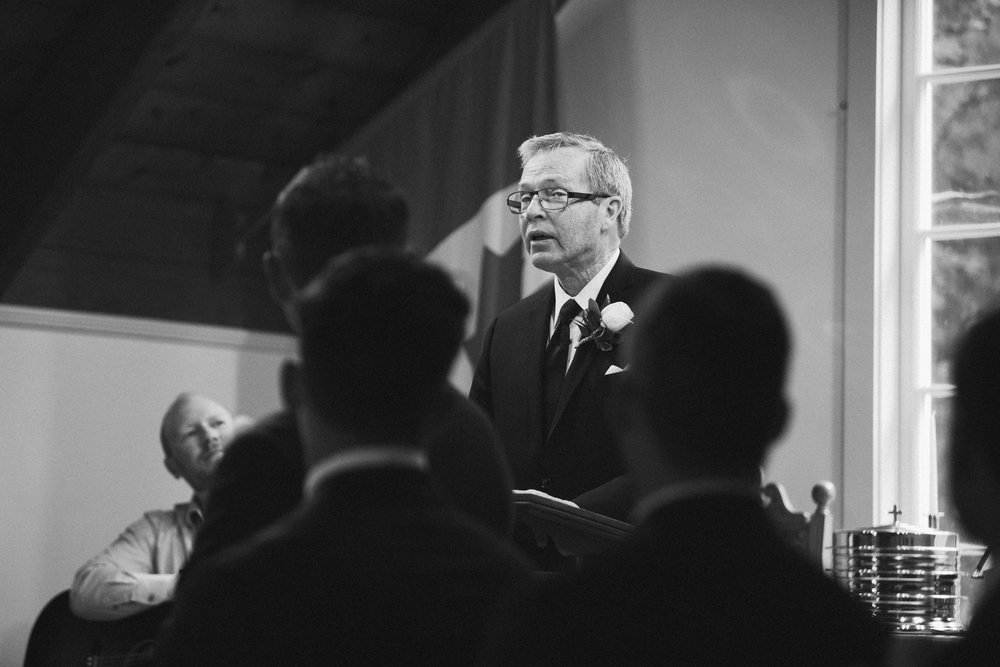
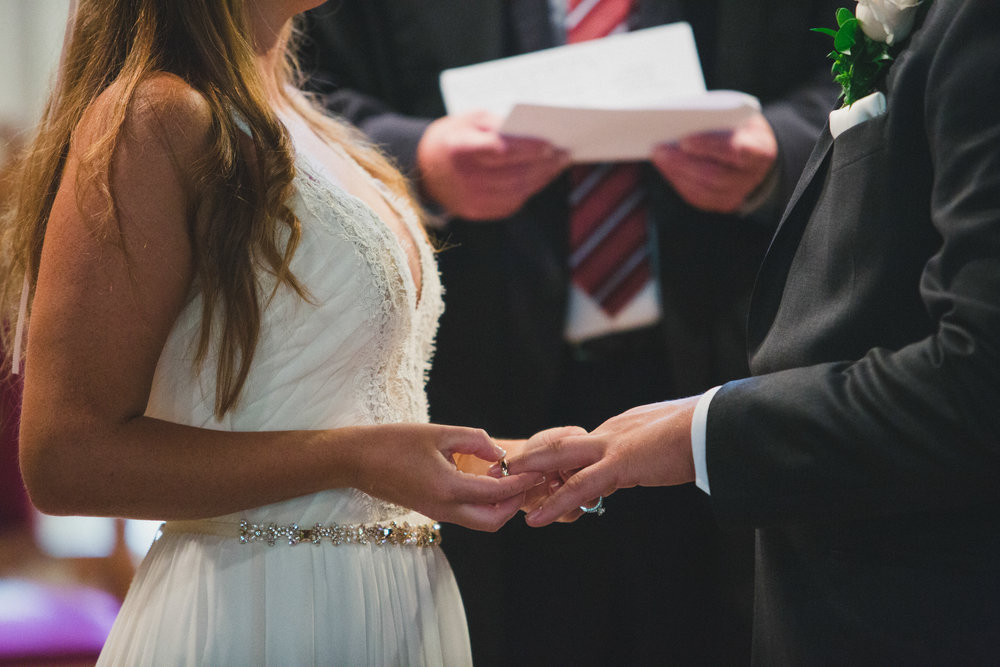
70-200MM telephoto f/2.8 – A good portrait lens, for getting in tighter on details and peoples faces during speeches etc. This eliminates background distractions and focuses only on faces or other details such as bridesmaids bouquets or the exchanging of rings. The focal range allows you to zoom in and out without needing to move around the ceremony venue too much and distracting the guests.
PORTRAITS:
This is when the magic of wedding photography happens. These are the images that will make it to frames on the walls. This is the aspect that as a photographer, you have control over. You generally choose the location and the placement of the subjects in the location. You then get to direct them and move around the scene to capture different angles. This is the part when you really get to shine!
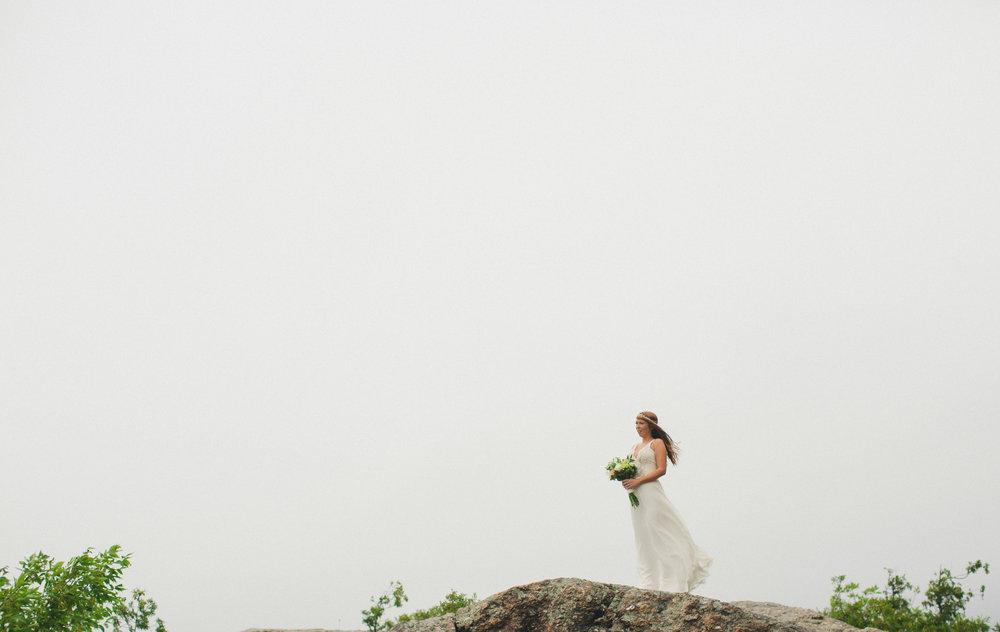
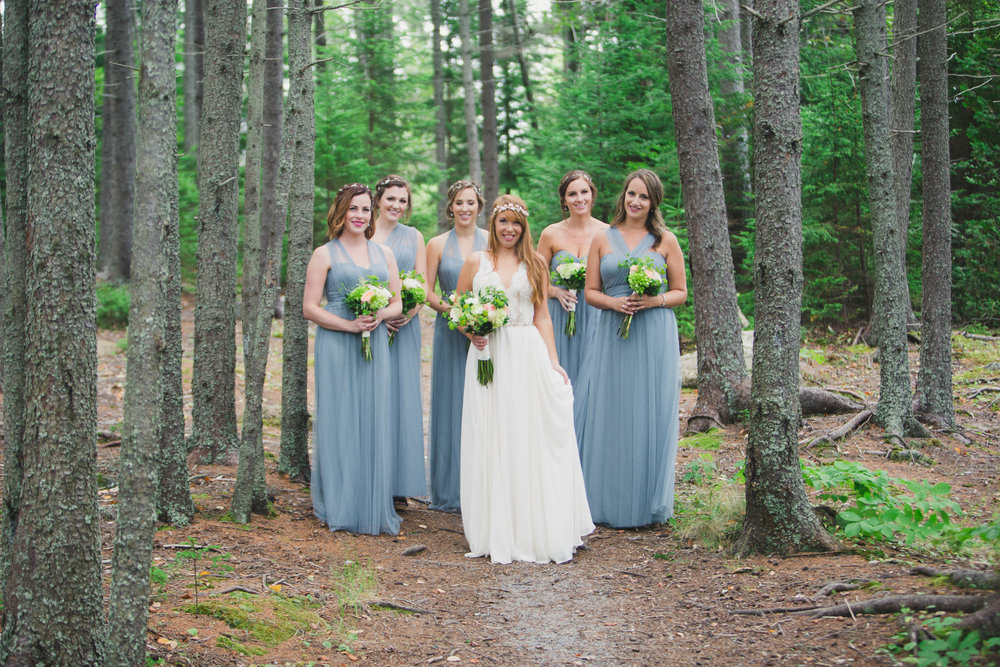
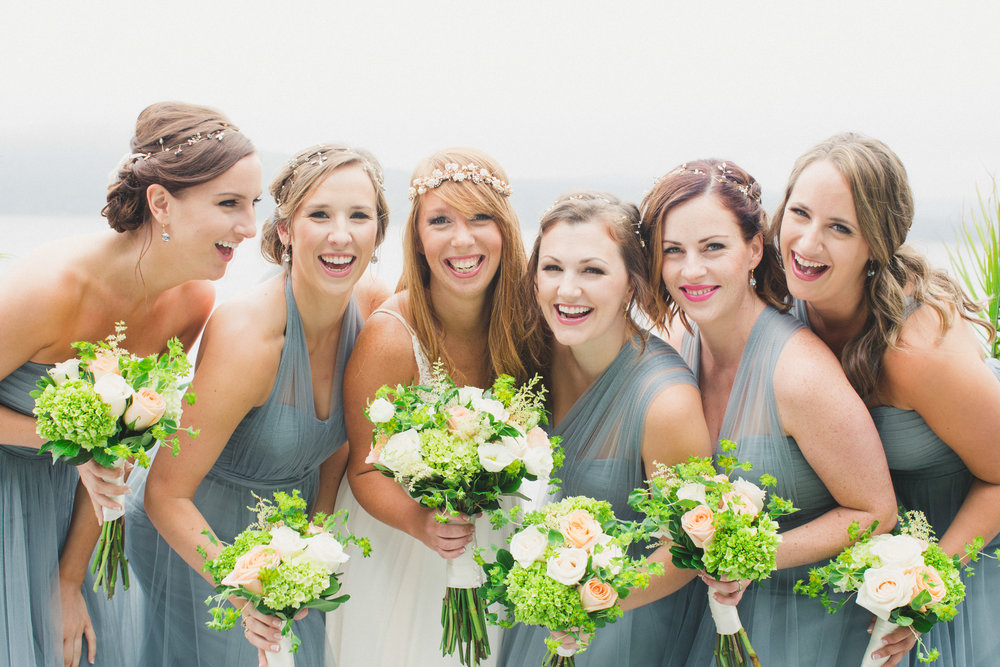
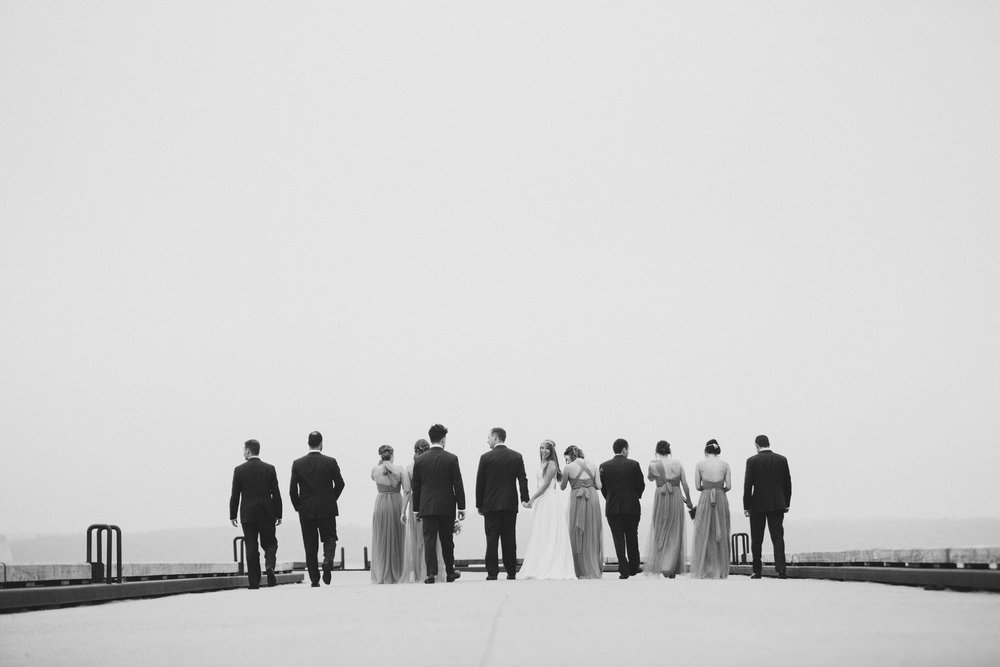
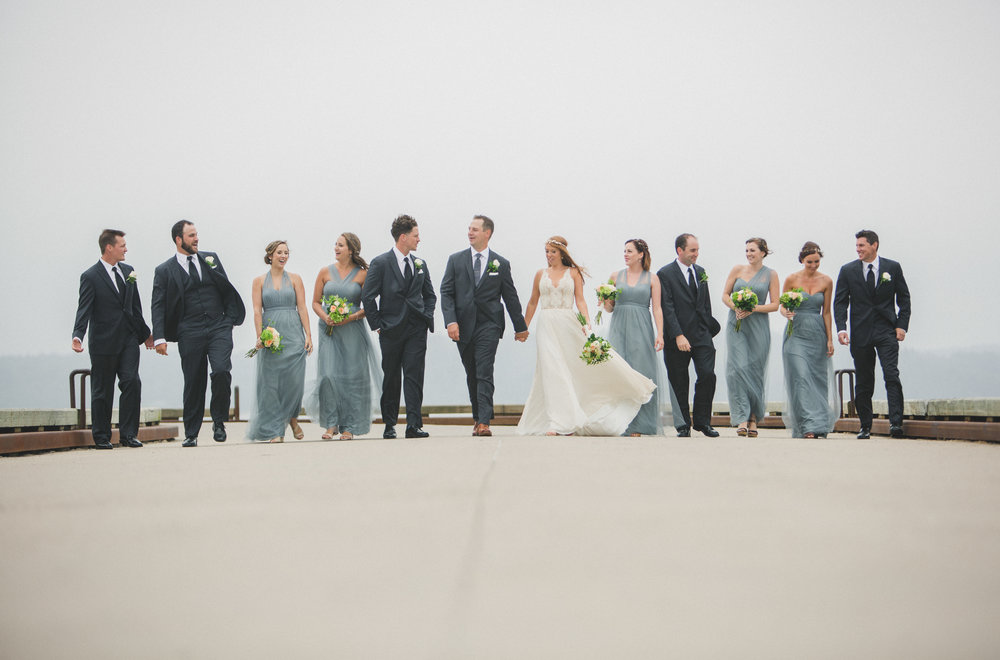
35MM f/1.4 – This lens is perfect for capturing the larger picture. The photo subjects and the scene that they are in. The bride on a mountain peak, the couple in a large field or the wedding party cracking a champagne bottle on a wharf.
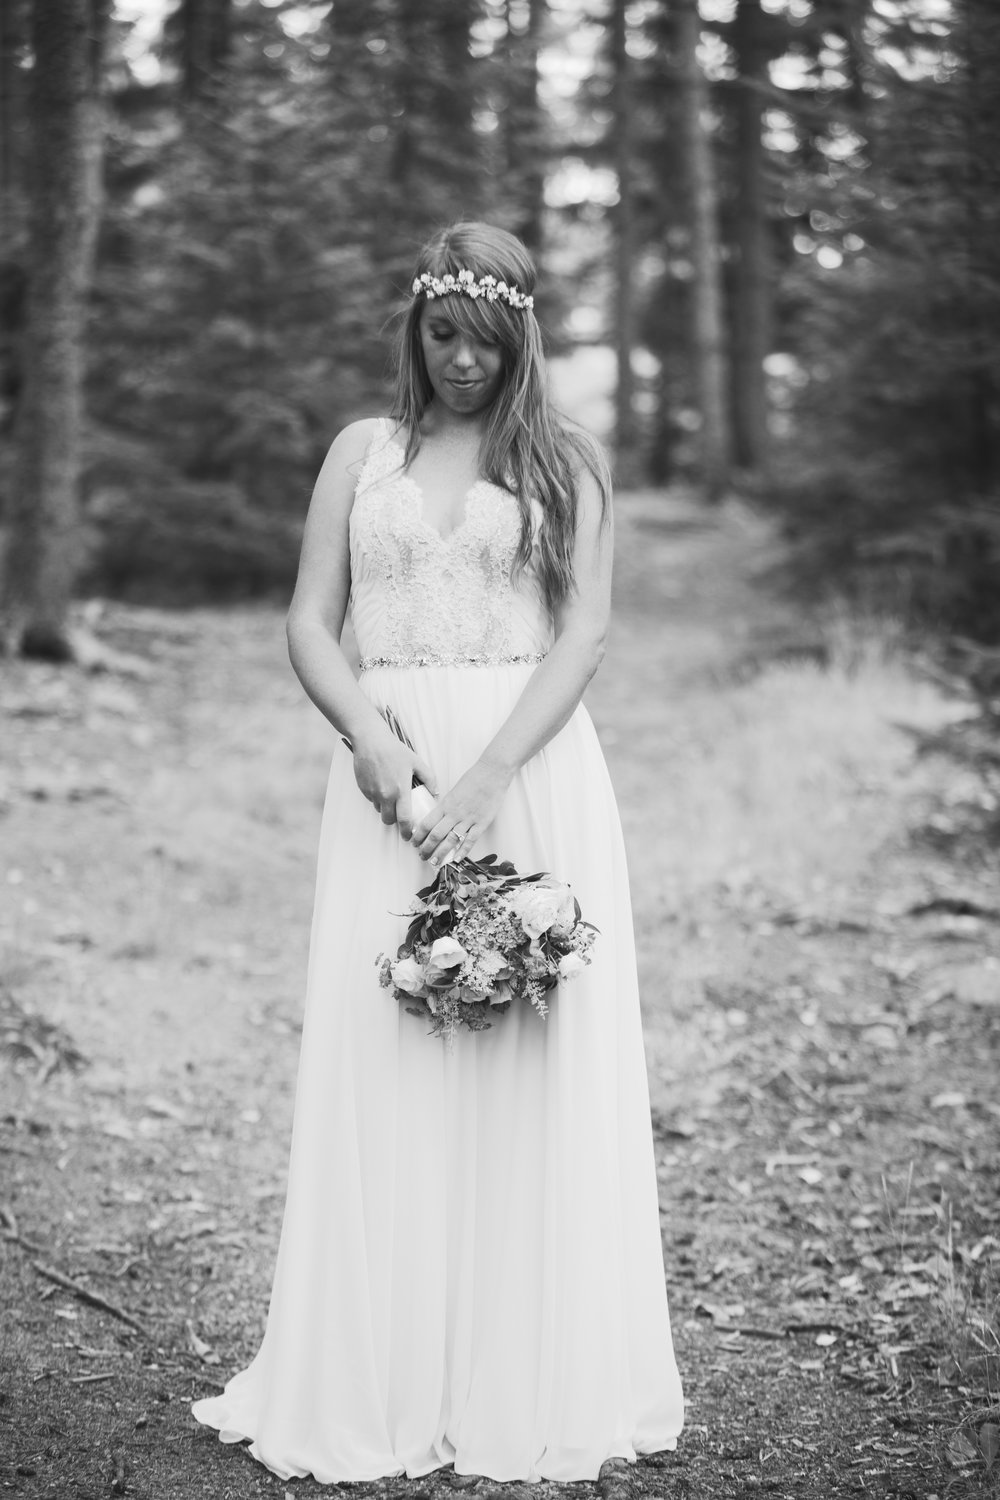
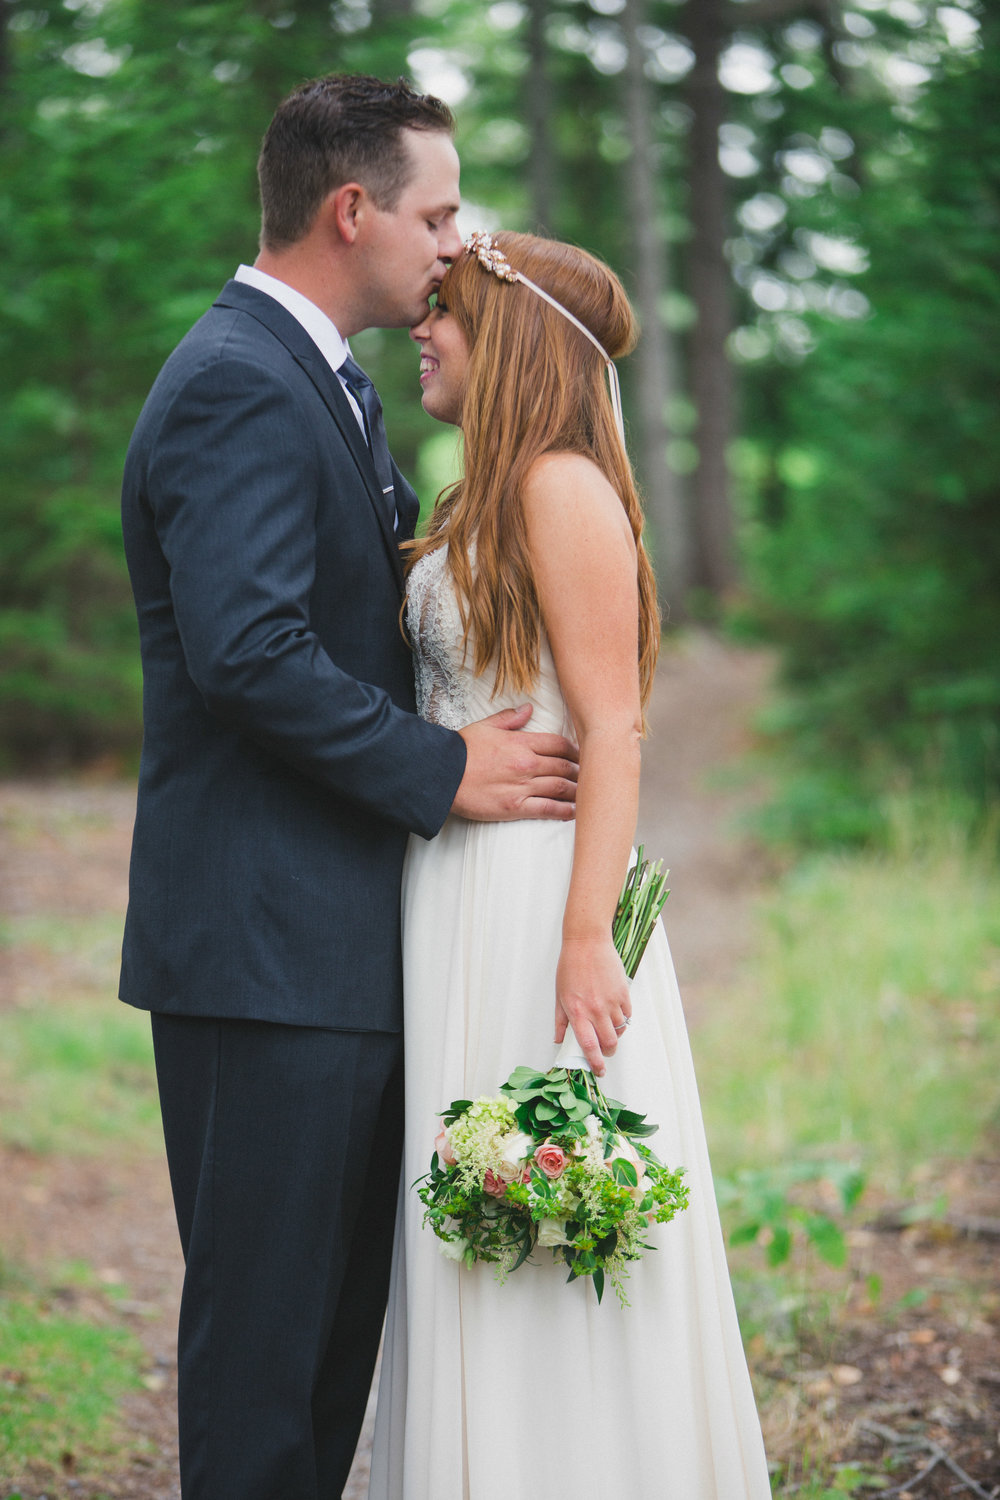
50MM f/1.2 – This lens gets in a little tighter, cutting out the background and focusing a bit more on the photo subjects. This lens has a faster focus and also allows you to get in closer to the wedding subjects. Perfect if you are like me and you can’t yell very loud 😉
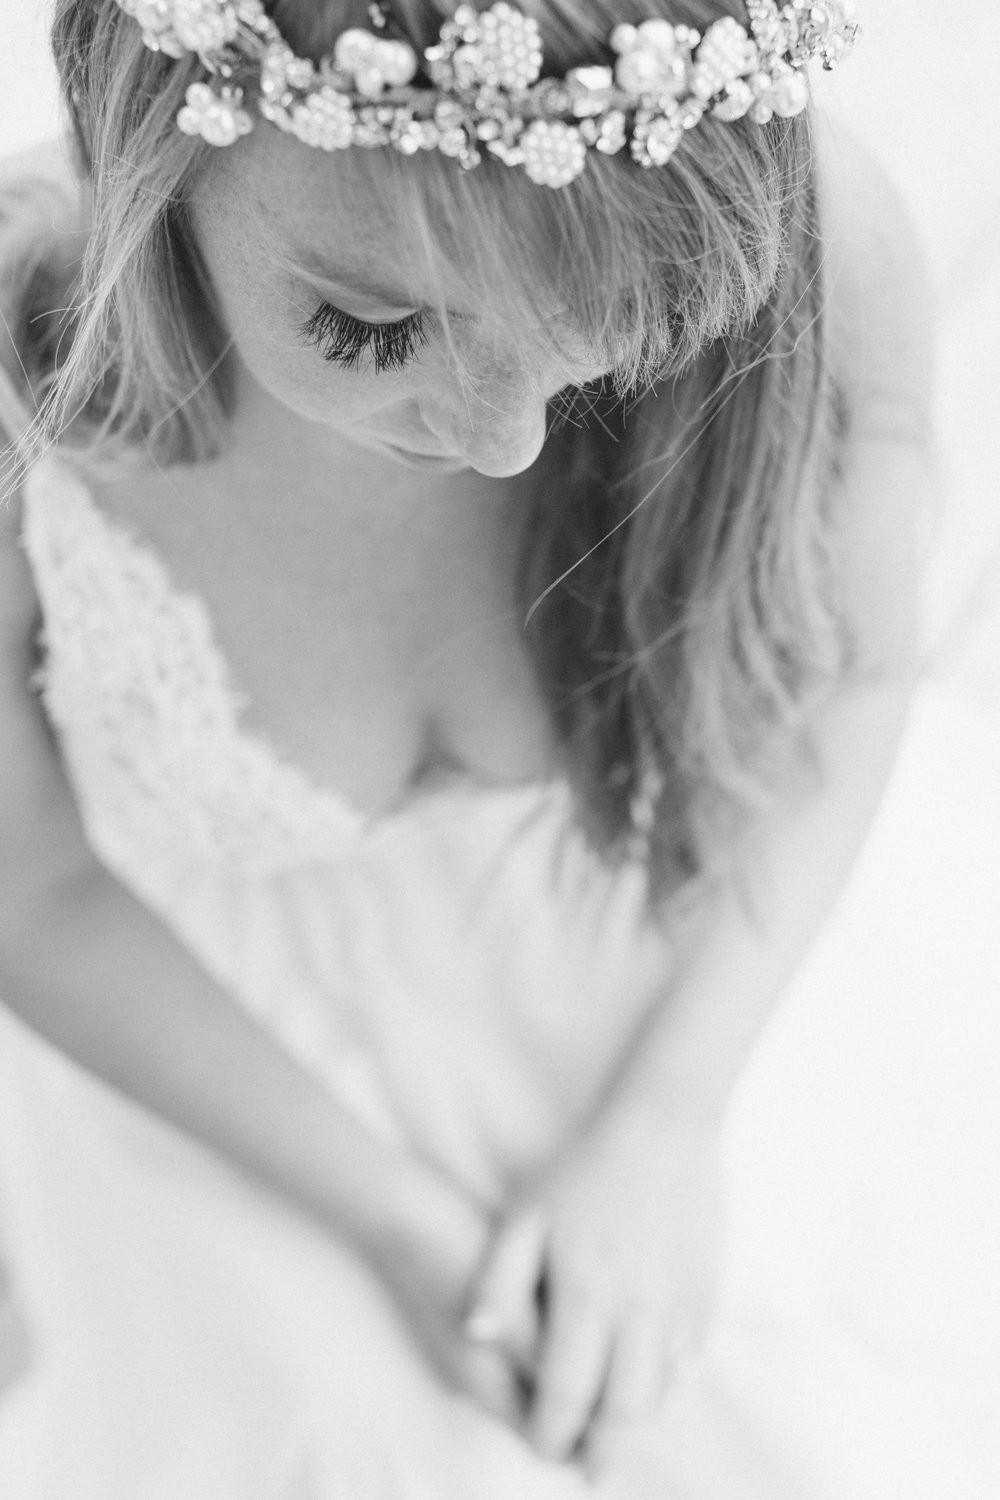
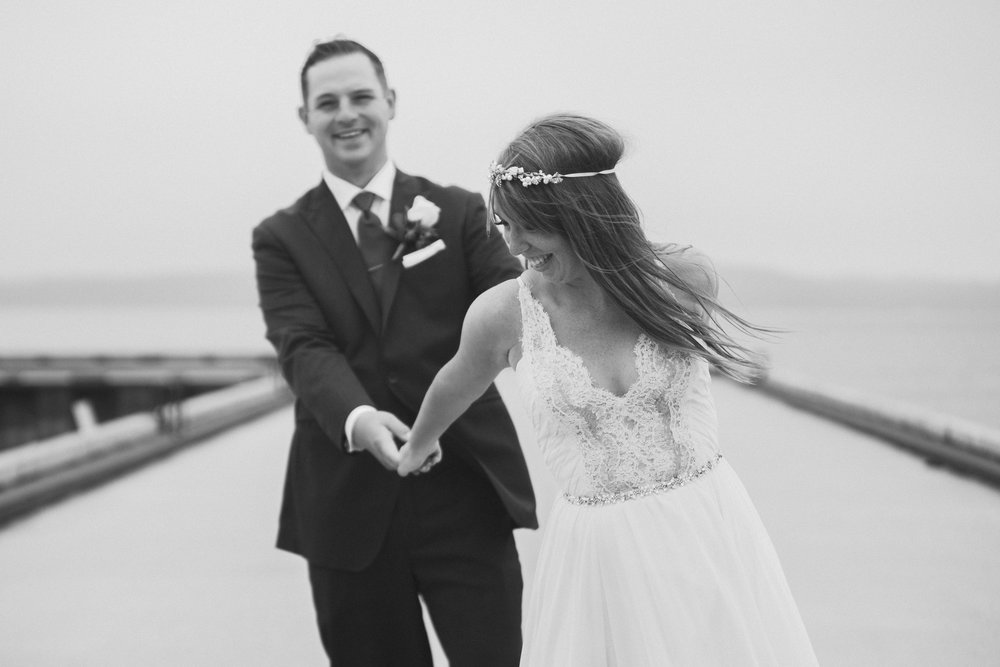
85MM f/1.2 – The perfect portrait focal length. This focal length keeps proportions as true to they actually are. When possible, and I am able to get the necessary distance from my photo subjects, I use this lens. Especially for creating images of just the couple. The downside, you will be a good distance from your subjects, so you will need to either yell or trust that they can follow the directions you gave to them before you start shooting.
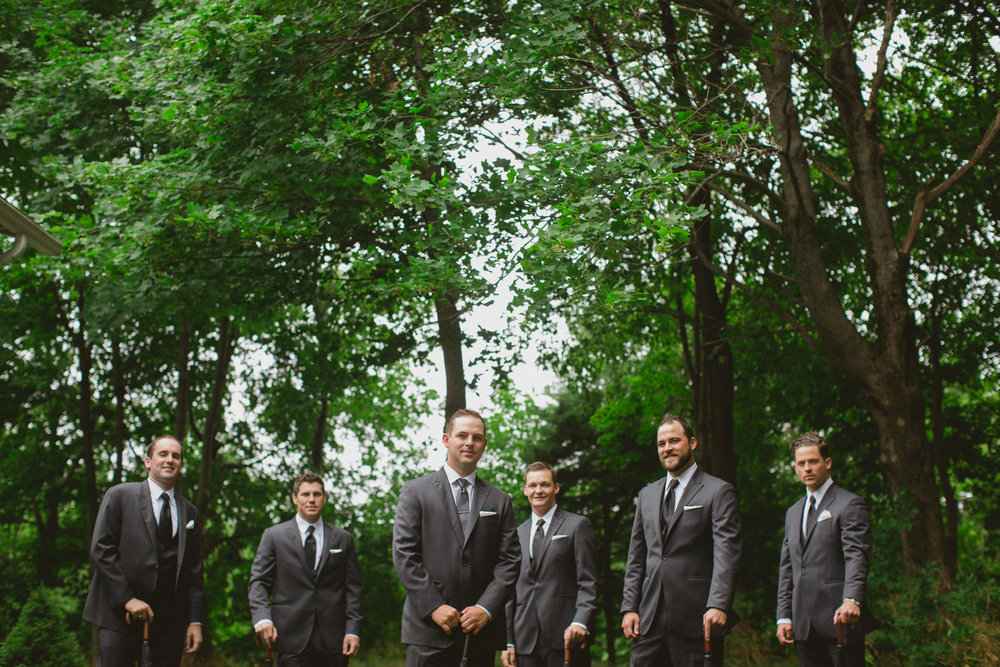
70-200MM telephoto f/2.8 – This lens is great for the family portraits section of the day. You can position it on a tripod and move photo subjects in and out and zoom in and out depending on the size of the group. Also great for shots that incorporate movement, such as photo subjects walking toward you or away from you.


RECEPTION:
35MM f/1.4 – This lens is great for capturing the whole room, the seated reception guests, the whole head table and everyone on the dancefloor. It is also great in low light which is almost inevitable during even hour receptions.
50MM f/1.2 – This lens is great for taking in the details of the head table, cheers-ing glasses, the candy bar, the food and other details.
85MM f/1.2 – This lens is great for bride and groom dance. It is excellent in low lighting and also it helps cut background distractions. It is also great for getting in close on speakers.


And one last important note: always hide your camera bag! You don’t need to carry that heavy thing around all of the time. Find a concealed and accessible place where you can access it if/when you need it. During the reception, hide it under the table in front of your chair, or under the gift table, or with the DJ. You get the idea!
For more advice on how to nail wedding photography from some of the very best wedding photographers on Canada’s East Coast, posing advice or other helpful free resources, visit my web boutique