


Her email read:
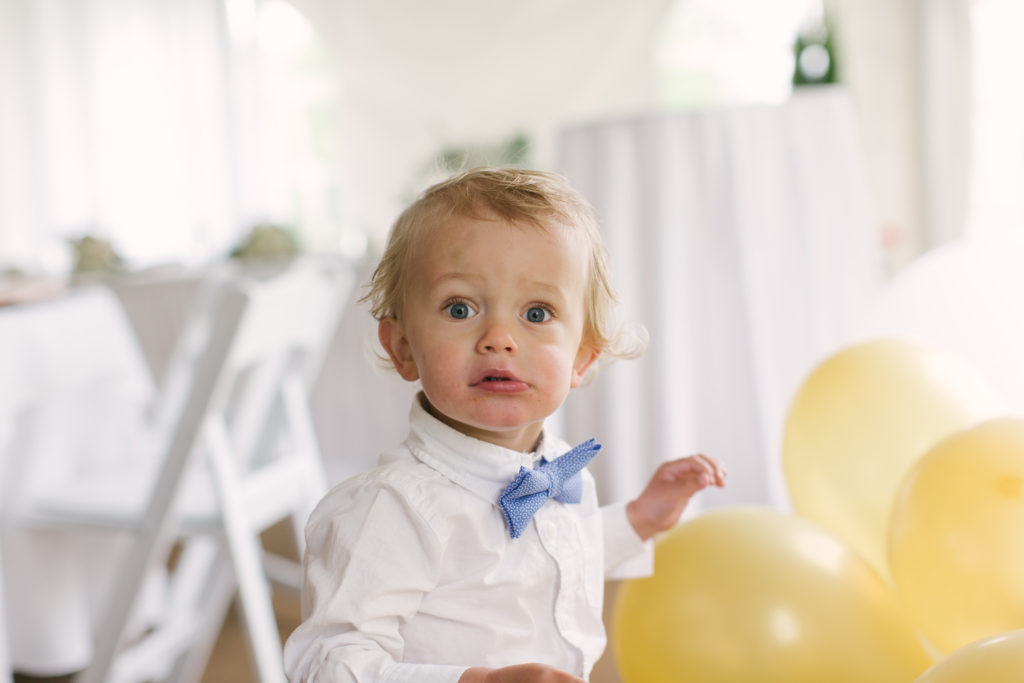
Hey Kelly! Right now I’m struggling to quickly find the settings appropriate for different lighting situations. I can usually get them (eventually) but I feel like my little subjects (i.e. my 4 and 6-year-old kids) lose interest by the time I’m ready, lol…. That, and I need to learn Lightroom better.
>>>Such a great question!<<<
My response read:
So cute! I love that your photo subjects are your own littles. My first photo subject was my dog. Getting her to sit still in those early years was …well. She didn’t. haha.
1. Consider using select Auto Modes to help you find your settings while you are learning

Tv Mode
For fast movers, you are going to want to use a higher shutter speed. To cheat a little, you can use the TV mode on your camera, which means “shutter priority.” This is what sports photographers will often use. This way, you are guaranteed to capture your fast-moving subject in a sharp image, while your camera chooses the correct settings for a properly exposed photo. I would encourage you to try and do this the hour after sunrise or the hour before sunset, or in an area with lots of shade so that your lighting is nice and even, and you don’t get any harsh contrast (deep dark shadows, and bright bright whites).
Av Mode
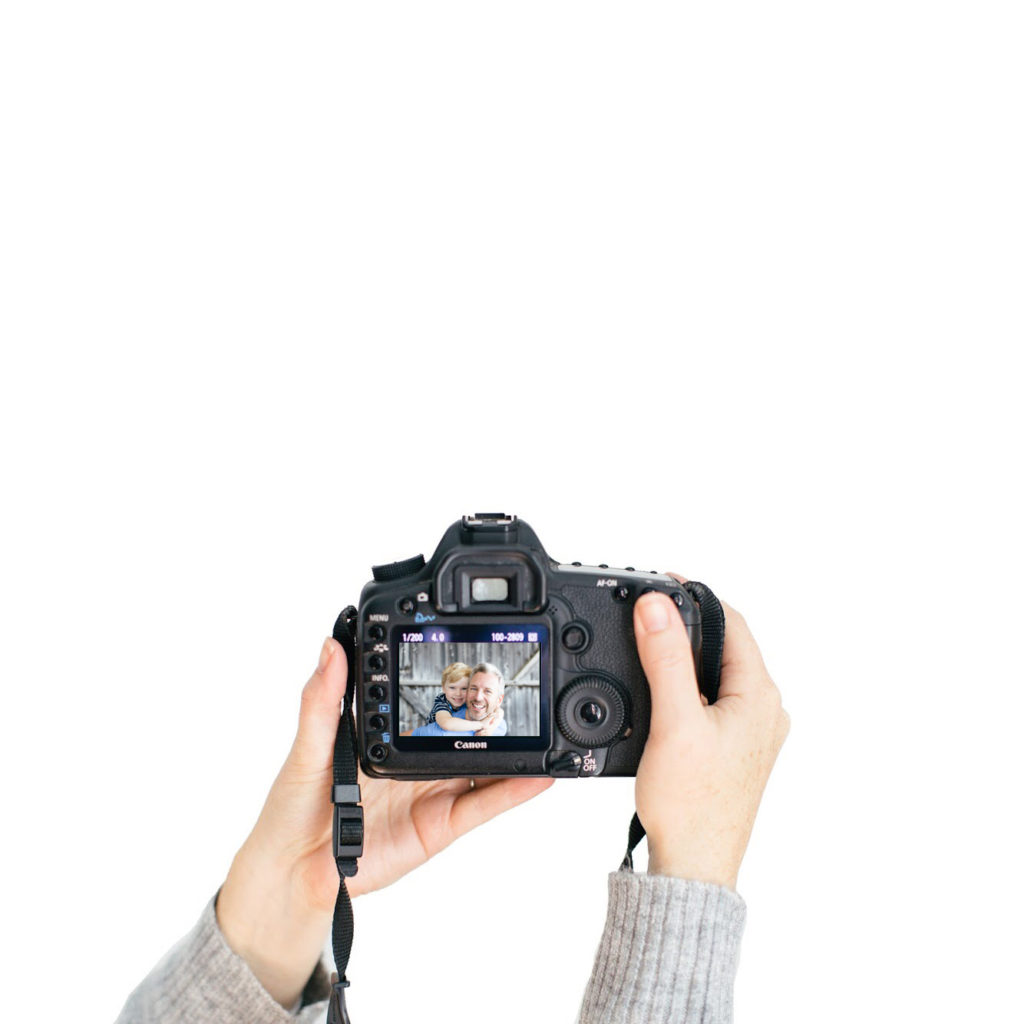
Even better, if you can trick them into sitting still (get them sitting, have a “statue” contest, tell them something is inside your lens, attach a toy to the top of your lens with a hair elastic, bribe with candy – hey no judgment here!), the Av setting on our camera is a terrific go-to because it will get you those photos with gorgeous blurred out background, while helping you to get a correctly exposed photo when you are on the fly. Much like Tv, Av prioritizes your aperture setting while the camera chooses your shutter and ISO. For two kids, I would recommend an aperture setting of f/2.8 (if you have a lens that will go that low – if you don’t, read on. Also, if you are in a lowly lit situation, consider using a tripod and your camera’s built-in timer.
2. Invest in a nifty fifty lens
The 50mm f1.8 lens or “nifty fifty” will run you around $150 at Best Buy and I promise it is the best money you will spend! This lens is a terrific portrait lens (it has a fixed focal length so you will need to move your feet!), and its low aperture ability (f/1.8) will change your photography game! Having the ability to set your aperture value nice and low will give you the ability to create images with a shallow depth of field, aka those beautiful blurred out backgrounds that get us all next level excited!
3. Find a location with good, even light such as outside in the shade.
About the location – try to find a place with lots of shade or shoot earlier or later in the day so that you aren’t up against harsh midday contrast in your photos. This will prevent you from taking photos that yield dark subjects or an undesired silhouette effect.
When I was starting out with photography – especially weddings, I used Av settings ALL. THE. TIME. It helped take the think work out of adjusting all of the settings with every shot, so that I could relax a little and focus on the subject and how they were positioned inside my frame.
I hope this helps you. I know it’s a lot of information to throw at you – so if you’d like any of it broken down a little further – I am happy to!
Kelly
