


About half of my time as a professional photographer is spent photographing houses: interior design spaces, new constructions, and houses for sale. Over the years I have identified a few key factors that can increase interest, likelihood, and speed of the sale. Whether you are a new realtor looking to take your own photos, trying to sell your own home, or a photographer looking to take photos that are going to help the former sell their houses, there are things that you can do to improve your chances. More specifically, to make your residential photos really shine, look ultra appealing and above all else, stand out above all the others, follow the tips below and you will find yourself heads and tails ahead of the crowd.
1. Clear the clutter. Like, all of it.

A well-versed realtor that I work with has a saying. “There’s the way we live in houses, and there’s the way we photograph houses” meaning that staging a house that is for sale is completely different than how a house looks when we are actually living inside. Clearing the clutter means tucking away anything that you don’t need to access on a daily basis: the blender, toaster, and cookbook on your kitchen countertop, the extra shoes, and coats in the entryway and the dehumidifier in the corner. And then, just before you take your photos, you’ll want to take it a step further and hide everything else that you do use on a daily basis: your coffee maker, cutting boards and dish soap. Everything. A potential buyer wants to see a clean slate, an empty canvas of sorts to envision their own decorative tastes, and their own belongings on your immaculate surfaces. Further, they are going to want to have a good look at what your fixtures look like, and clutter can appear as an attempt to “hide” undesirables. Do yourself a favour and grab a big
2. Include as much of each space as humanly possible.
You want the home to look spacious. Again, an opportunity for your potential buyers to envision their own style and their own belongings in the home. To get the best shots for showing off ample space, get back into each corner of each room as far as you can. To take it a step further, use a tripod so that you can eliminate your need to be standing behind your photo-taking device. You will also want to take wide shots from each side of the room, square on. Make sure when you do this your linear lines are straight and not on any angles. It may take a few tries to get things aligned. Be patient with yourself here!
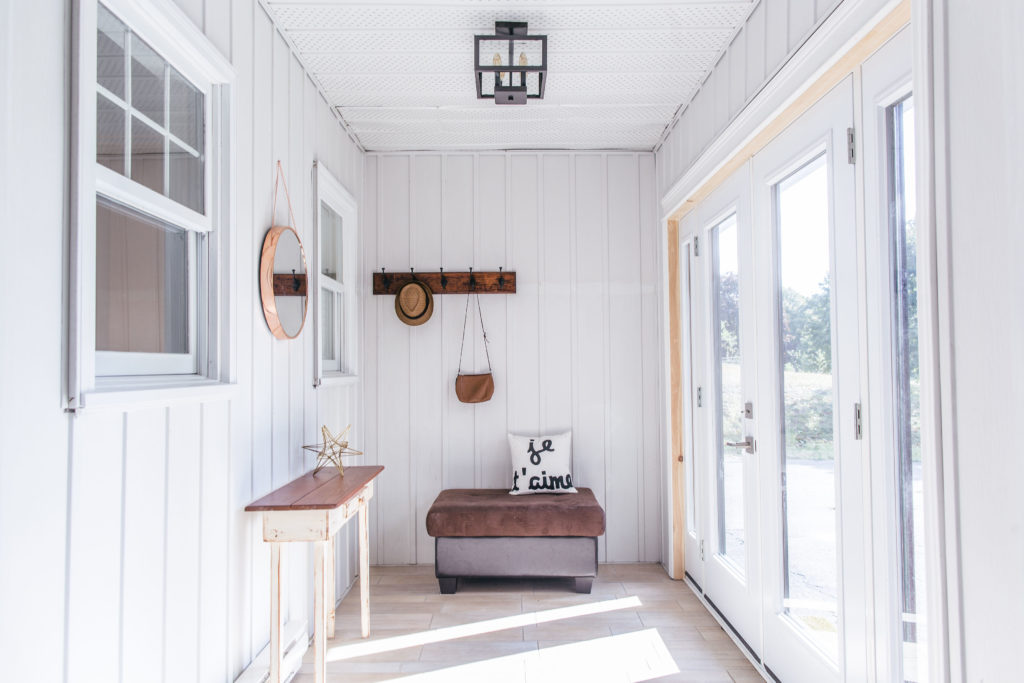
3. Avoid Direct Sunlight.
Direct sunlight can introduce a lot of contrast into your image. It can leave the space looking dark while your device tries to compensate your exposure for the bright sections of direct sunlight coming in through windows. To avoid this, take note of what time of day the sun comes directly in through windows and avoid shooting at that time. Or, save your shoot for a bright, overcast day if possible.
4. Watch for “blocks” in your photos.
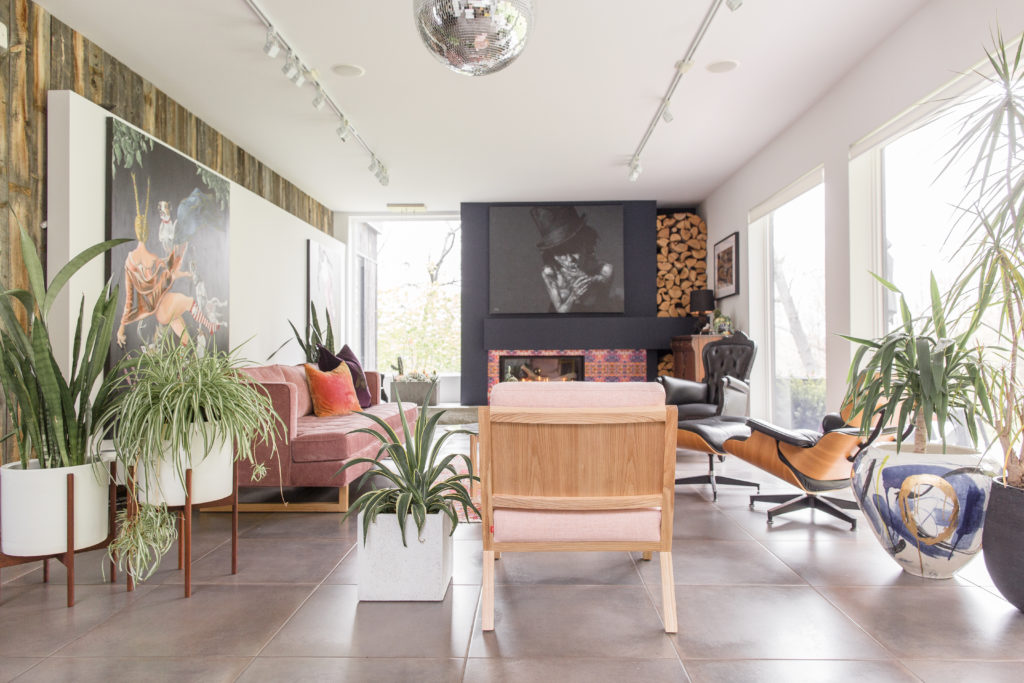
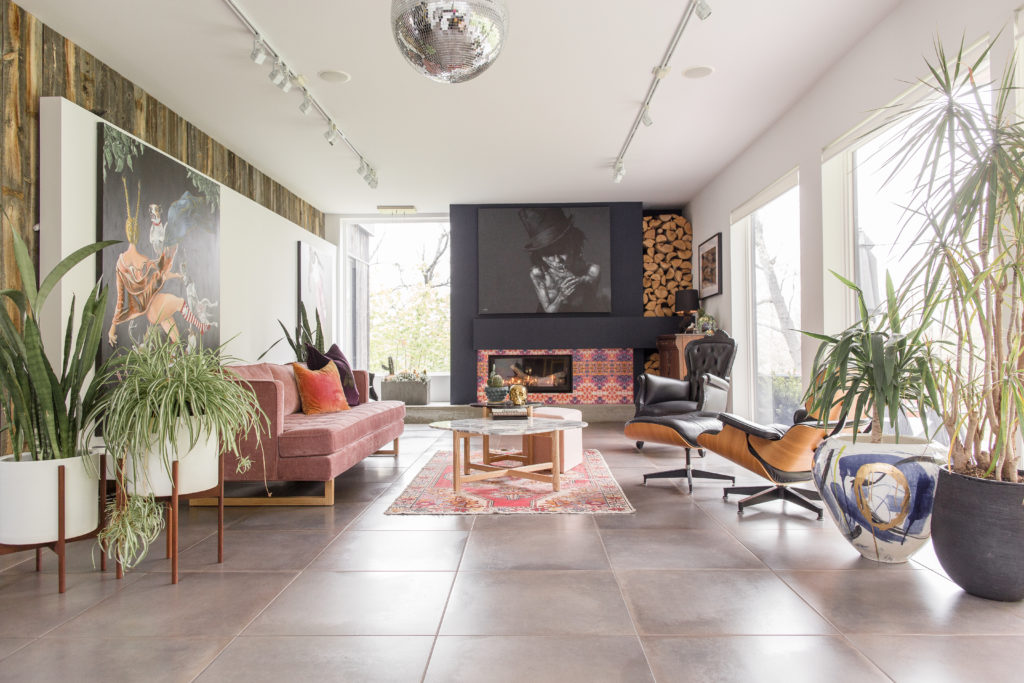
Blocks are what I refer to as the back of a piece of furniture, a large lamp or plant. Something that takes up a significant amount of real-estate (pardon the pun) inside your photo frame. These elements can prevent the eye from traveling through the image, and instead the “block” hides essential fixtures, and draws the eye away from what is important in the photo. When possible, move items that create a block in your frame, or change your angle so that the placement of such items isn’t central to your image.
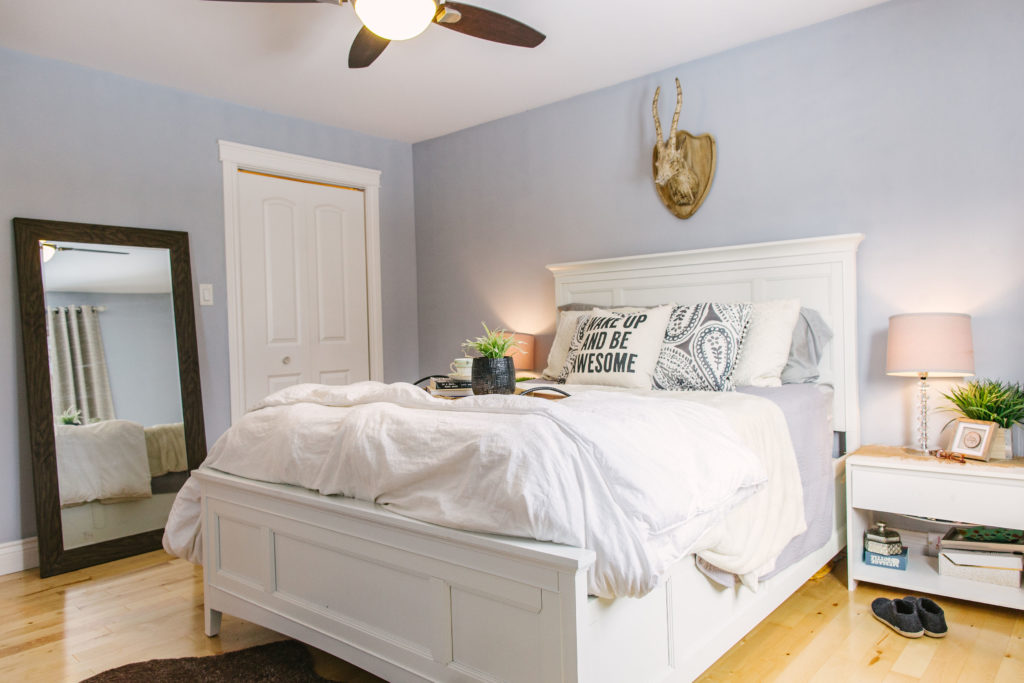
5. Keep it neutral.
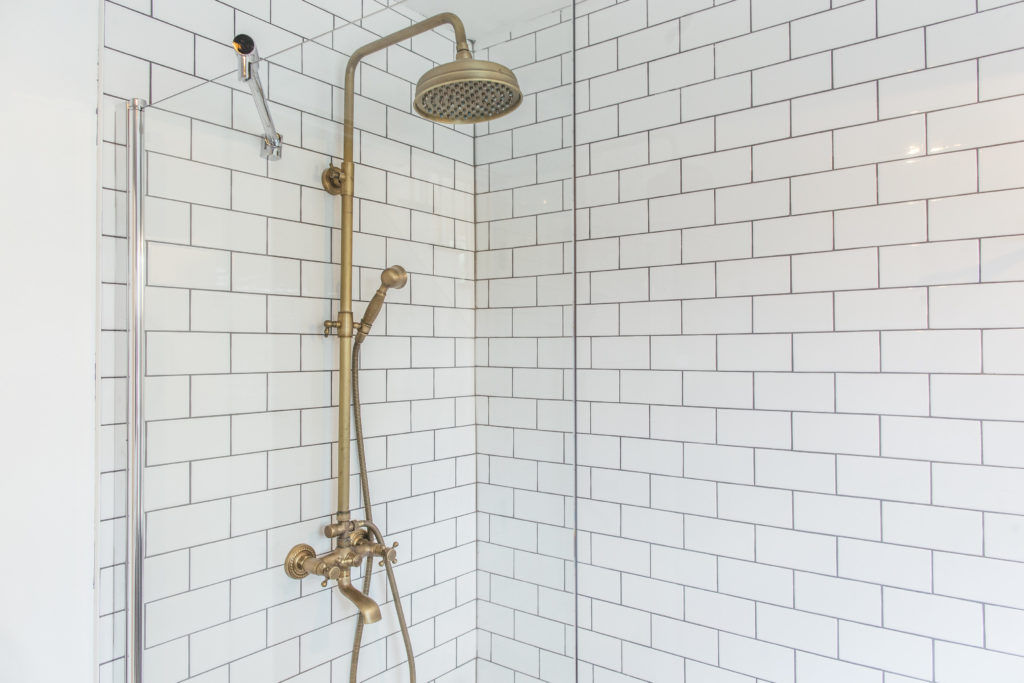
Colorful walls are not everyone’s taste. If you can avoid painting and papering your walls before you photograph, that is ideal. If colorful walls are there to stay, you can reduce the saturation of your image using Lightroom or if you are shooting with a smartphone, use your camera’s built-in editor to mute distracting colored walls. Remember, your buyer wants a clean slate to best
Take your interiors photography a step further by downloading my FREE GUIDE TO PHOTOGRAPHING INTERIORS.