
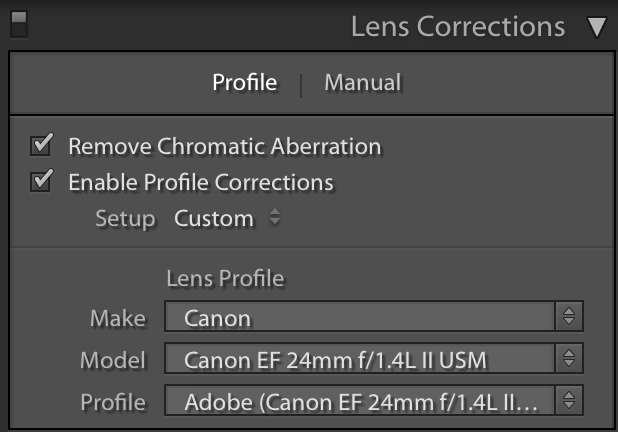
1. Remove Lens Distortion
The very first thing I do when editing any of my images, not just interiors, is correct the profile distortion from my lens. I usually explain this by saying, the wider the lens is, the more it looks like I am shooting through a Christmas Tree ball (remember those decorative reflective metallic balls that your mom used to hang on your tree – or perhaps still does?) when you looked into them as a kid your nose and mouth, or whatever was closest to it was enormous and the rest of your face fell off really quickly? Well this is the same effect that your camera lens will create. When shooting interiors I often use a 24mm or 50mm lens and both introduce a similar distortion that is more pronounced at the wider angle. By removing the distortion, it prevents the image from looking “bubbled” or it reduces the fish-eye lens effect. This correction is included in my Lightroom Preset that I use for interiors, that you can grab for free here!
2. Remove Distracting elements
Next up is scanning the image for distracting elements that we could do without. This might include loose/dangling wires, thermostats, light switches, marks on walls, unfinished fixtures, holes in walls, unfinished crack fill, hair or dirt on the camera sensor etc. For this I use the spot removal tool and some good ol’ fashioned trial and error.

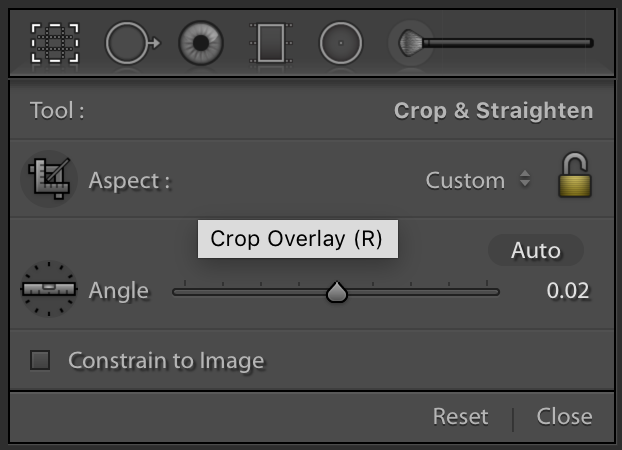
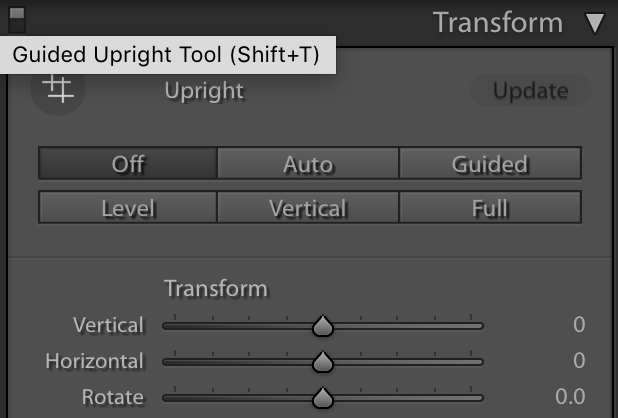
3. Straighten Linear Lines
The culprit of many ruined interior compositions are linear lines such as ceiling lines, cabinet lines, windows, furniture or counter edges, that are not at right angles (i.e. not straight). Often when you are shooting on the go, it can be difficult to get a straight shot free-handing with your camera. But fret not, there are tools inside of Lightroom that you can use after the fact to straighten things up: crop overlay and vertical/horizontal transform tools.
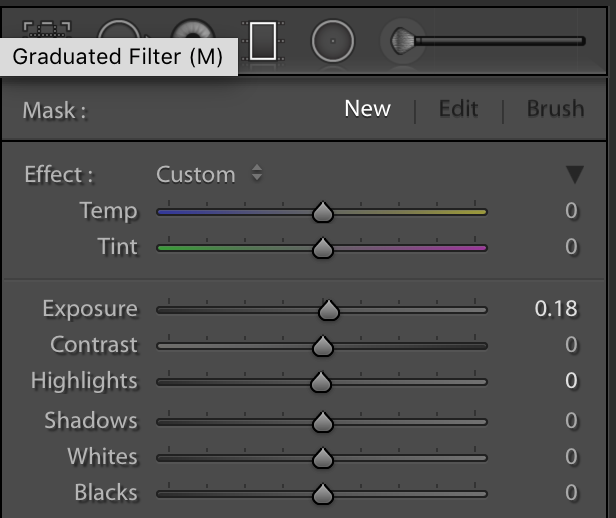
4. Adjust Exposure [use graduated filter]
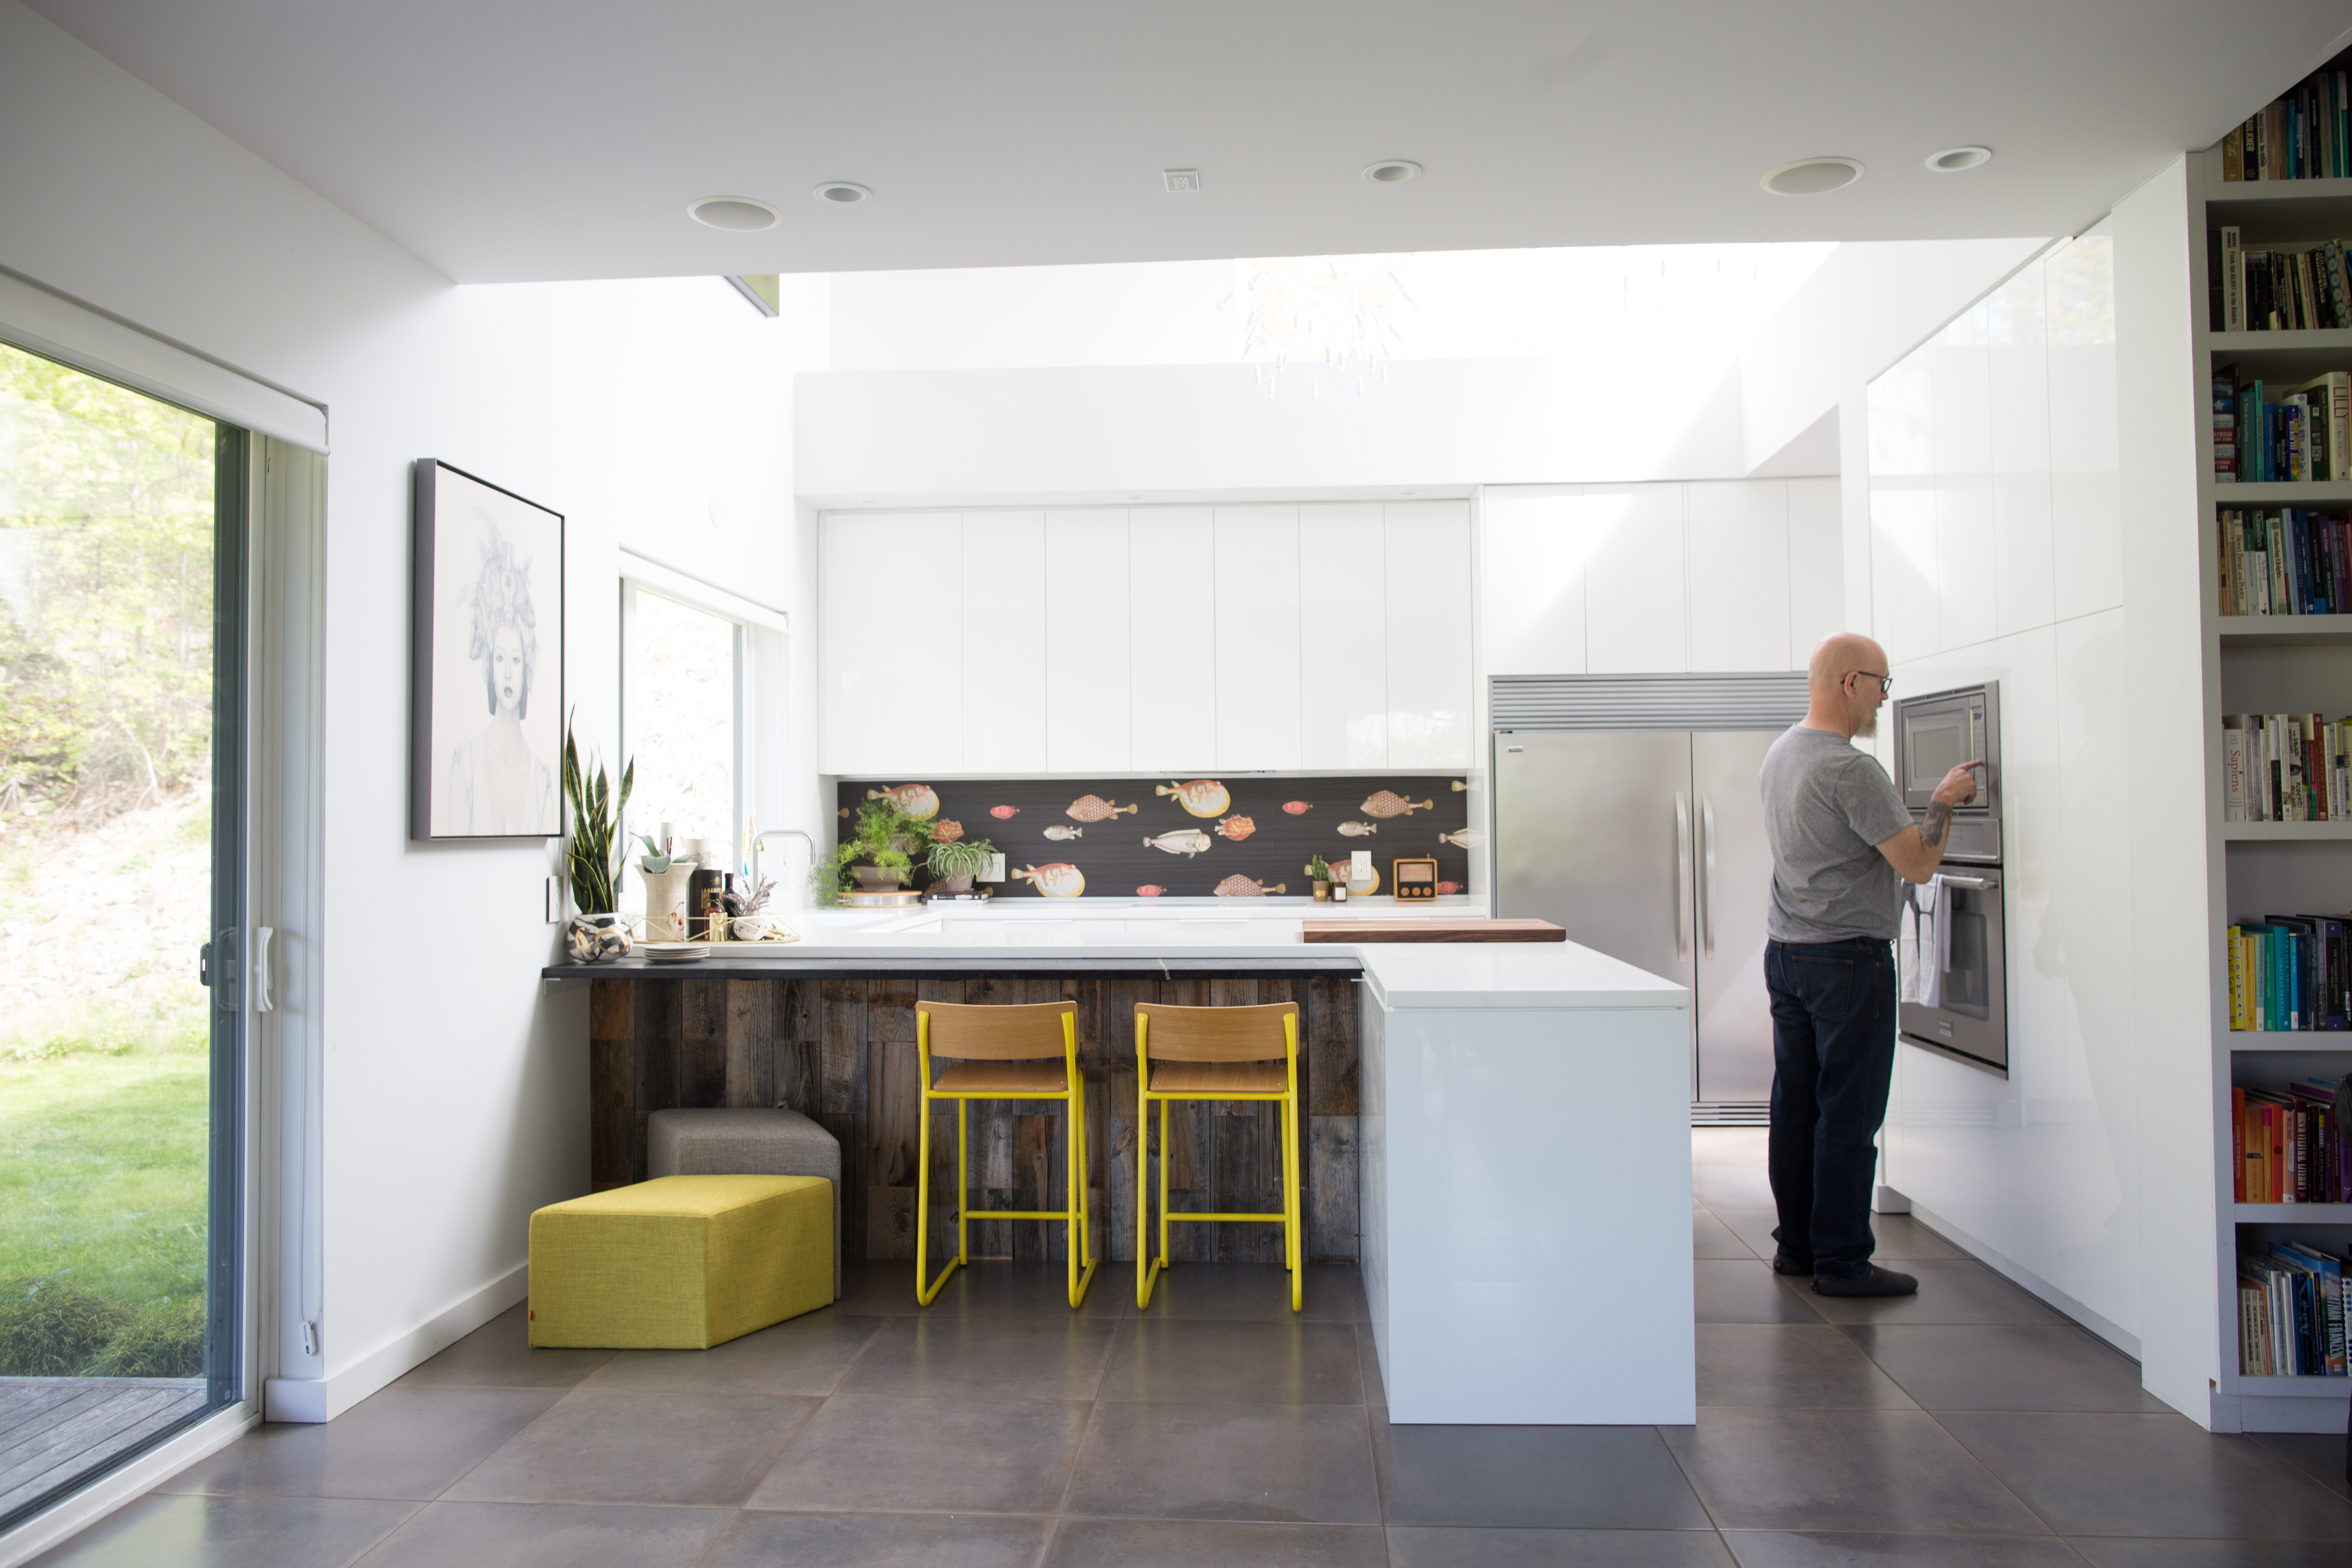
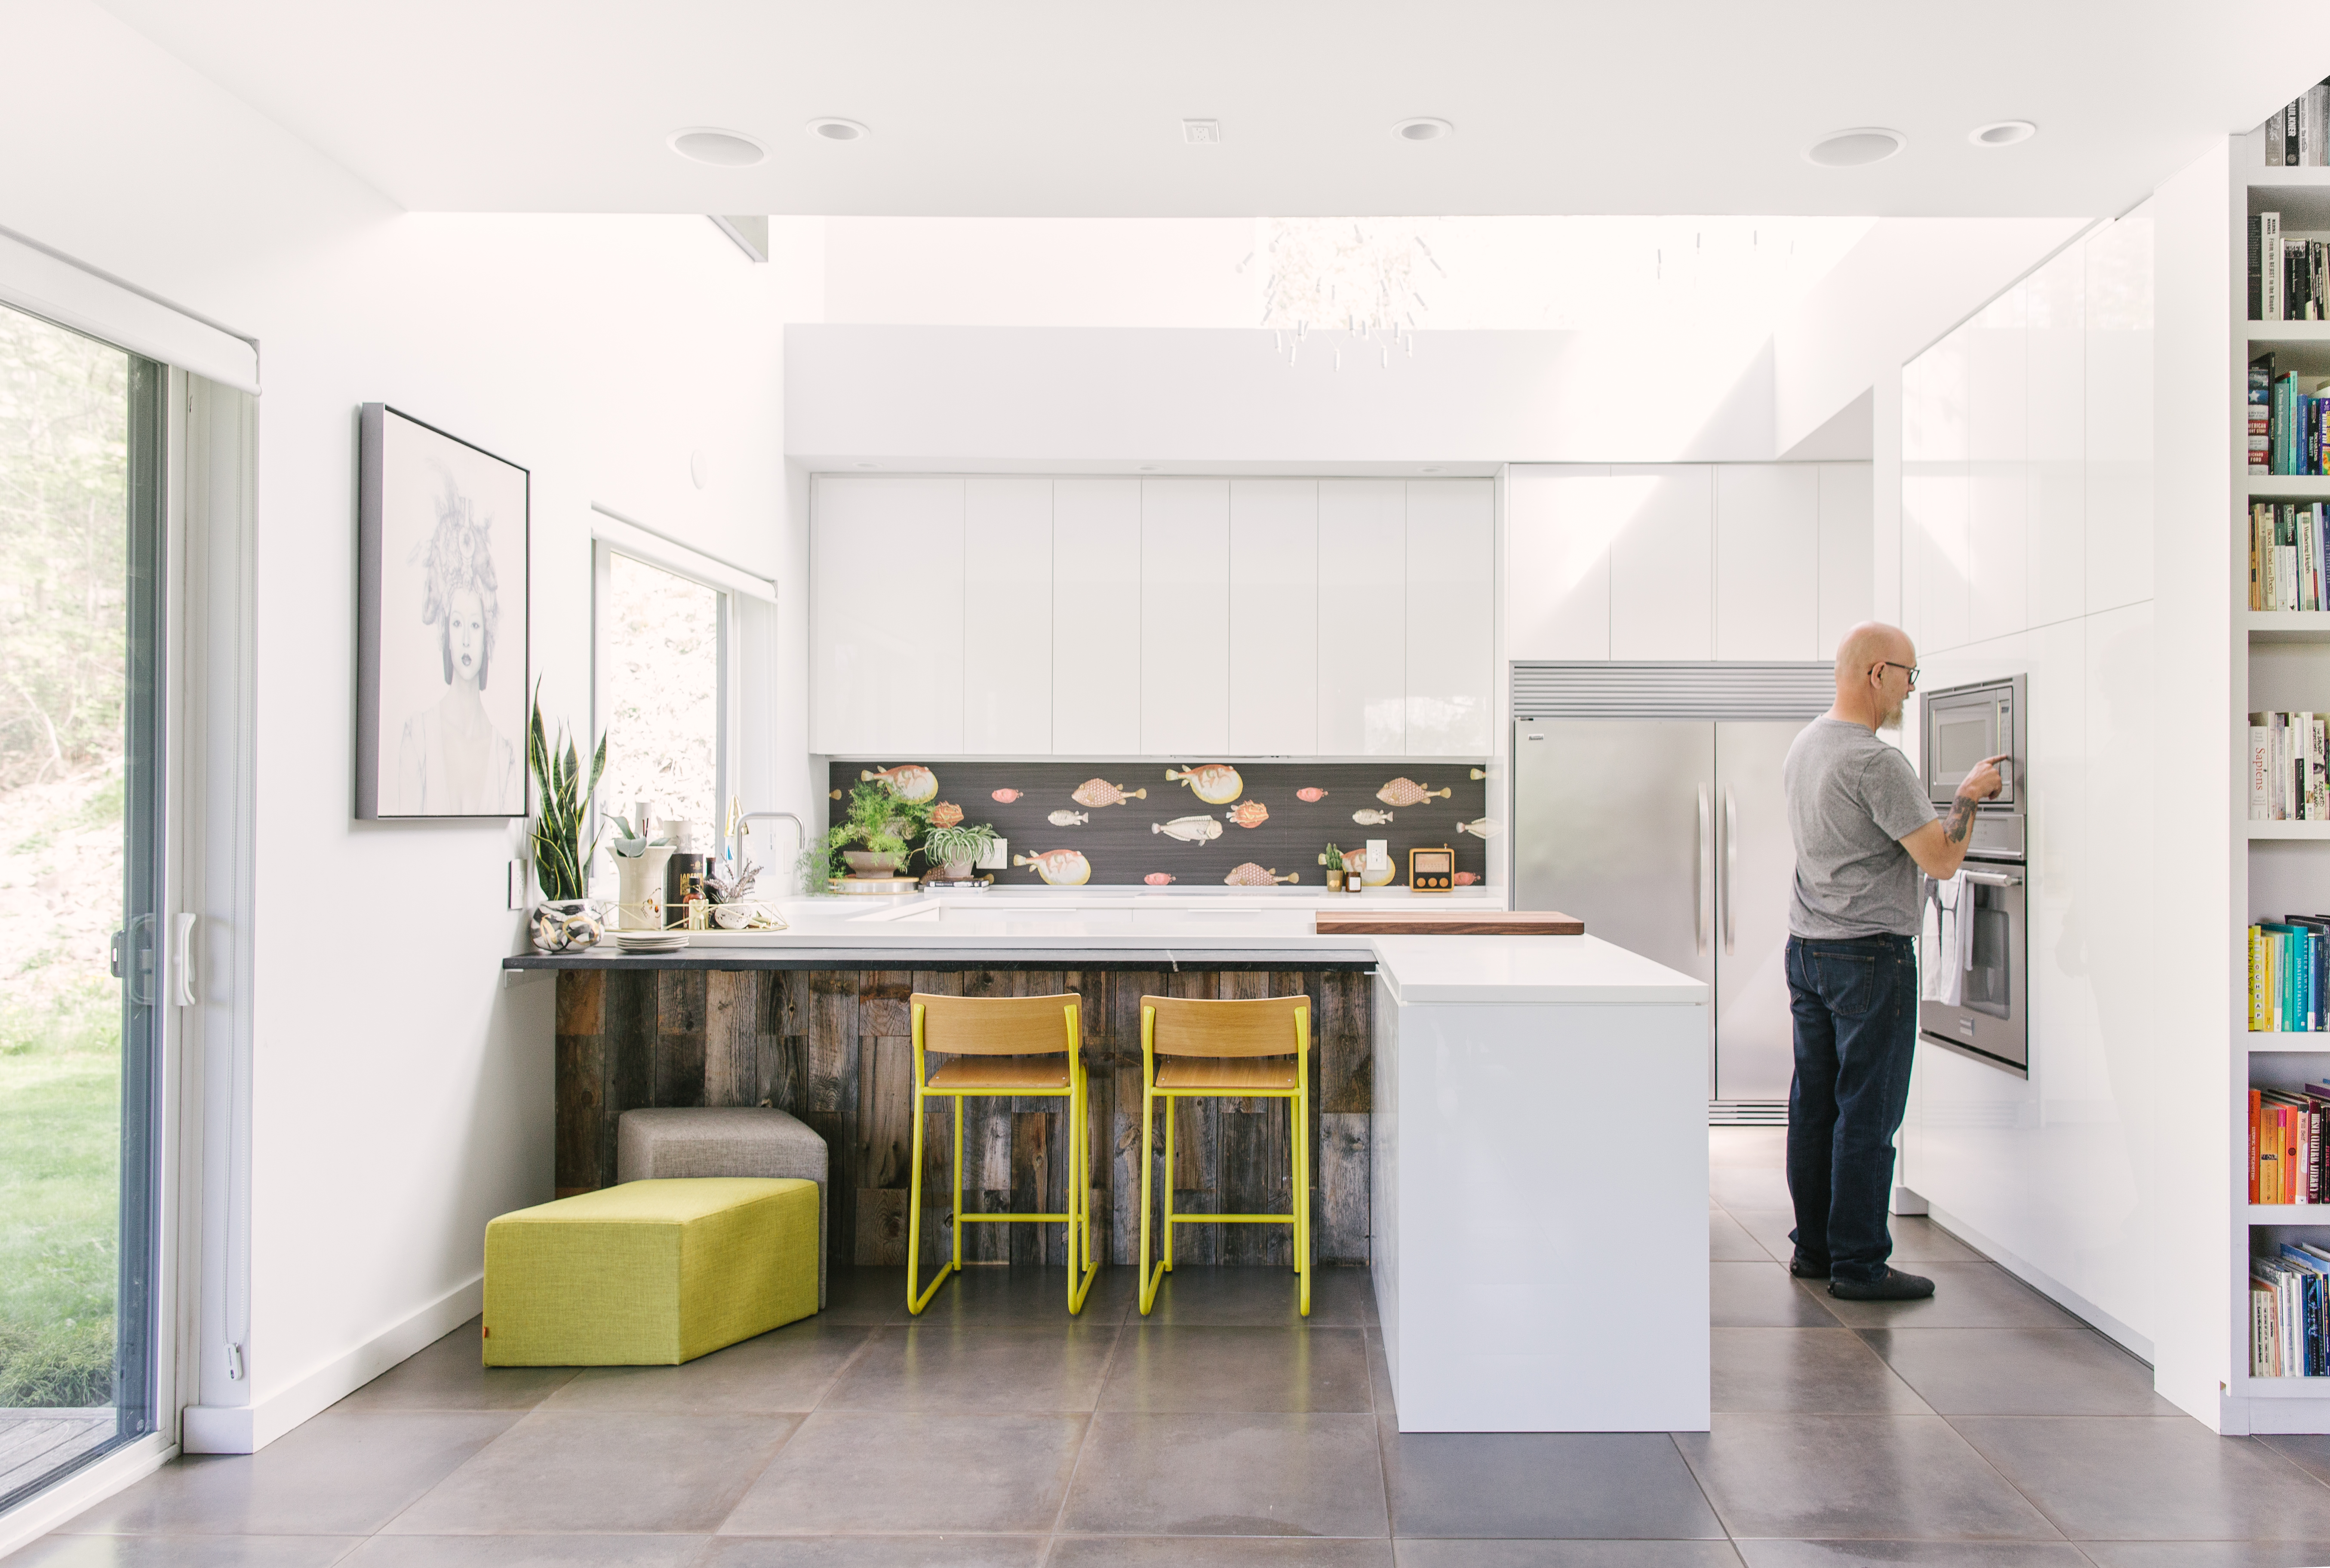
Unless you are photographing an all white space, full of windows on an overcast day, you are going to run into exposure variance with interiors. This is simply because the window will most often be on one wall, white there is no natural light source on the other. To further your natural light-variance woes, the often white ceiling will bounce the bright light from above while that gorgeous Persian area rug will absorb the light creating even further light and dark contrasts in the room. Now dare we even mention the furniture that will get in the way of the light coming from the window and create shadows! Oh my. For these common issues, I am pleased to introduce you to my FAVOURITE Lightroom tool: (drumroll please!) the Graduated Filter. This tool is MAGICAL for evening out the exposure of your image (by the way, see the video below for a walkthrough of all these editing techniques).
5. Sharpen
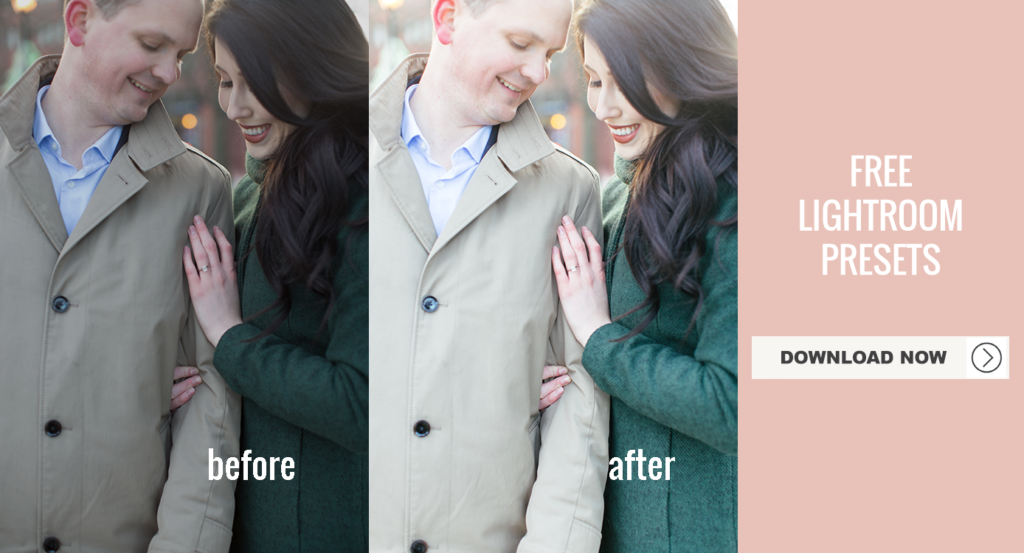
As a final adjustment, I sharpen, increase the clarity and slightly de haze the image to allow the details of the interior to really pop! This is also something that is a repetitive step, so I have also included this adjustment in my free Lightroom Presets that you can grab here! (increase values of: Effects > Dehaze, Detail > Sharpening, and Basic > Presence > Clarity)
Here is a quick video to demonstrate all of these tips and tricks since putting it into words is really difficult to explain!
I hope these tricks will help you to correct common issues with interior photography and get you many steps closer to taking those eye-catching dreamy and delicious interior photos that you’ve been swooning over! Be sure to tag me in your work with the hashtag #kellyworkshop so I can catch up with you online and pay your hard work a well deserved compliment!