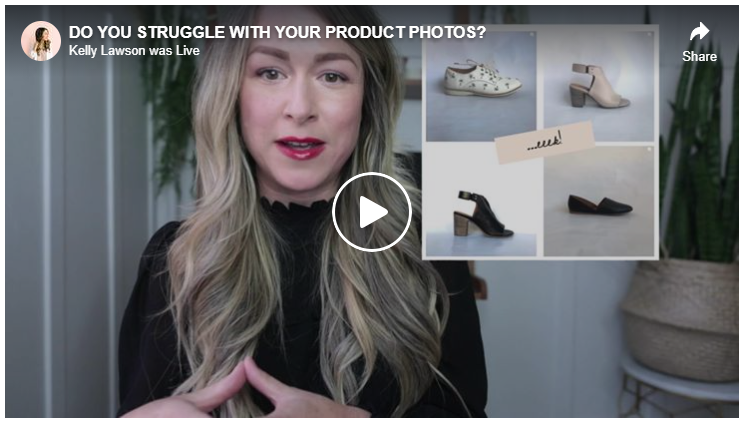
Let’s talk about it!

In this broadcast I cover:
- What The Bandaid Effect is and why you need to avoid it at all costs (2:18)
- WHY most people struggle with product photography – HINT: it is not the device (2:53)
- The FOUR most important types of lighting you need to understand (5:04)
- THREE THINGS you absolutely need to know and do when you set out to take product photos, especially if you are looking for consistency (14:17)
- The NUMBER ONE thing you need to be doing if you want to get crisp, clear photos using any device (17:29)
Join us for a FOLLOW UP conversation inside my free Facebook group right here: https://www.facebook.com/groups/623362001374781
Don’t be embarrassed. It is my mission to make product photography as easy and painless as possible. And it is totally doable, all you need is light!
STOP! Before you click “Add to Cart” on that Amazon lightbox, take a peak at these lightbox photos…

You can become the master of light and NOT have to buy a bunch of fancy gadgets and learn to take beautiful product photographs! With a couple tips and tricks, your photos can look more like these:

Let There be LIGHT: The FOUR Most Important Types of Lighting
Indoor Natural Light – Soft and diffused, keeps colours true and whites white! You would be surprised at the beautiful shots that you can capture from the comfort of your own home.
Indoor Tungsten Light – Artificial light, the ones you switch on and off! This light is NOT great for photos, you will see colour casting and shadows.
Outside, Open Shade – Light in a large section of shade. You can find this beside a large building, a line of trees, or even under umbrellas. This light is ideal and reduces or even eliminates shadows.
Direct Sunlight – A beautiful place to take photos but very challenging because of shadows. The contrast is a challenge to work with.
Getting Started: Three Things That You NEED to Know:
- Look for your best indoor natural light source
- Seek some open shade
- Observe what the light is like and how it changes through the day
Give it a TRY
Take a picture each hour in the same location. Note the difference in the amount and quality of light.
The Number ONE Thing That You Can Do To Get a Crisp Clean Photo: Steady. Your. Device.
It is as simple as that! Run to the dollar store and get a tri-pod. Stack some of your kids Lego, or lean your phone up against a book. You may think your hands are steady but, unless you are a heart surgeon, there will still be movement.
Another tip is to set the timer on your camera so that there is no additional movement when you push the button to shoot.
Be sure to download my FREE Guide for Taking Batter Product Photos TODAY for all the deets!
