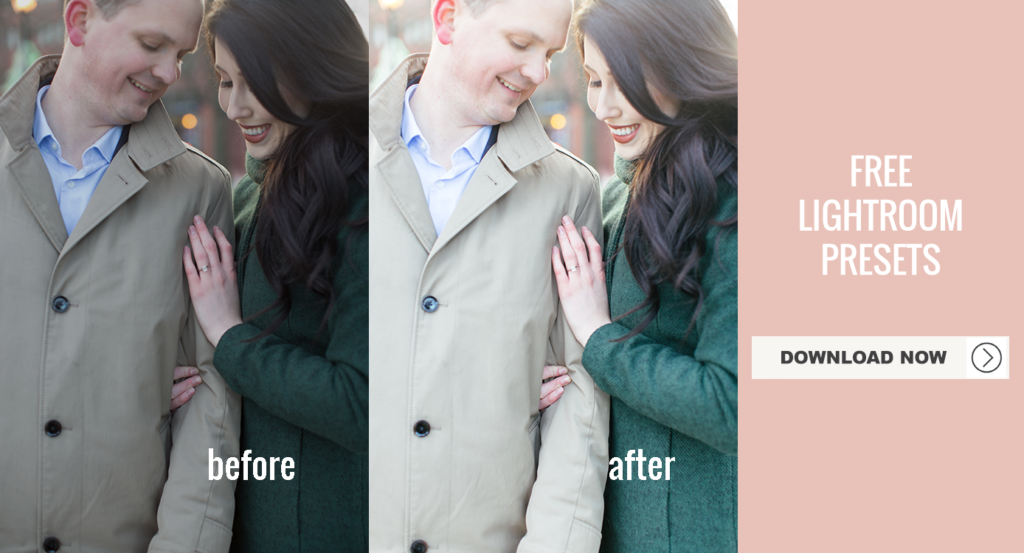
I am so excited to bring you my FREE Lightroom Presets for your desktop version of Lightroom and also the FREE Lightroom app! Yay!
The good news is that you don’t need an adobe subscription to access these presets and to apply a professional look to your photos with just one tap!
First, if you haven’t install Lightroom Mobile, grab that here.
Second, if you haven’t grabbed my FREE Presets, grab those here.
Now, here’s how to install these beauties.
step one
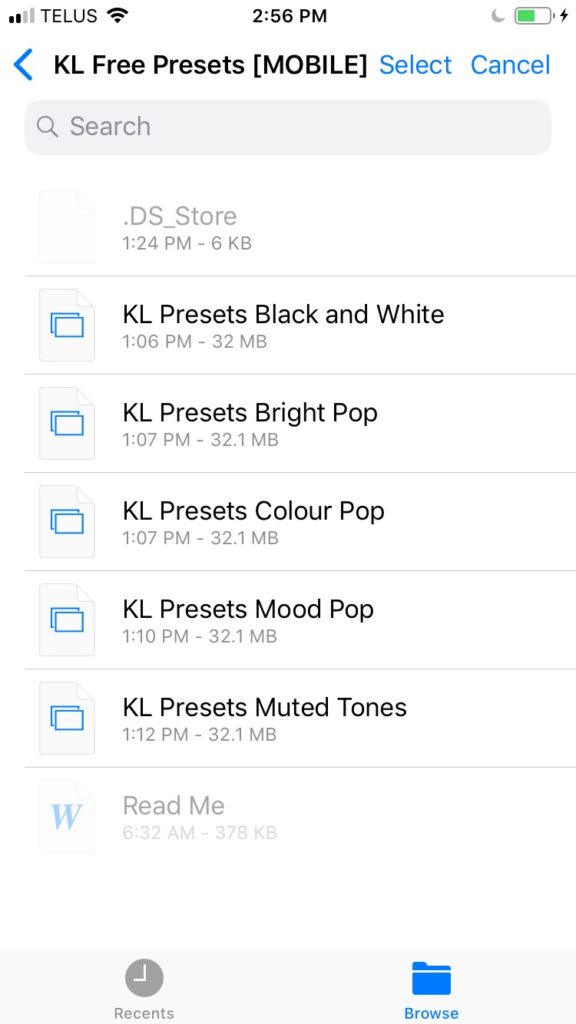
Save the MOBILE files to either your camera roll, or your cloud storage software. For me, that’s Google Drive.
step two
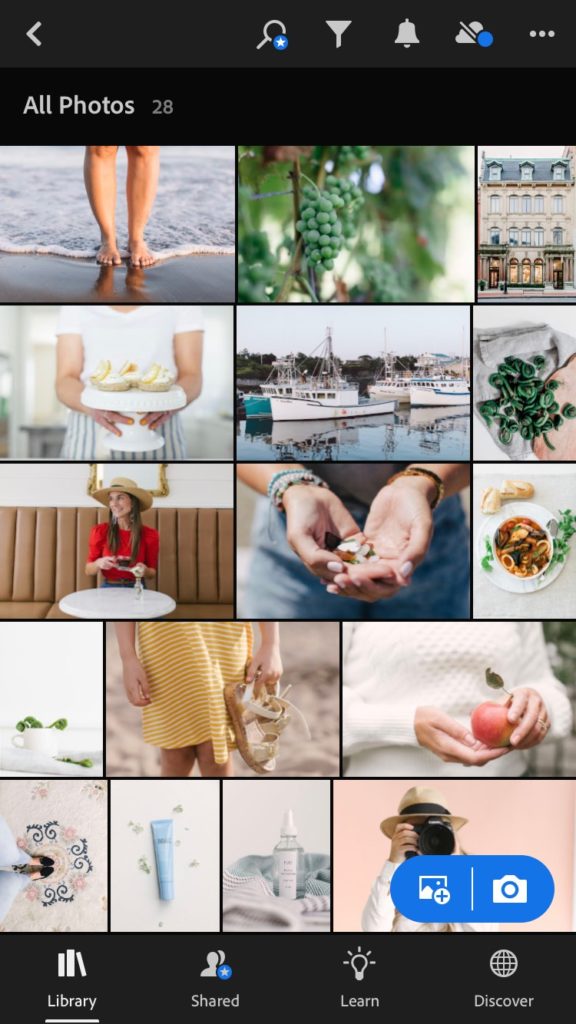
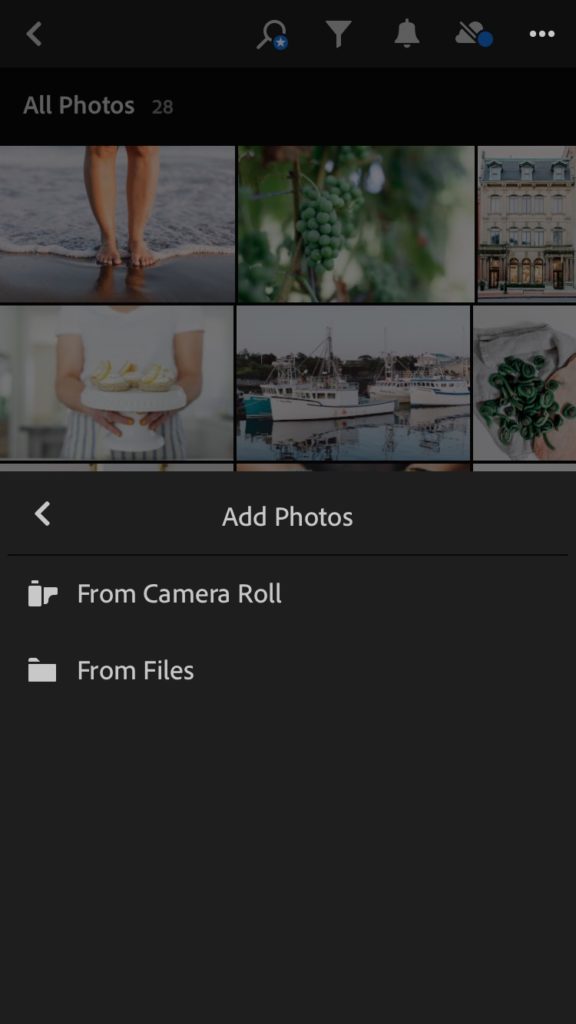
Open your Lightroom Mobile app to where you will see your photos! (You can add photos here from your camera roll if you don’t see any).
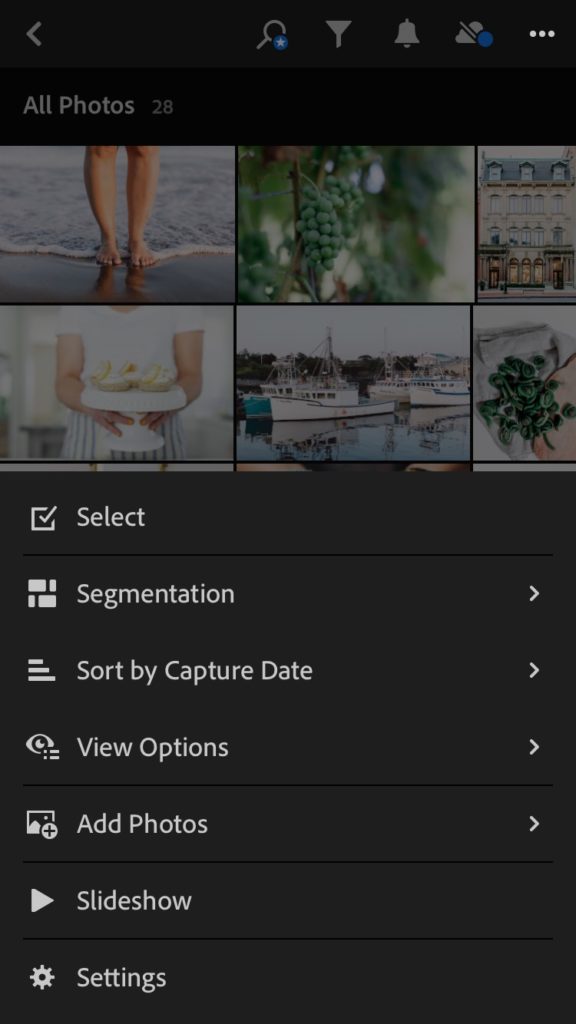
Tap the three dots on the top right-hand corner of the app and select Add Photos.
step three
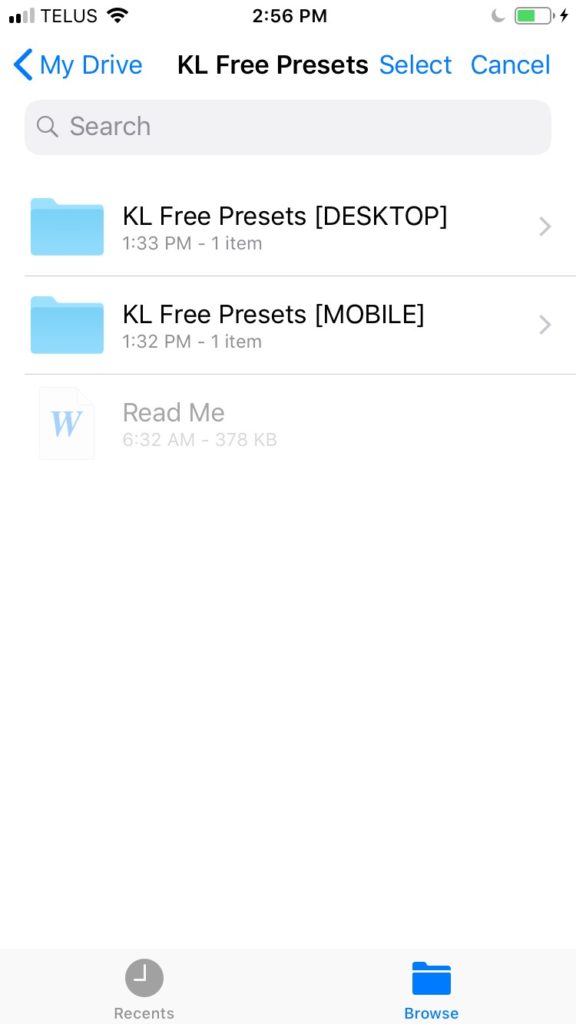
Depending on where you saved your new files, choose either From Camera Roll or From Files.
step four
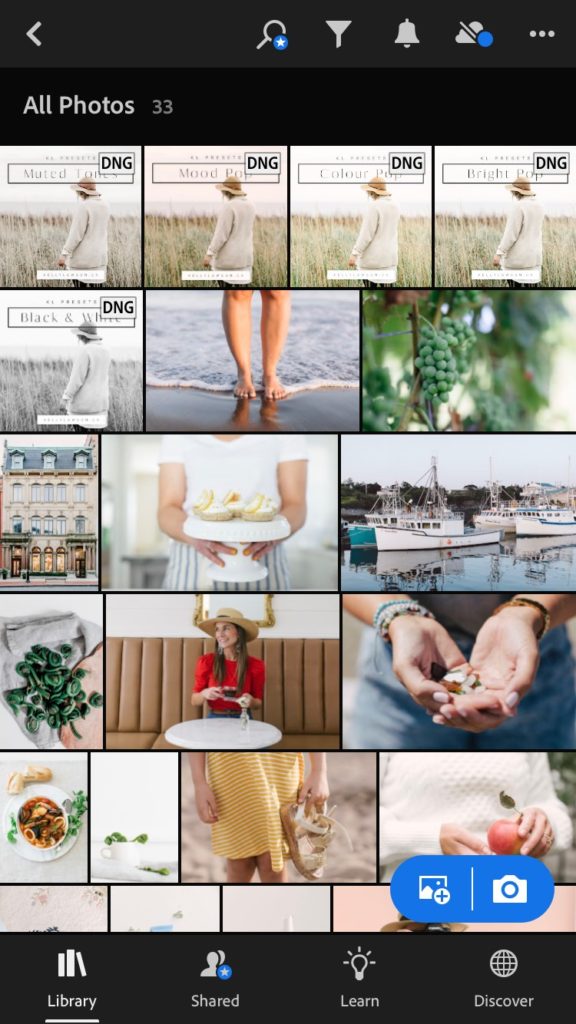
Choose your files one at a time by tapping on them. It might take a few seconds for them to appear in Lightroom Mobile. They will appear alongside your photos. You’ll know it’s a preset because it will have a small ‘DNG’ icon on the top right of the image.
step five
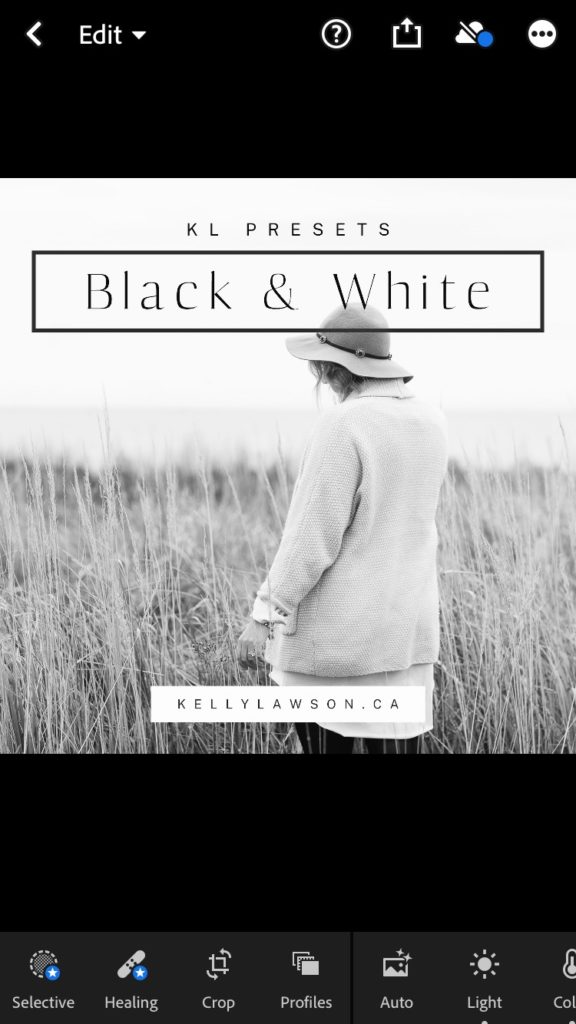
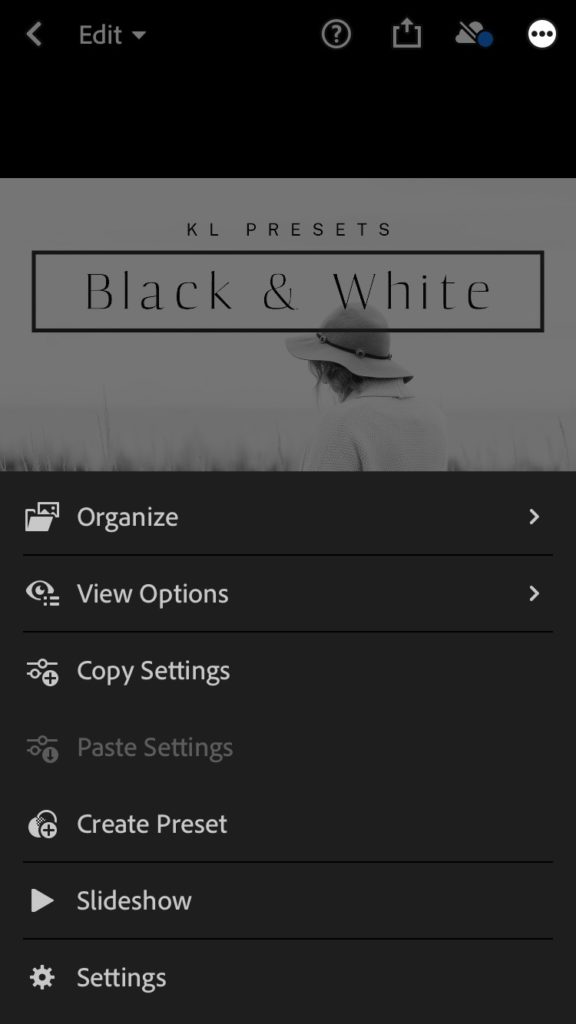
Tap the first image with ‘DNG’ on it. Then tap the three dots on the upper right-hand corner and choose ‘Create Preset.’
step six
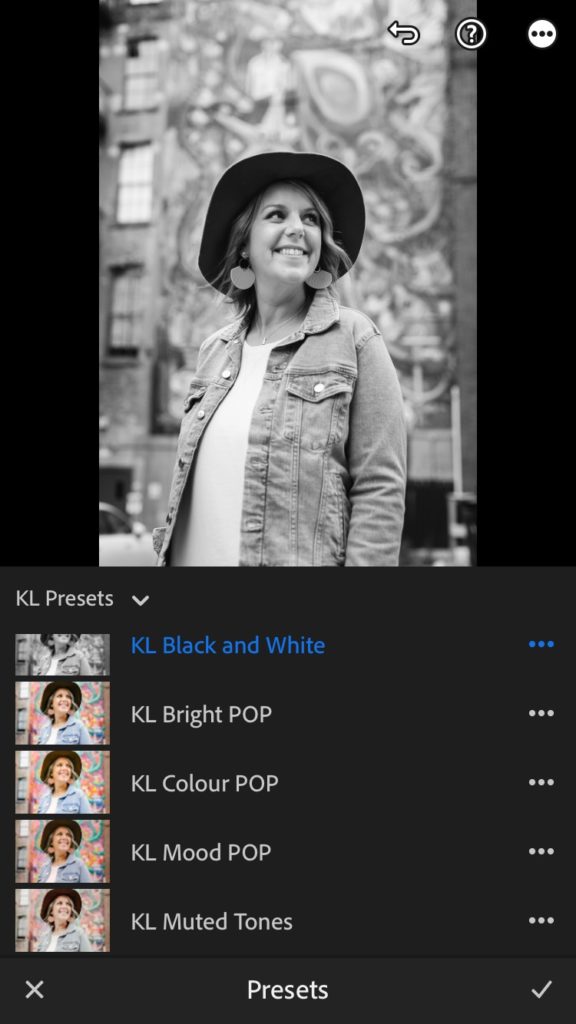
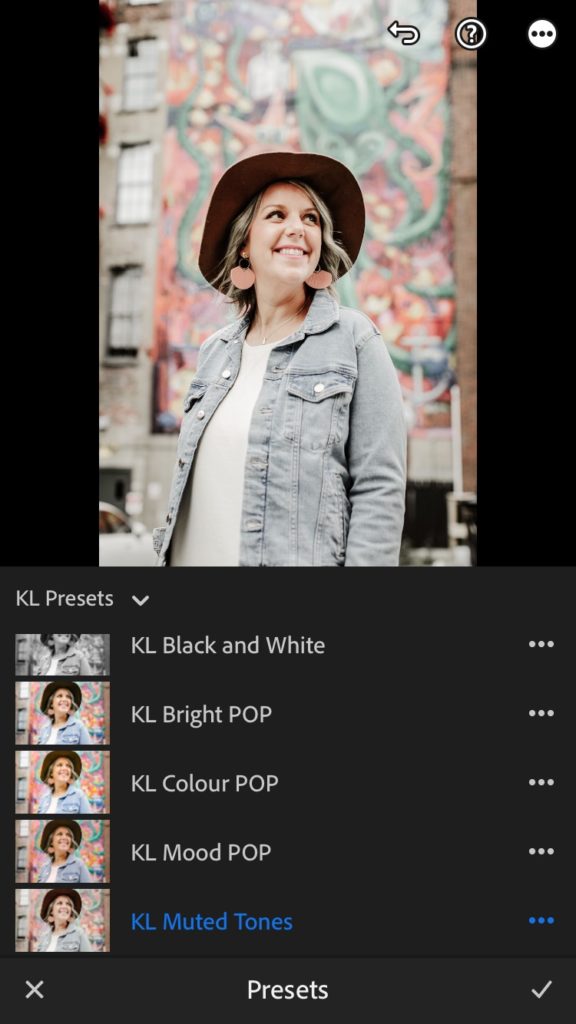
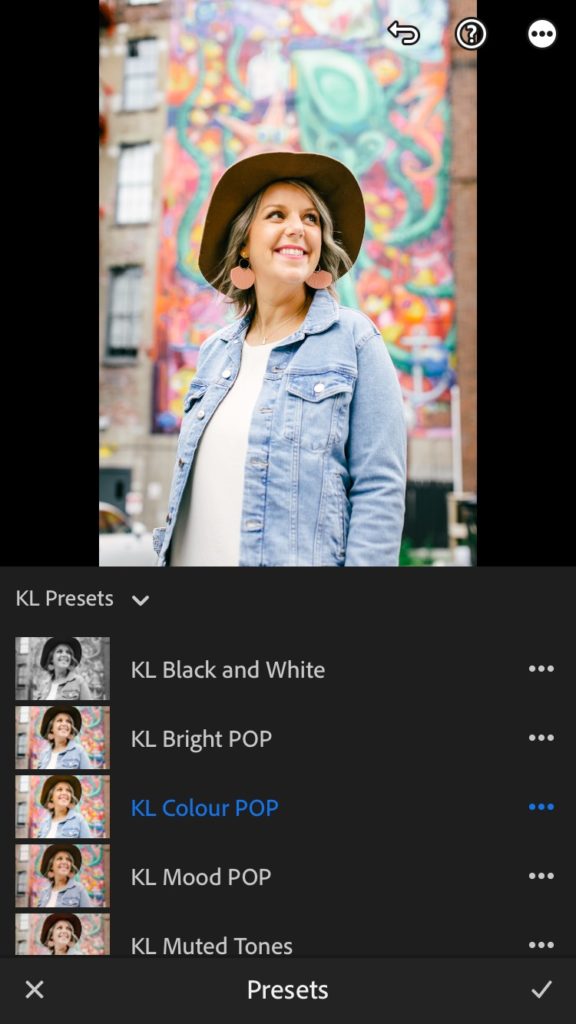
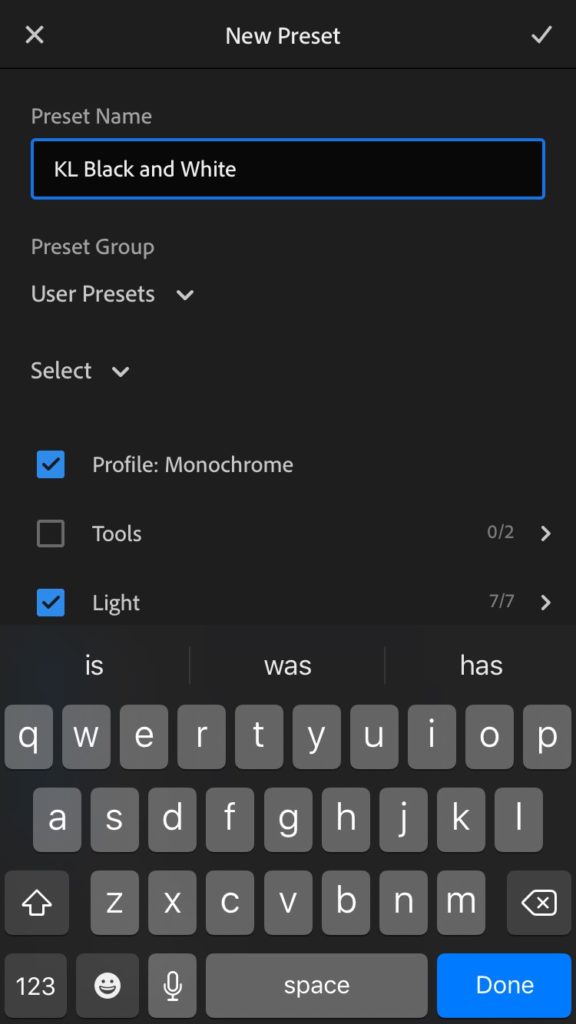
Name your new preset. I recommend choosing the same name as the file, for example, “KL Black and White” “KL Bright Pop” “KL Colour Pop” “KL Mood Pop” and “KL Muted Tones.”
step seven
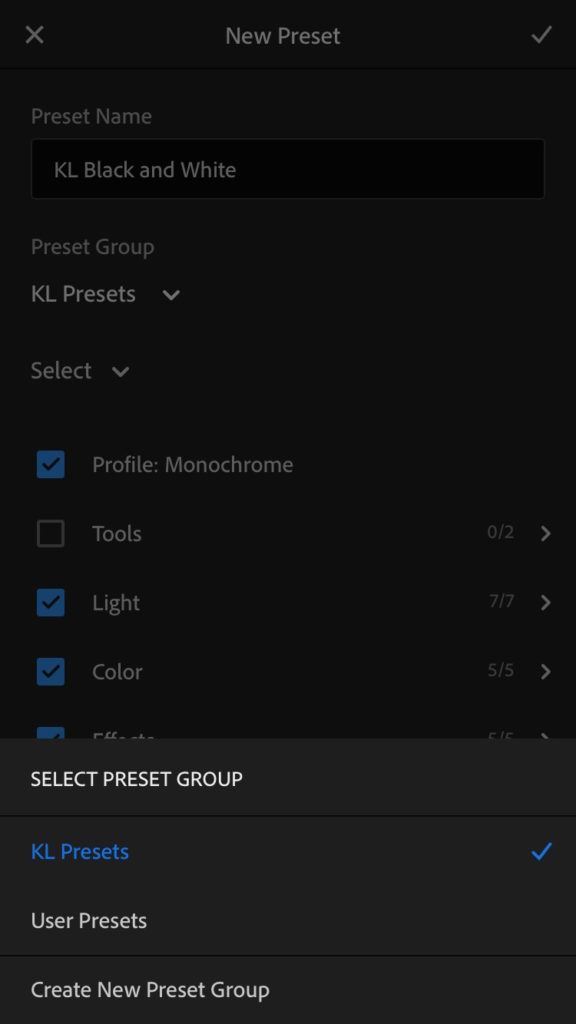
You will also need to create a preset group and name it. This will help to keep your files organized. In this case, I named the group “KL Presets.” Make sure you remember to select this group as you add and name each of your new presets.
step eight
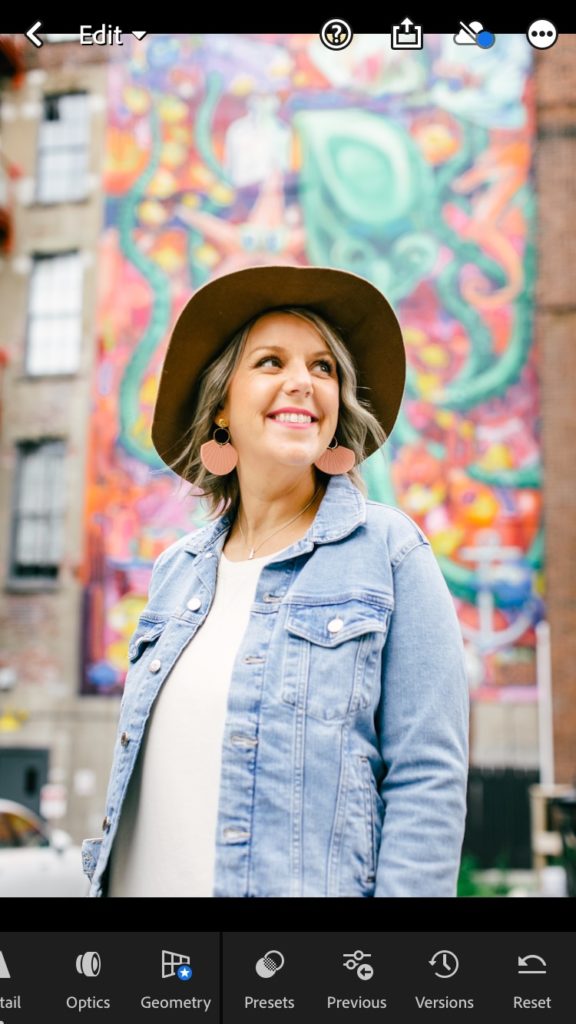
Now comes the FUN PART! Choose an image to test them out on by tapping the image from inside your Lightroom Mobile apps photo reel. Once the image is open, scroll the bottom toolbar to the right and choose “Presets.” From there, choose your new preset group called “KL Presets” and tap each one to test them out!
step nine
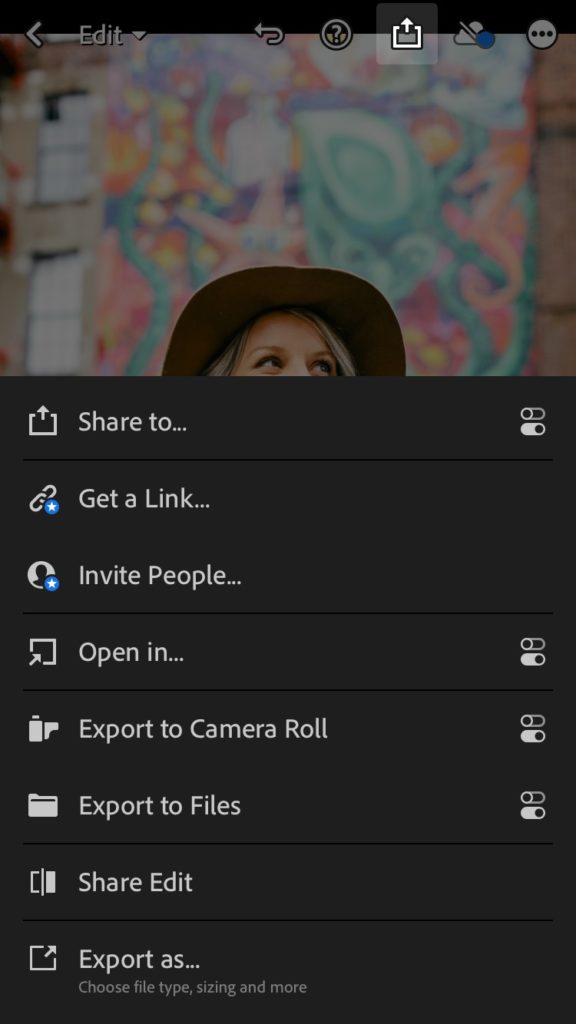
Export your image however you like. And don’t forget to tag me with #kellyworkshop so I can seeeeeee! 🙂
