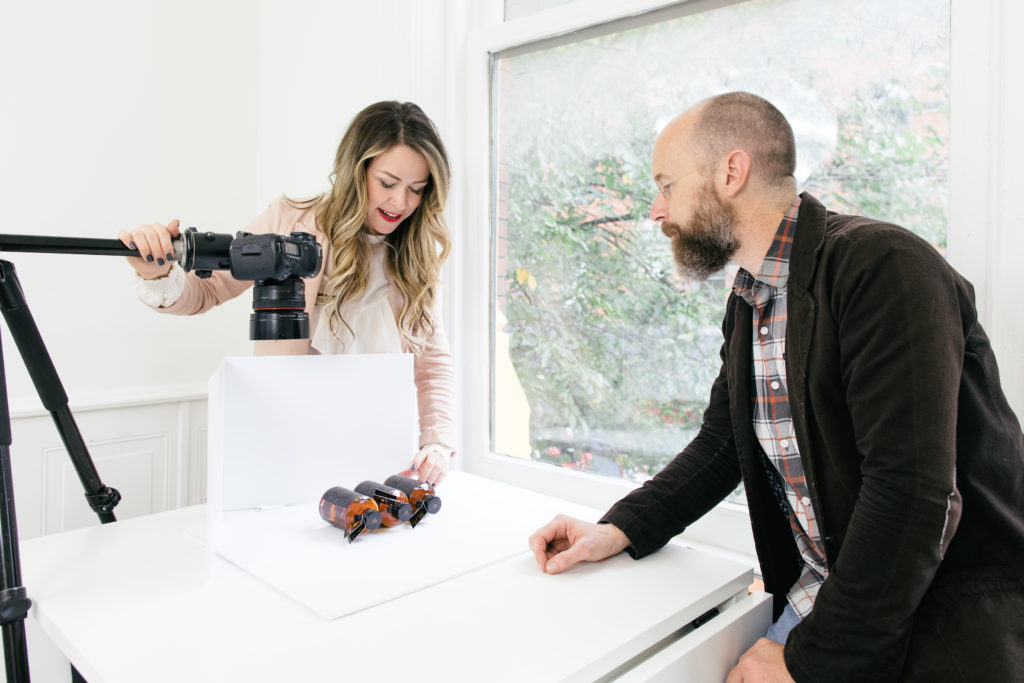
STEP ONE: SETTING UP YOUR SHOOT
For photography, nothing compares to natural light. To make the most of it when photographing your product, you will want to set up a lightbox. This can be as simple as 4 pieces of white foam core board, a table, and a window. To make your lightbox to use with natural light, place one piece of foam core on the table and then tape the other 3 pieces together to form a “u” shape. Place these three foam core boards standing up around the perimeter of the board on the table.
Then, place the table in front of a window with indirect light coming through (I find that shifting the blinds to allow the filtered light to pass through works best). You can now add your items on top of the foam core laying on the table and take a flat lay photo from above. For items that need to stand up and be shot straight on like a planter or flower vase, modify the set up by moving one side of the foam core U shape in line with the portion farthest from the window. The light will still bounce in from the window and the foam core will help distribute the shadows, but you can now take a photo in from the side and place your items against the other side.
STEP TWO: STYLE YOUR SHOT
For product photography, I like to give the buyer a variety of images so they can really get a feel for the item. One full shot on a white background, 2-3 close-ups of different details or angles of the item, and then one styled shot showing the product in use. You will be surprised how a styled lifestyle shot can really tell a story and make the customer make a purchase.
To style your lifestyle shot, think about the item and the story you want it to tell. What would make you buy this item if you saw it online? What attributes do you think are most important. For example, if I am selling a beach bag, I would want to shoot it next to a pool or beach with a towel, sunscreen, and maybe something fun like a colorful soda, or pool float next to it. Something shows the buyer how fun owning this bag is! Or if you are photographing jewelry, have some shots on a white or color background, but also some with the jewelry being worn by the mom, teen, or trendsetter in their element. The details surrounding the shot should enhance the storytelling but not distract from the product itself.
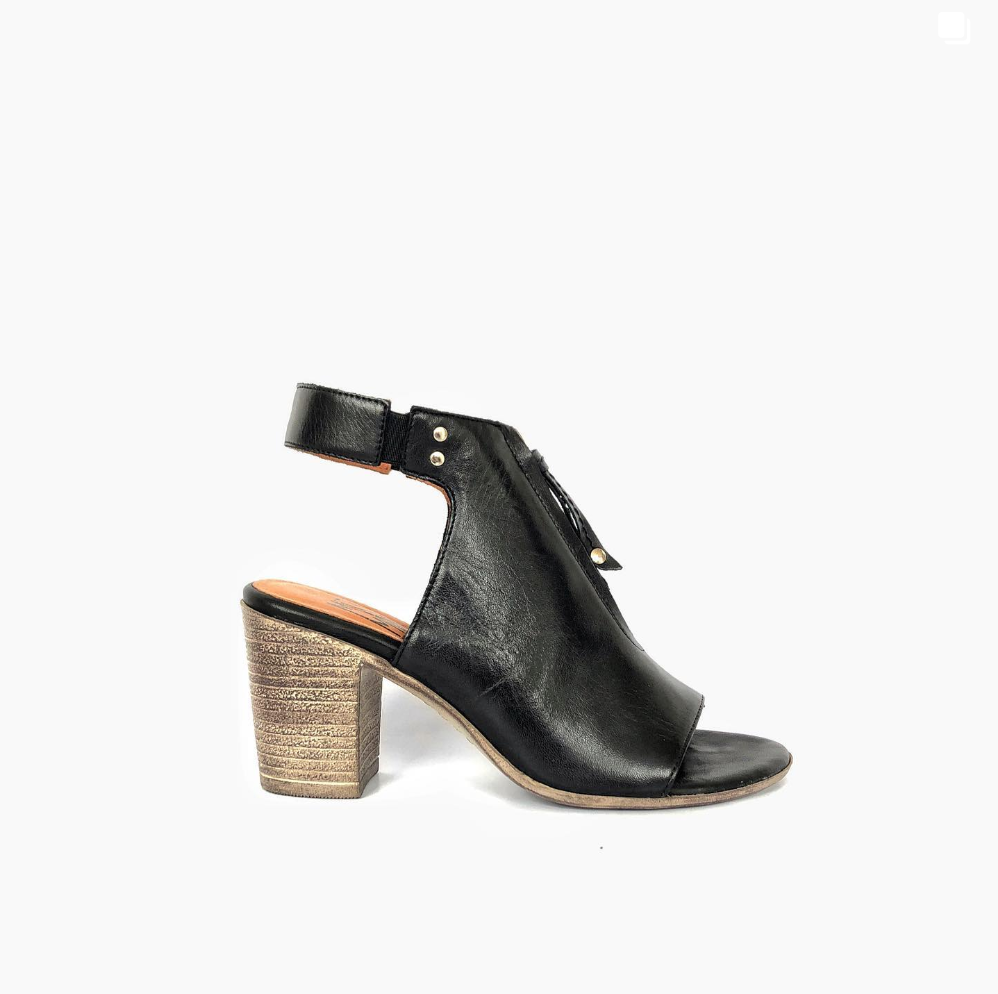
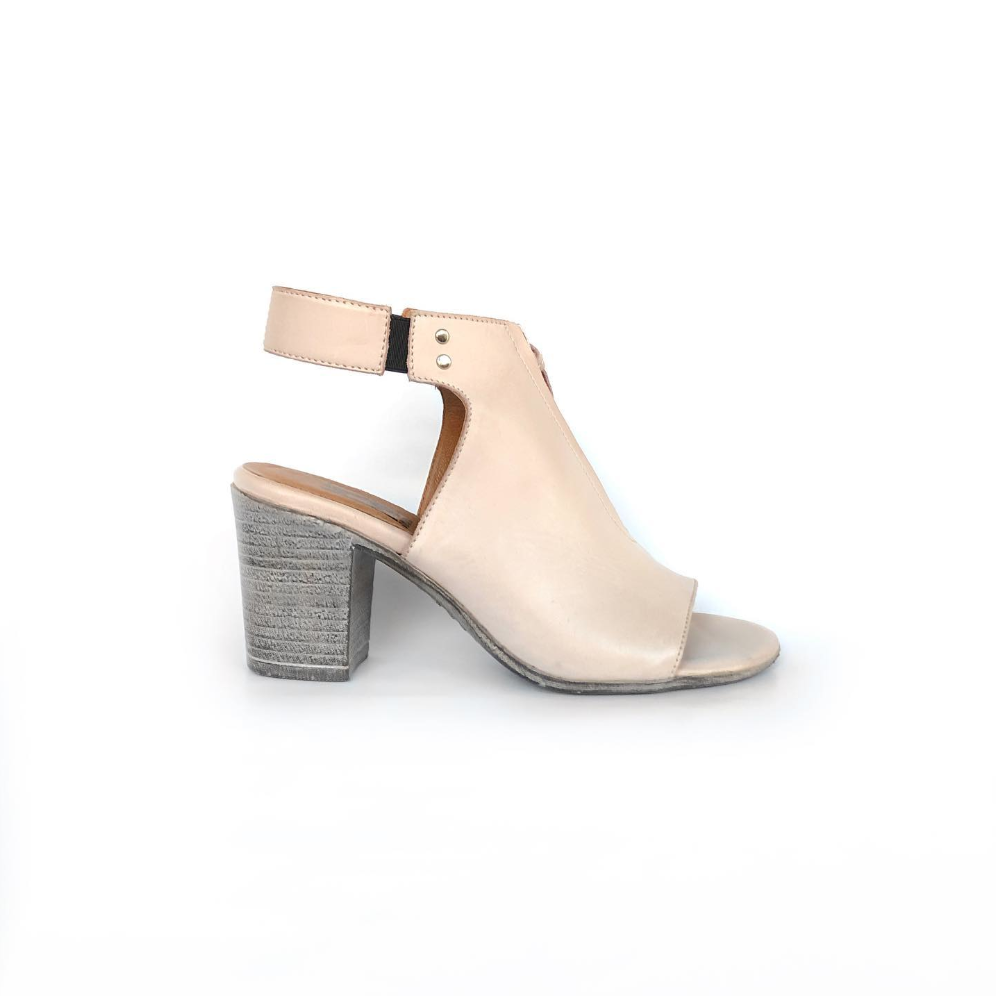
STEP THREE: TAKE THE PHOTO
Once you have your set up for your shot, set your product in place and snap those pictures. For DSLR photos, I shoot in manual and I will set my ISO to 1000, my aperture to 3.5-4.0, and my shutter speed to 1/30 – 1/125 depending on the light coming through the window. For lifestyle shots outside, decrease the ISO to 200 and adjust the shutter speed to account for the brightness. If you don’t have a DSLR, just use your iPhone to snap the picture.
STEP FOUR: EDIT YOUR PHOTO
Once you have your images, it is time to edit the photo. Everyone will have their own preference when it comes to editing photos. I like bright but saturated photos, so I will increase the whites, brightness, and saturation and decrease the blacks. For editing on a computer, I recommend Lightroom. While this article isn’t going to go into the details of photo editing in Lightroom, there are some very good tutorials to help you get started. But I guarantee it is easier than it seems, so don’t get intimidated.
If you don’t have Lightroom, you can easily edit on your phone. There are quite a few good photo editing apps out there. I use Enlight, Touch Retouch, and Snapseed to edit my iPhone photos all the time. You can still take well-styled shots and edit them to look professional with a phone camera. Just remember to increase the brightness and saturation to get a vibrant photo that pops!

Now that you have the basics and my product photography tips, the rest is up to you! I will say that my product photography has come a long way in the last three years. Just keep experimenting with set-ups, styling, and editing until you feel you have the look that you want. Once you add these new photos to your site, you will give buyers the chance to see every aspect of your creations up close and personal and make the buying decision that much easier for them!