 Digital cameras are kind of like mothers: they LOVE to make decisions for us.
Pop that puppy into AUTO and it will take care of all those pesky settings that are so scary to newbie photogs. And, hey, your photos will be, well, fine.
Sure, you’ll get decent contrast. Passable exposure. A uniform depth of field. And all with just the click of a button.
But, you know what?
You’ll also get shots that look like everyone else’s. Yeah. And you’re not here just to fit in, are you? Didn’t think so.
Master manual mode – gotta love that alliteration! – and you’ll be able to:
- Retain creative control.
- Shoot in tricky lighting.
- Give your pics a consistent look.
My friends, your fancy camera is a powerful tool to document your life with an artful edge. And if you’ve got professional photography aspirations, you gotta get your own imprint going to stand out.
Now, just because I’m a pro now, don’t think I don’t remember how scary it was to leave the safe, cozy land of Auto.
Anyone who knows me has heard my sad tale of fancy camera woes. If you’re anything like me, you bought yourself a big fancy camera but then froze when confronted with all those buttons and dials and lenses and settings. It’s IMPOSSIBLE to know where to start, amirite?
Wrong.
I want to get you off auto mode so you can start taking beautiful, breathtaking professional photos TODAY! You’ve got the camera. And if you’re reading this, you’ve got the desire. What are you waiting for? You’ve got dreams, dammit, of taking better photos of your kids, products, pet, lunches….whatever the case is for you. But here you are feeling stuck, overwhelmed, confused. STILL resorting to that iPhone for documenting what is precious to you.
 Put the smartphone DOWN!
The new few moves are going to feel scary, but this is where we play. This is when we start to accept you aren’t going to break the camera.
You with me? Good. Now here’s a great place to start:
Step 1:
Pick up your fancy camera. Got it? Good. Now, for the first step. Move the dial to manual mode, in most cases that’s the “M” but you may need to dig out your camera’s user manual to find out for sure (because just like you and me, cameras are all a little different too).
Step 2:
Select the aperture setting based on your style preference. I like to shoot with it open wide, which gives me a shallow depth of field and that deliciously blurry background, so that’s normally an aperture setting of around f2.8 for me. Try it!
Step 3:
Ensure your shutter speed is set high/fast enough to avoid motion blur or overexposure (a good rule of thumb is not lower than your focal length, so if you’re shooting at 50 mm, shutter speed should be no slower than 1/50th of a second). I find 1/125 is a safe minimum for me.
Step 4:
Set your ISO as low as possible to achieve the desired exposure. (100 for a sunny day, 400 in the shade on a sunny day, 1000 inside, 3200 in a dark room). Trial and error is A-OK here you guys. Take a guess, and take a snap. Then adjust accordingly. Oh, the luxuries of digital photography!
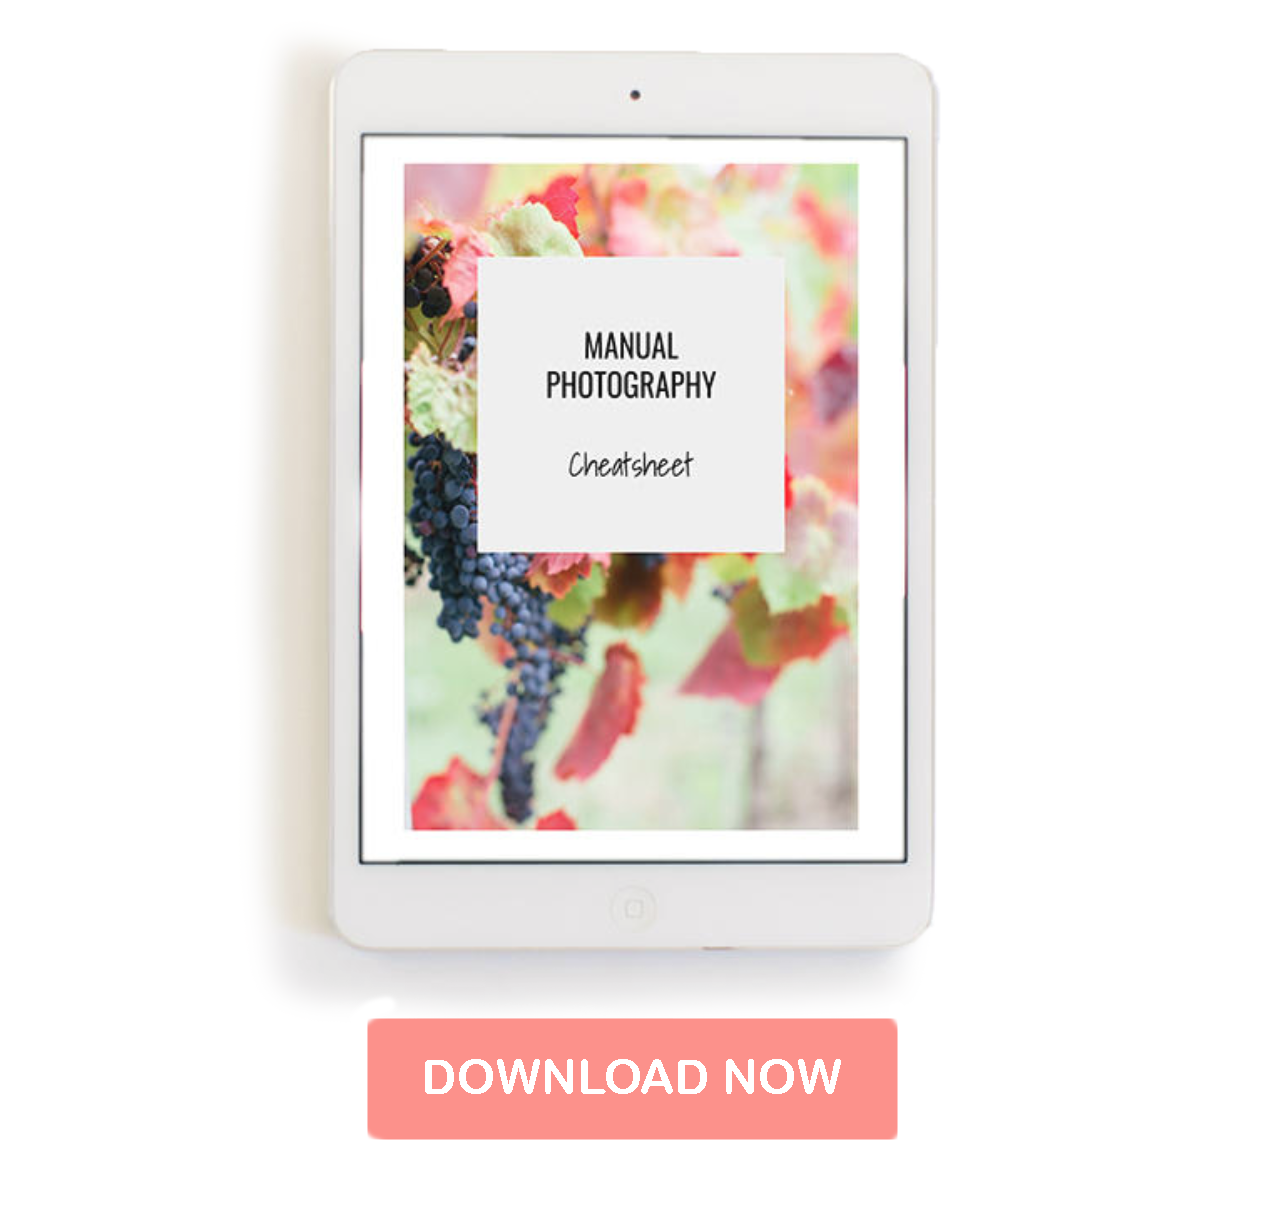
You are a star! You did it. Awesome. Let’s keep this party going. Next week, I’m going to dig deeper into the exposure triangle – don’t be scared! And I’ve got this awesome starter cheatsheet to help you. So, what are you waiting for? Grab the cheatsheet and go play!